This post may contains affiliate links. We may earn a commission, at no additional cost to you, if you make a purchase via our links. See our disclosure for more information.
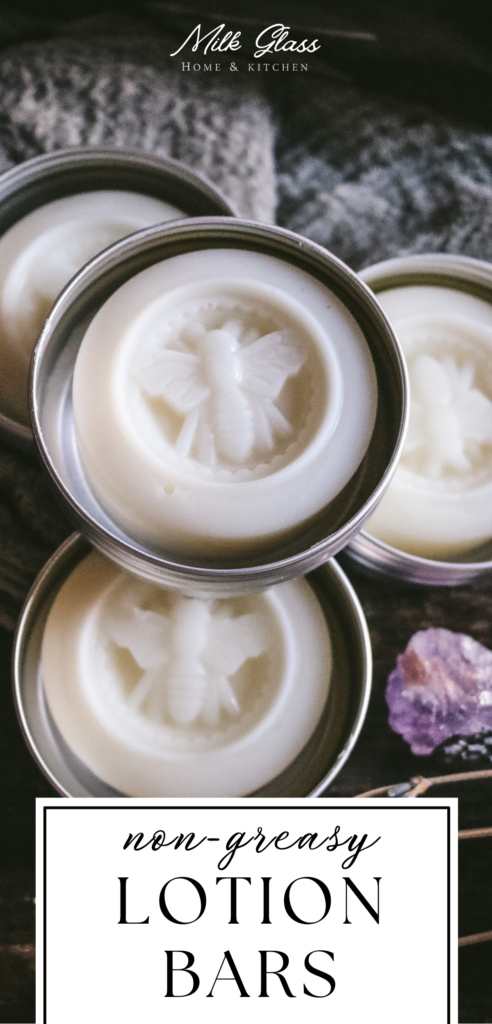
The secret to making a soothing, non-greasy lotion bar at home is to use the right balance of ingredients! These firm little DIY lotion bars are ideal for stashing in your bag, giving as handmade gifts, or keeping by your sink. And with just 3 ingredients, making your own lotions bars is about as easy and natural as it gets!
I first started using lotion bars several years ago and was amazed at how much I liked them.
There’s something satisfying about the firmness. They are usually firmer than traditional lip balms and regular lotion, but the rich butters and oils help keep your skin nice and tender.
After trying several different variations over the years, I wanted to share my go-to recipe. I promise – it is super simple, but you will want to be sure to use the right blend of ingredients.
One common complaint about lotion bars is that they’re greasy. Well, some oils and butters tend to be greasier than others.
Although I’ve used coconut oil and shea butter in the past, but they can give your bars a heavy, greasy feeling as they take longer to absorb into the skin.
The secret is to use lightweight ingredients that absorb quickly, like mango butter, sweet almond oil, or jojoba oil. I’ll walk you through all of these details below, so I’ll make it as easy as possible!
Want to share these as a gift? 🏷️ Grab my free printable lotion bar labels below!
What is a lotion bar?
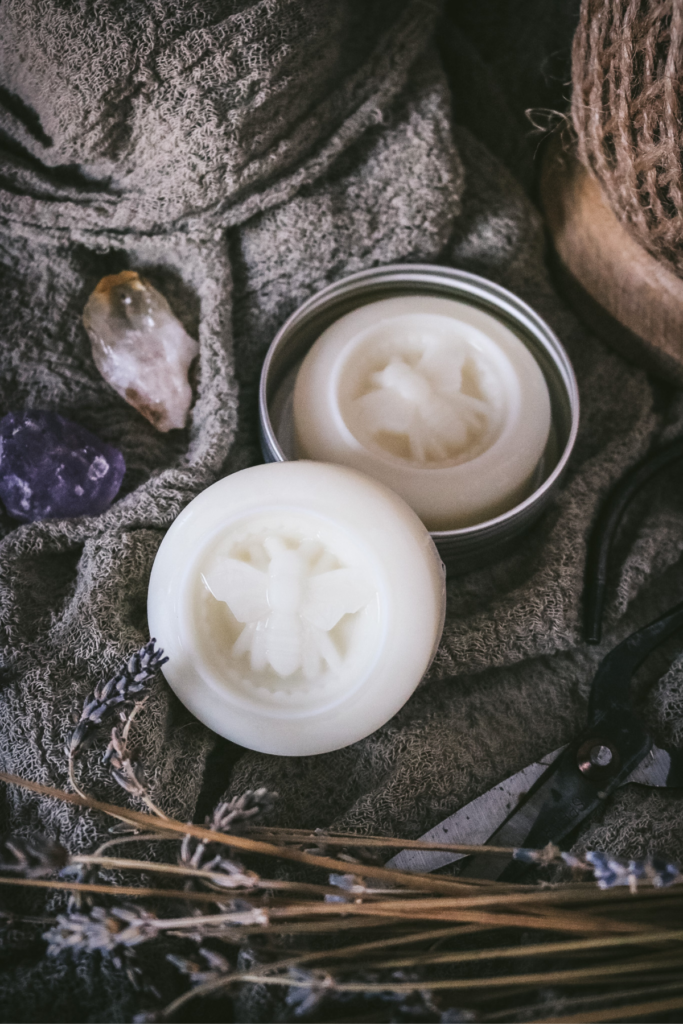
Hard lotion bars are essentially a shelf-stable, solid way to transport lotion without needing bottles or jars.
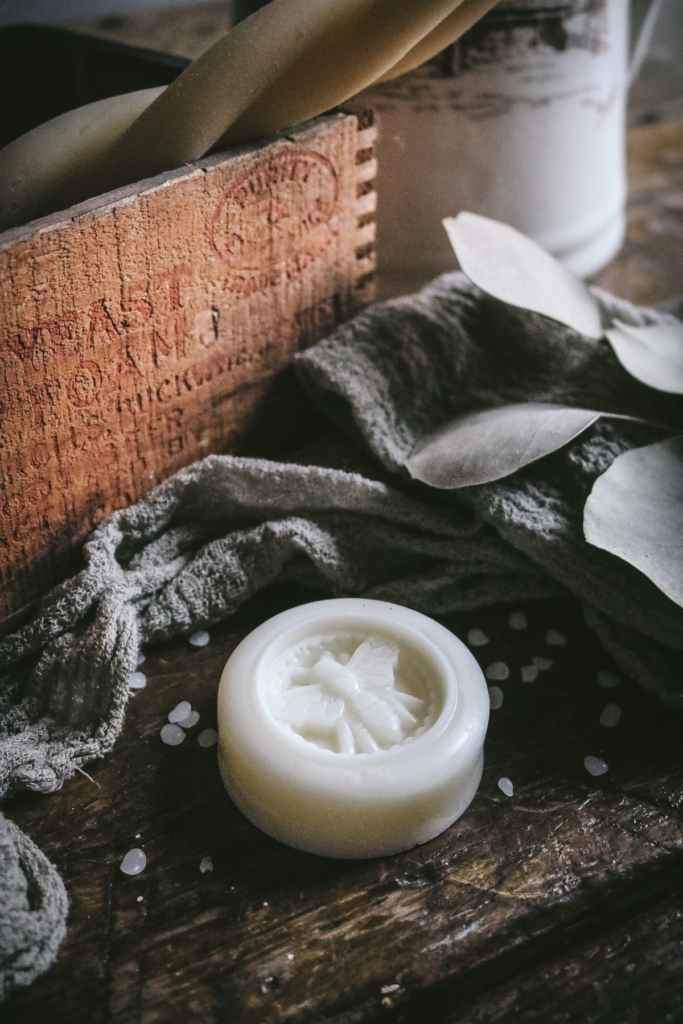
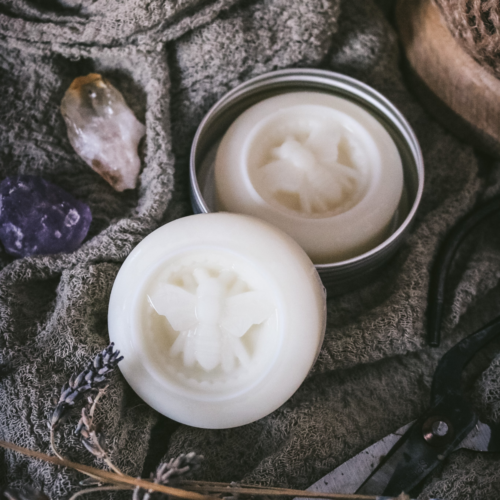
These little bars look like a bar of soap, but are essentially a rich body butter in solid form. They melt gently from your body heat, so to use, you simply pick it up, rub it in dry hands, then work the lotion into your hands.
They travel very nicely or you can keep them on a soap dish to use any time. They’re a nice way to keep your skin hydrated during the dry winter months!
Why you’ll love this homemade lotion bar recipe
- Requires just 3 simple ingredients
- Naturally non-greasy (without any cornstarch or arrowroot powder!)
- Hydrating and soothing
- Less resistant to melting
- Makes a great homemade holiday gift
- Can scale the recipe up or down for large or small batches
- All natural – no dyes, perfumes, or preservatives
- Customizable with different essential oils, butters, waxes, and more
- Can be low or zero waste (you may even be able to find the ingredients at a local bulk shop!)
Ingredients
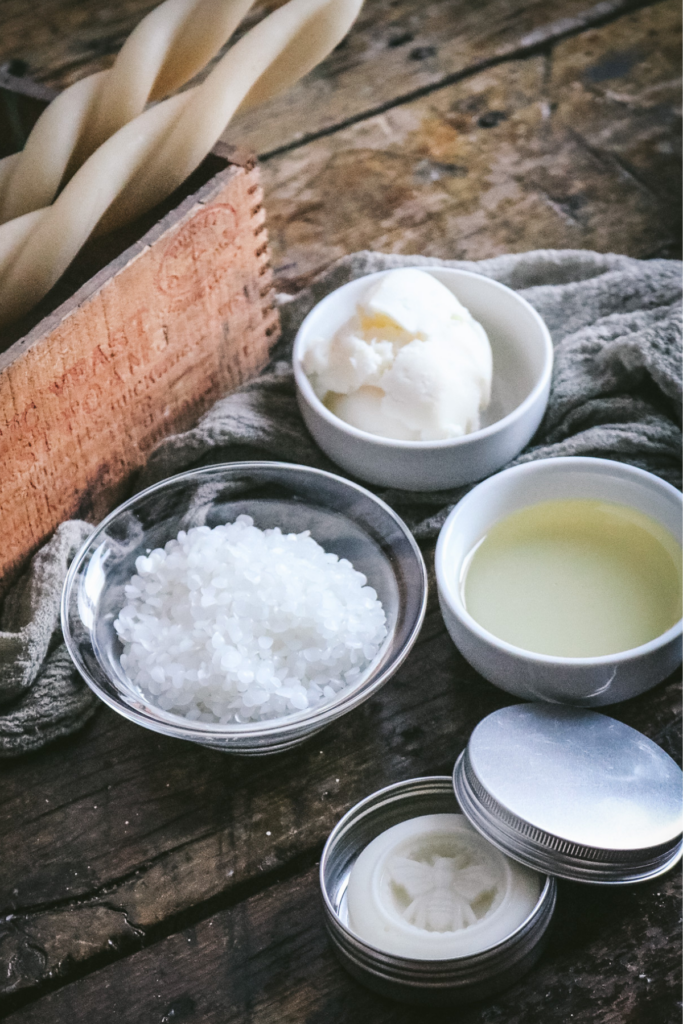
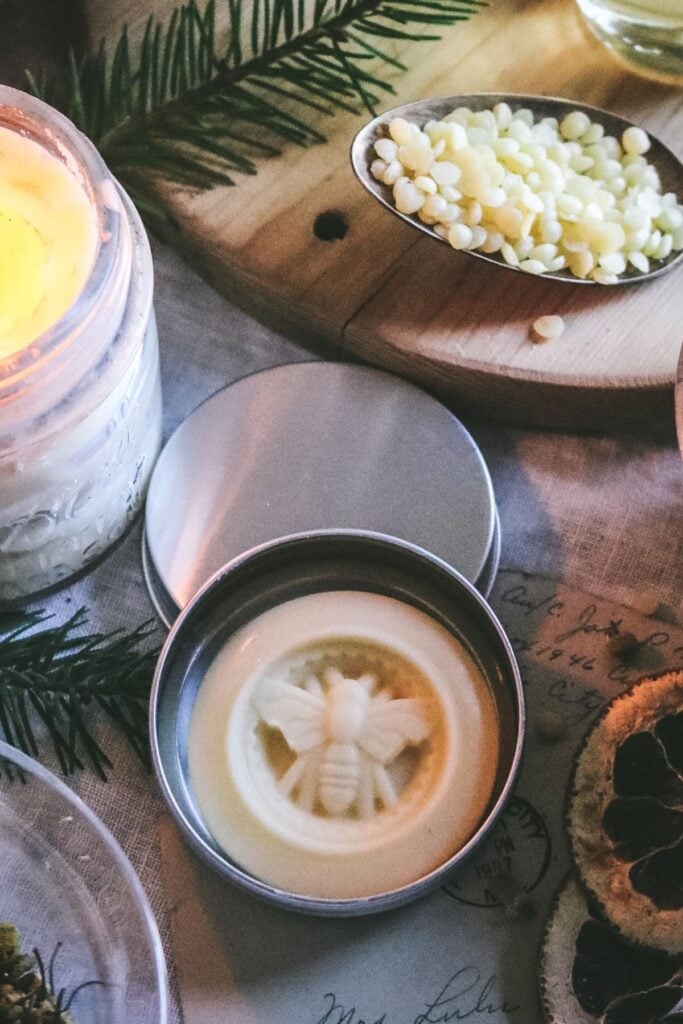
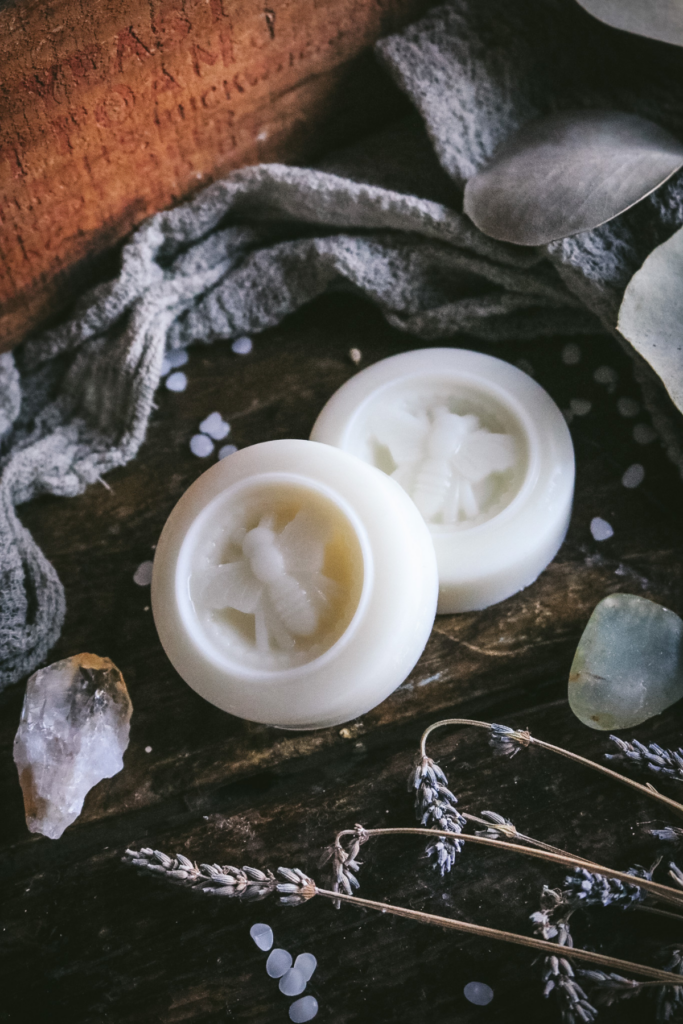
- Beeswax – Either yellow or white beeswax pellets work fine. The color of the bars will change depending on which one you used. I used organic white pellets, which is why my lotion bars are white. For a traditional yellow beeswax color, use yellow wax. If you can find local beeswax, that’s a great option!
- Mango butter – This is my favorite butter for skincare because it has the richness of shea butter, but it absorbs so much faster! I also love cocoa butter, which can help your bars set firmer and adds the most delicious chocolate scent. Cocoa butter can feel heavy on its own so if you want to try it, consider using it to replace some of the mango butter.
- Sweet almond oil – There are lots of oils that can work in lotion bars! I’m partial to sweet almond oil in almost all of my homemade beauty products, and it has never caused a reaction with my sensitive skin. Of course, if you’re allergic to tree nuts, it’s not a good choice! Some other good options include jojoba oil, olive oil, avocado oil, grapeseed oil, or any other quick-absorb carrier oils.
- Essential oils (optional) – I don’t use them in my homemade lotion bars, but you can add about 5-10 drops if you prefer. Make sure to only use oils that are safe for skin!
Equipment
To make any basic lotion bar recipe, you’ll need:
- Small saucepan and a heat-safe bowl to make a double boiler
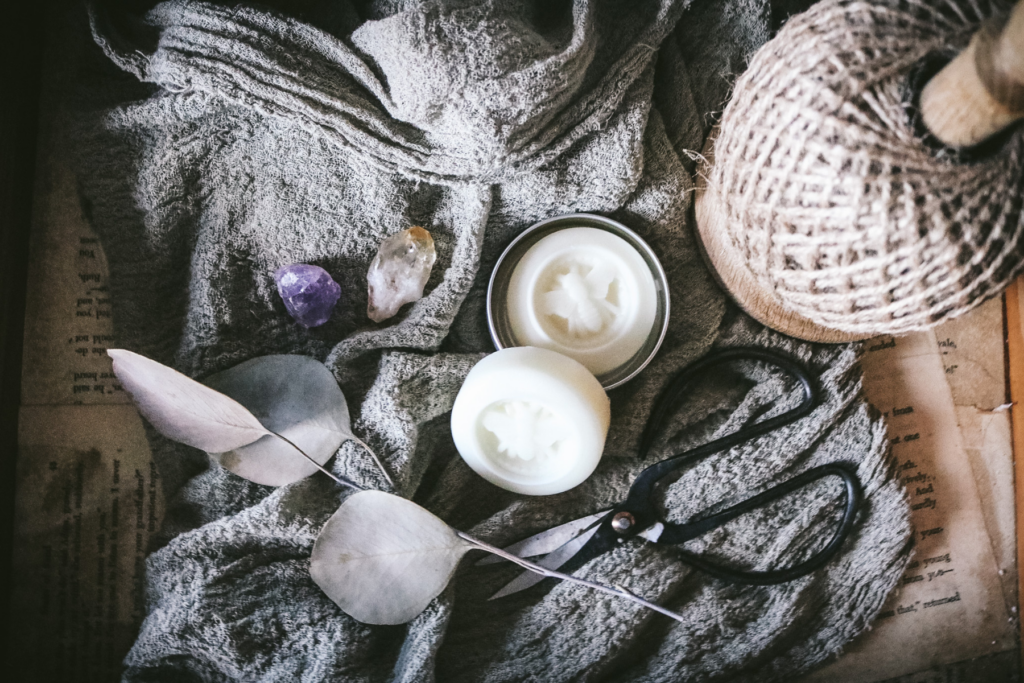
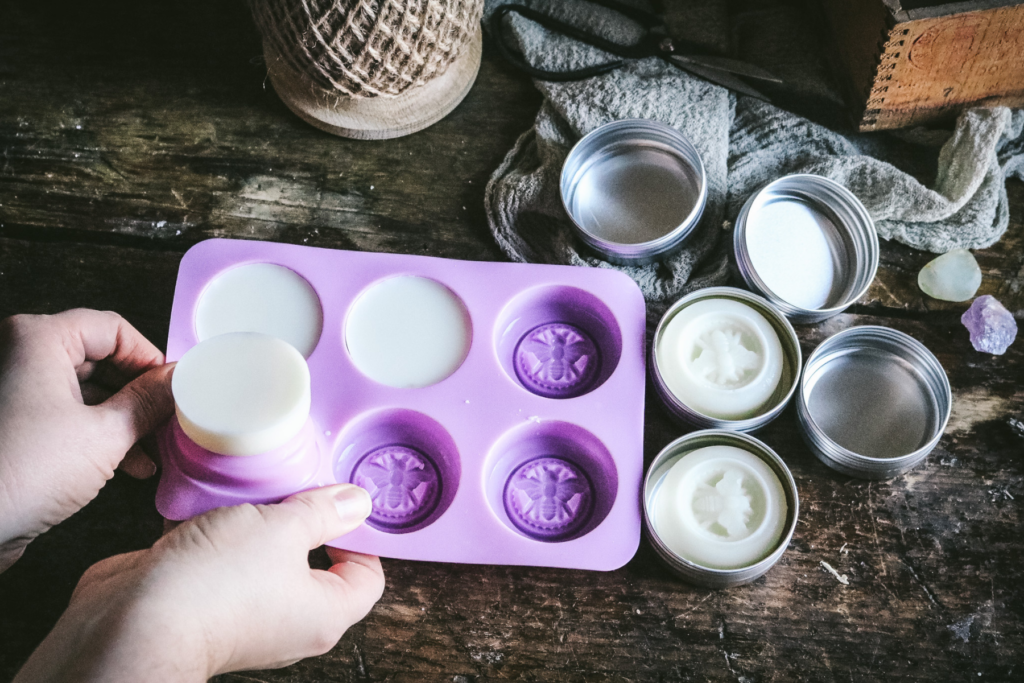
- Silicone or soap molds (This is the one I used. So cute!)
- Storage containers (I used these 2 oz metal tins)
- Wooden toothpick or disposable stirrer
- Parchment paper or newspaper (to keep your workstation tidy; optional)
If you don’t want to buy a special mold, you can also use muffin tins, ice cube trays, or even line Altoids tin containers with parchment paper.
How to Make Lotion Bars
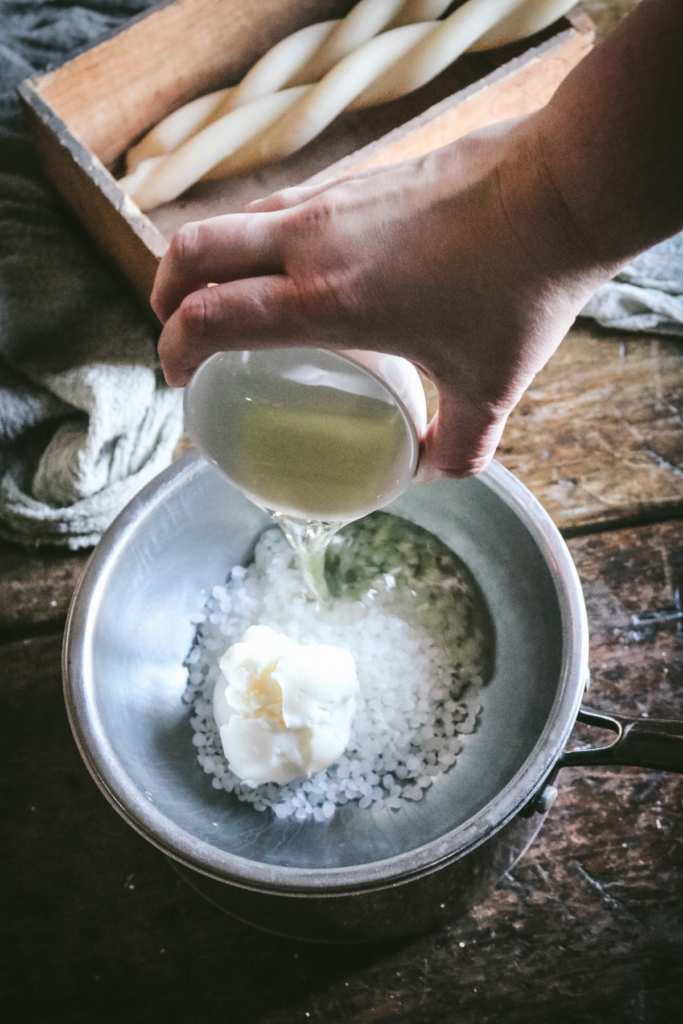
- Weigh out or measure all of the ingredients you need (minus any essential oils) in a metal bowl or heat-safe container.
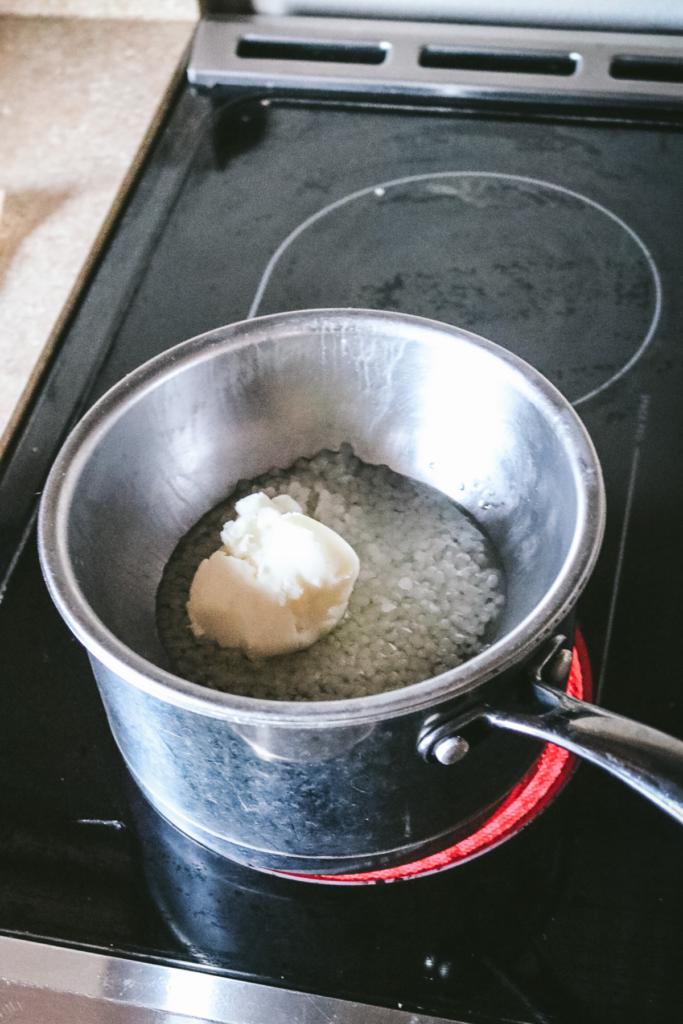
- Fill a saucepan with 2 inches of water and place over low to medium heat.
- Place the metal bowl with the ingredients over the saucepan and allow the mixture to melt until completely liquid. Stir occasionally with a wooden toothpick or spoon to incorporate all of the ingredients together. (If adding essential oils, add these after the ingredients have melted and stir well to incorporate.)
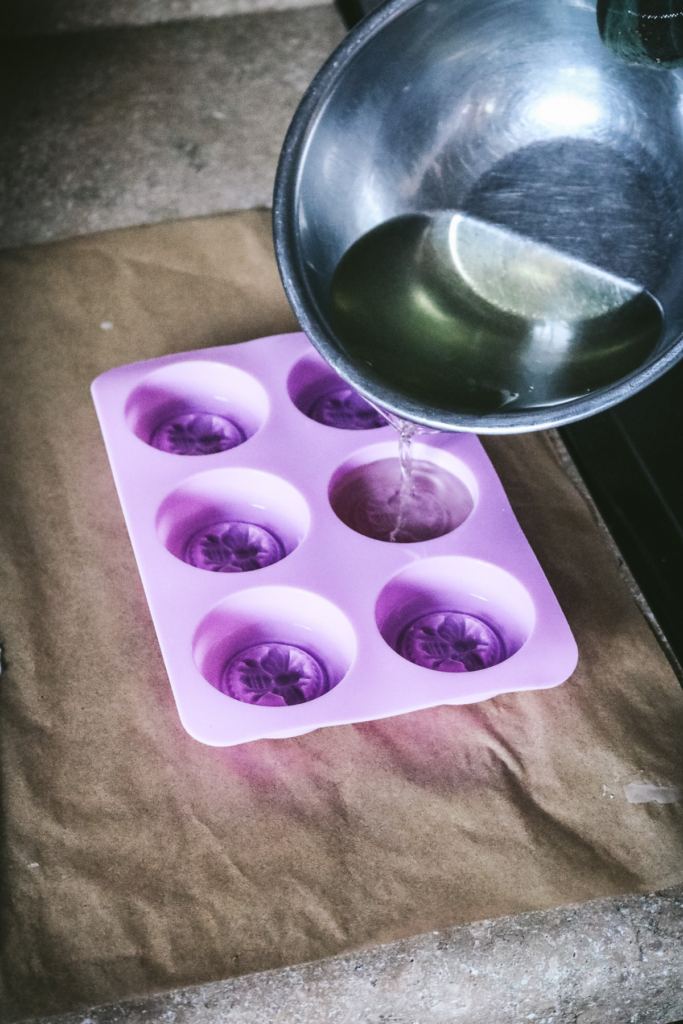
- Once liquid, use a kitchen glove to carefully pour the lotion bar mixture into your silicone mold. Be careful to avoid spilling any water into the molds. It can help to dry the bottom of the bowl (carefully) with a paper towel or clean kitchen towel.
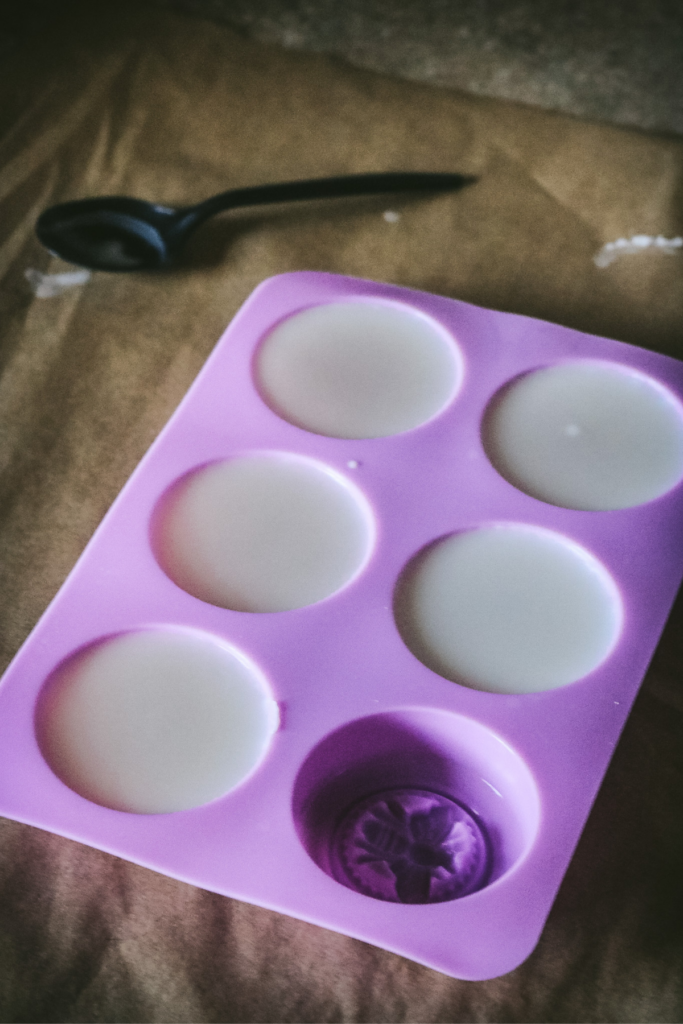
- Allow the bars to firm up, undisturbed, for a couple of hours. (In the winter, my bars set in under an hour but in a hot environment, they may take 2).
- Once set, remove the lotion bars from the silicone molds and either use right away or transfer to a metal tin or glass jar to save for later.
Tip: If the lotion bars are too firm or soft after they set, you can remelt them and add slightly more liquid oil (to make it softer) or more beeswax (to make it firmer). This is more likely if you use measuring cups instead of a scale to weigh out your ingredients.
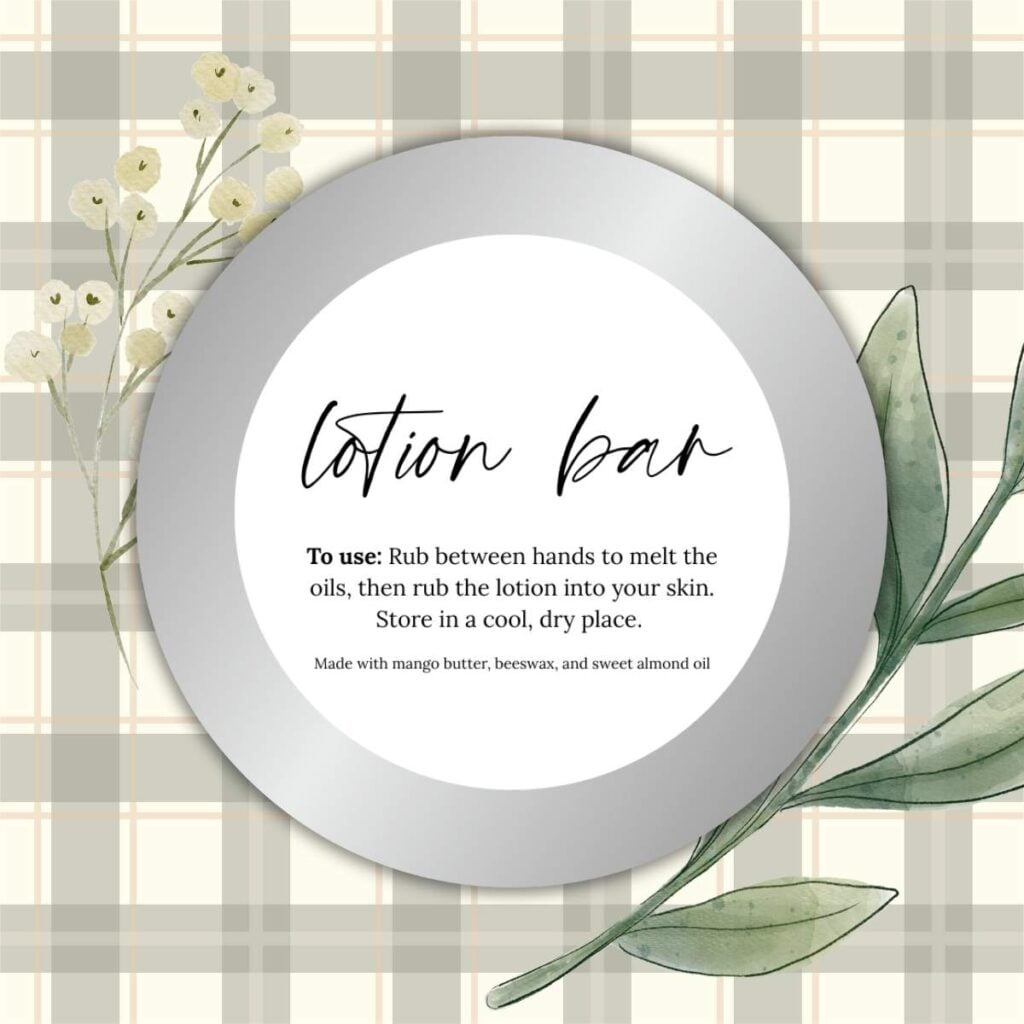
Free Lotion Bar Labels
To make these bars easier to gift, I’ve prepared printable labels for you.
Instead of regular paper gift tags, this label was designed to print onto 2×2 inch round sticker paper (or thermal labels).
To use, upload the image file to your favorite sticker software program (like Avery) or use a thermal printer.
Storing Suggestions
Lotion bars are meant to be stored at room temperature and to keep them free of dust and pet hair, it’s best to keep them in a tin or glass jar. I like to use these 2 oz metal tins, which can also be used to make balms and salves.
They last for months and months, as long as you keep them out of direct sunlight in a cool place.
(I’ve left tins of homemade lotion bars and lip balms in my purse while we were out hiking in the summer sun and they become much, much softer.)
Tips & Variations
- Make lip balm. Instead of solid lotion bars, pour the mixture into 0.5 ounce metal tins or lip balm tubes for a firm yet hydrating lip balm.
- Make it vegan. Instead of beeswax, try using soy wax or candelilla wax. I don’t have any experience with these ingredients, but many people use them as a plant-based alternative to beeswax.
- Used infused oils. I love, love, love infusing my oils with dried plants and flowers, like lavender or calendula. This infuses a lovely scent and the oil takes on the properties of the ingredient.
- Adjust the heat. To maintain the integrity of the ingredients, it’s generally recommended to warm them over low heat. But, I’m impatient and generally crank it up to medium heat. It works fine and helps make this recipe go a little faster!
- Use tallow. If you like to use tallow for skincare, use it as a replacement for the butter in this recipe. You may need to adjust the amount of wax slightly to get just the right firmness.

How to Use a Lotion Bar
To use your lotion bar, hold it in your clean, dry hands. Rub it between your hands to let it melt from the warmth of your skin. Once you have enough lotion on your hands, return the lotion bar to its container and rub it in thoroughly. That’s it!
A little goes a long way, so you may not need quite as much as traditional lotions. Start with a small amount then add more if needed.

🎁 Get my free holiday recipe ebook
With ten simple, thoughtful recipes and tutorials, you can make this holiday season feel extra magical.
Subscribe for your free copy and it’ll be in your inbox before you know it!
FAQs
Vitamin E is a preservative often added to skincare products to extend their shelf life. I honestly never add it to any of my products and don’t feel the need to with this lotion bar recipe. The ingredients are already firm and not likely to go bad, unlike water and liquid ingredients. You certainly can if you want to, but I don’t bother.
I don’t. I’ll admit that I’m not fussy about greasy lotion bars, so if they take a little bit longer to absorb, it doesn’t bother me. If you use the right ingredients, it’s really not necessary. If you find these bars are still too greasy for your liking, feel free to melt them down and whisk 1-2 tsp of cornstarch or arrowroot powder into the mixture.
I have in the past out of convenience and affordability, but it melts so quickly and can leave a greasy residue. My first few batches were made with coconut oil and shea and although they were hydrating, I found myself having to wipe the palms of my hands with a towel. Over the years, I’ve switched to different products and find the combination of mango butter, almond oil, and beeswax to be just right for my needs.
Related Recipes
If you made this recipe, please leave a comment or ask a question below! I’d love to hear what you think or troubleshoot any issues.
Get my FREE Homestead Kitchen Supply List to make it easier than ever to cook and bake from scratch.
Want more seasonal recipes? Subscribe for email updates or follow Milk Glass Home & Kitchen on social media. Join my Facebook Group Seasonal Slow Living to become part of the community!
DIY Lotion Bars {Non-Greasy}
Equipment
- metal bowl
- wooden toothpick or some other disposable stirrer
Ingredients
- 2 oz beeswax pellets, approximately 1/2 cup; yellow or white
- 2 oz mango butter, approximately 1/4 cup
- 2 oz sweet almond oil, approximately 1/4 cup
- 5-10 drops essential oils, (optional)
Instructions
- Weigh out or measure all of the ingredients you need (minus any essential oils) in a metal bowl or heat-safe container.
- Fill a saucepan with 2 inches of water and place over low to medium heat.
- Place the metal bowl with the ingredients over the saucepan and allow the mixture to melt until completely liquid. Stir occasionally with a wooden toothpick or spoon to incorporate all of the ingredients together. (If adding essential oils, add these after the ingredients have melted and stir well to incorporate.)
- Once liquid, use a kitchen glove to carefully pour the lotion bar mixture into your mold. Be careful to avoid spilling any water into the molds. It can help to dry the bottom of the bowl (carefully) with a paper towel or clean kitchen towel.
- Allow the bars to firm up, undisturbed, for a couple of hours. (In the winter, my bars set in under an hour but in a hot environment, they may take 2).
- Once set, remove the lotion bars from the silicone molds and either use right away or transfer to a metal tin or glass jar to save for later.
Notes
Did you try this recipe?
Post a photo and tag @milkglasshome!Pin this recipe for later!


I made this the other night. I used Cocoa butter instead of mango butter and castor oil. I also used some mandarin and jasmine essential oils – half and half. I like it.
I have made this and love it. I’ve made it as lip balm as well. I was wondering would this work as a deodorant or do you have a recipe for deodorant?
Diana, I’m so glad to hear you’ve been enjoying this recipe! Yes, it makes such a nice lip balm, too! I don’t have a recipe for deodorant at this time, but can work on one for the future. 🙂 Thanks for leaving a review!