This post may contains affiliate links. We may earn a commission, at no additional cost to you, if you make a purchase via our links. See our disclosure for more information.
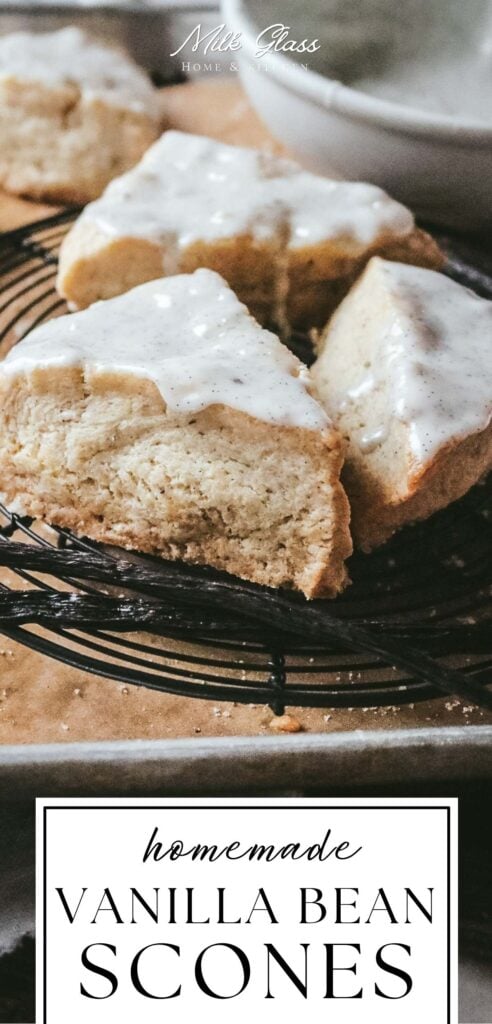
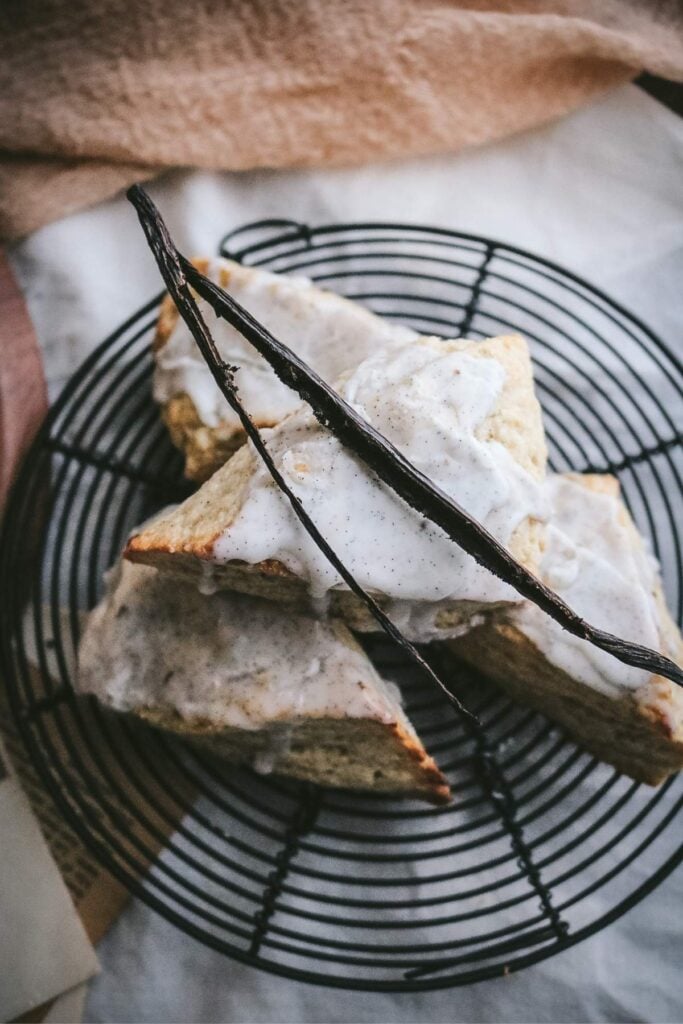
Tender, flaky, and loaded with real vanilla bean flavor in every bite, these simple vanilla bean scones have that coffee shop flavor (without the price). They come together quickly in the food processor and bake up with buttery, golden layers. Perfect with a hot cup of coffee!

After one bite of these lovely little scones, you’ll understand why my pantry is stocked with real vanilla beans, homemade extract, vanilla bean paste, vanilla bean powder, and more!
This “boring” flavor is truly anything but and these scones are a celebration of that slightly floral, completely cozy flavor.
We enjoy them with a cup of tea or coffee at brunch or savor them warm with some fresh berries as a simple dessert. You really can’t go wrong!
Love everything vanilla? Try these Vanilla Muffins with a crunchy crumb topping. They use the same glaze, too!
Why you’ll love this Vanilla Bean Scone Recipe
- Ready in just 30 minutes
- Loaded with real vanilla flavor in both the dough and the glaze
- Tastes just like coffee shop scones
- Inexpensive yet indulgent
- Makes about 8 scones – just enough for brunch or gatherings
- Lovely for brunch, Mother’s Day, or afternoon tea
Ingredients
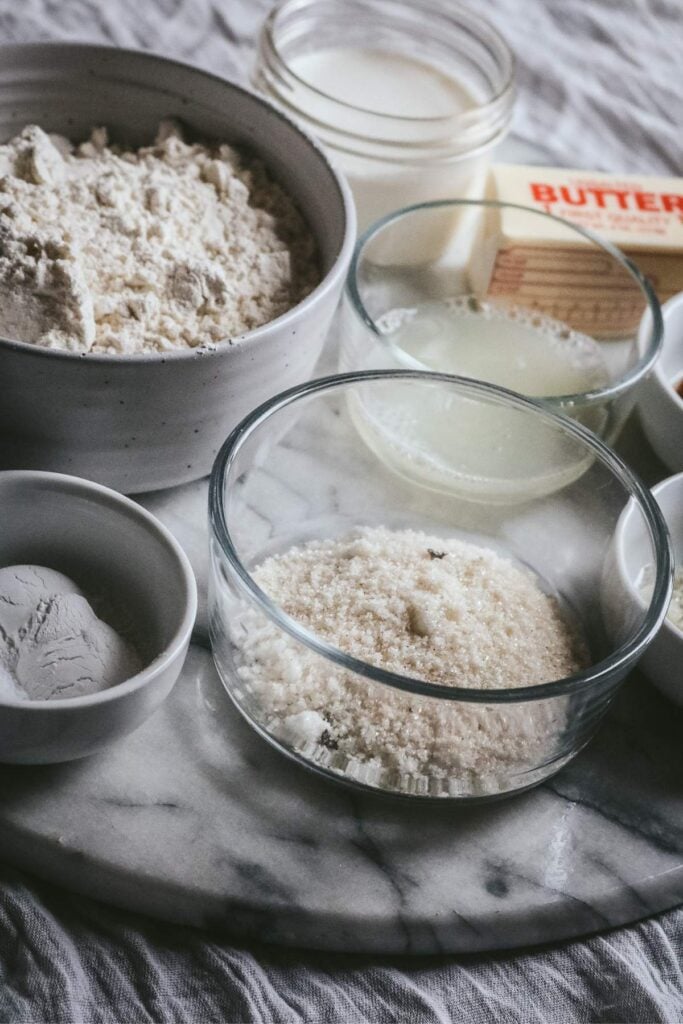
For the scones
- All purpose flour – Easy and reliable. For softer scones, try cake flour.
- Sugar – For just enough sweetness. I often like to use vanilla sugar for a little more of that vanilla flavor.
- Baking powder
- Kosher salt
- Unsalted butter – Must be very cold, if not frozen. This is key for tall, flaky layers!
- Vanilla bean paste or vanilla extract – These ingredients are interchangeable and both add a really nice vanilla flavor.
- Heavy cream (or buttermilk) – For the softest scones, stick with heavy cream. The higher fat content makes dessert-like cream scones whereas buttermilk has more of a biscuit-like texture.
- Egg whites & vanilla sugar (optional) – To brush on before baking.
You’ll also need a batch of vanilla bean glaze, made with powdered sugar, milk or heavy cream, and a whole vanilla bean.
How to Make Vanilla Bean Scones
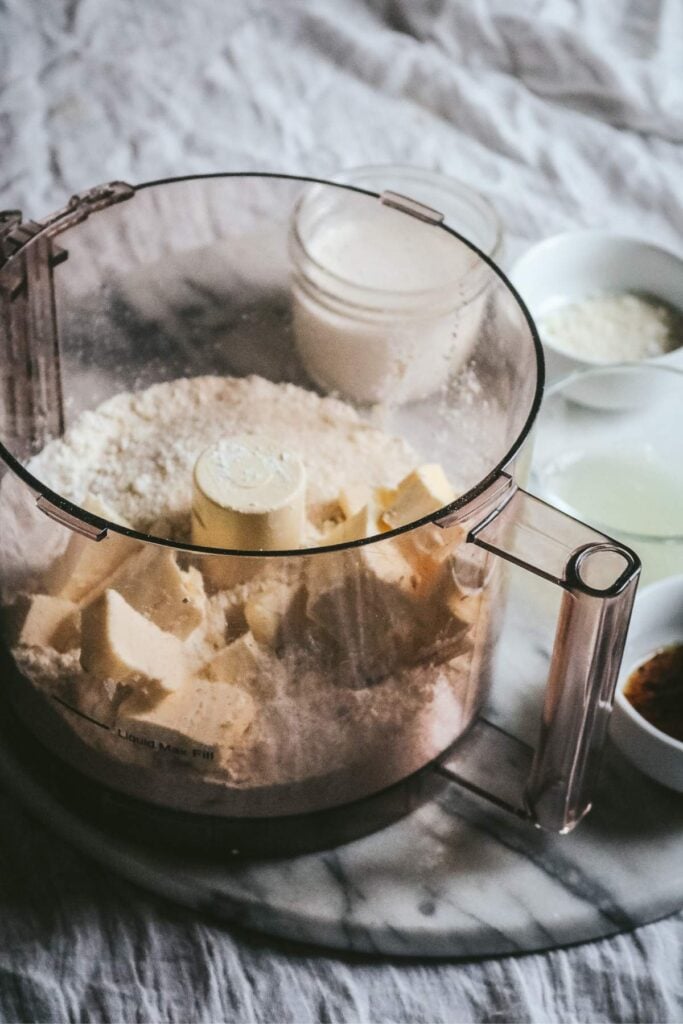
Step 1: In the bowl of a food processor, add the flour, sugar, baking powder, salt, and cubed cold butter. Blend until the butter breaks apart into small pieces and the mixture looks sandy (usually about 5 seconds).
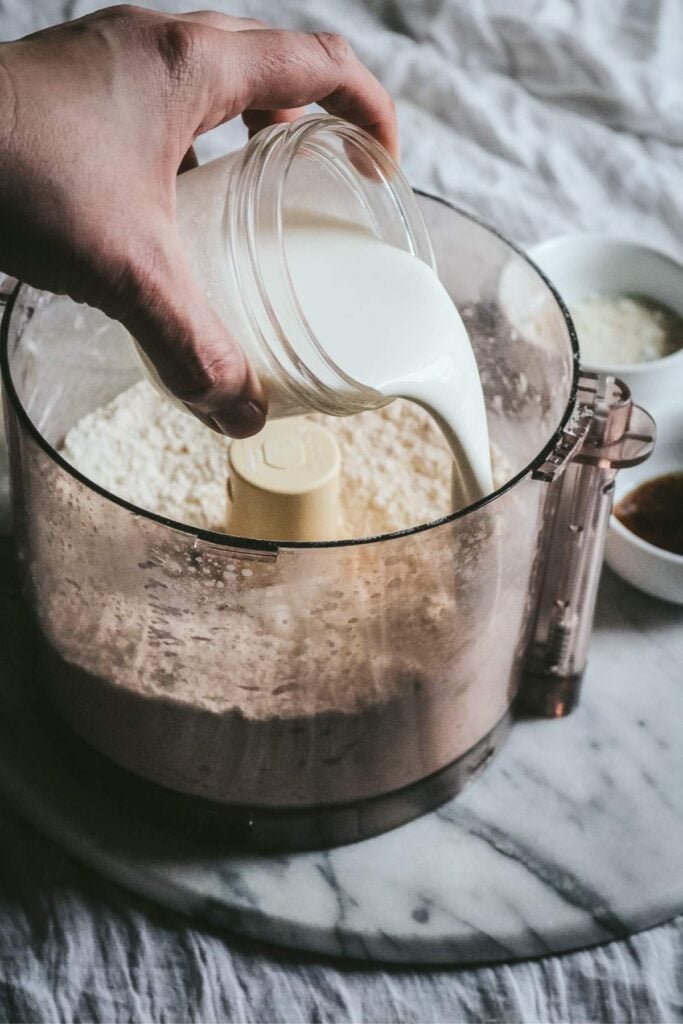
Step 2: Add the vanilla bean paste and heavy cream. Pulse until the mixture comes together and pulls off the side of the mixing bowl (usually about 5-10 pulses). Be careful not to overmix. It will look pretty crumbly and may seem like it won’t come together, but it will.
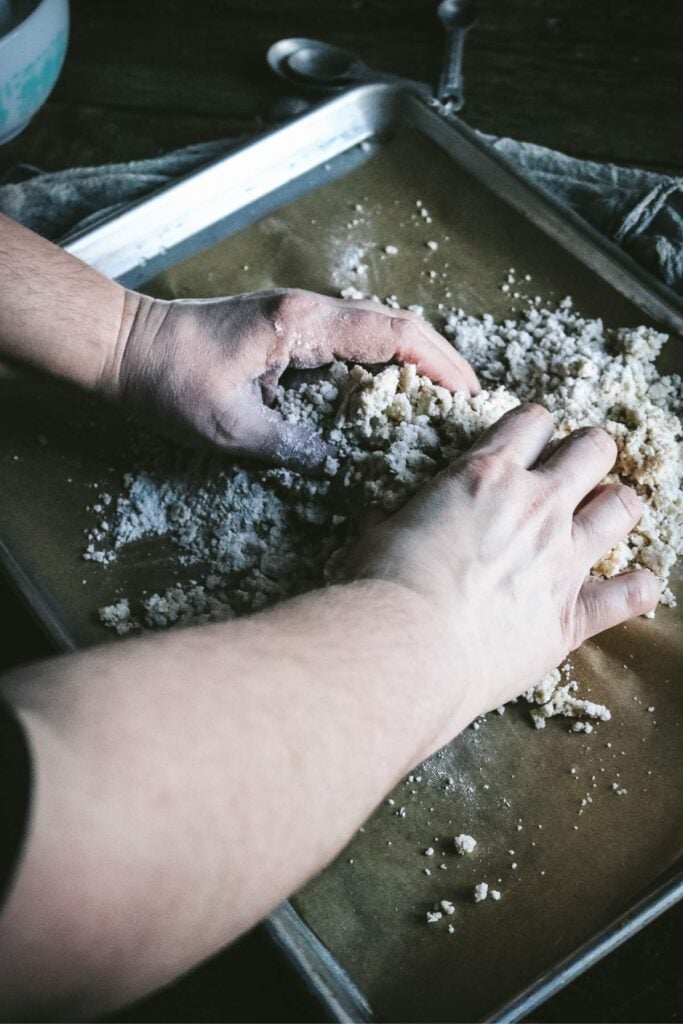
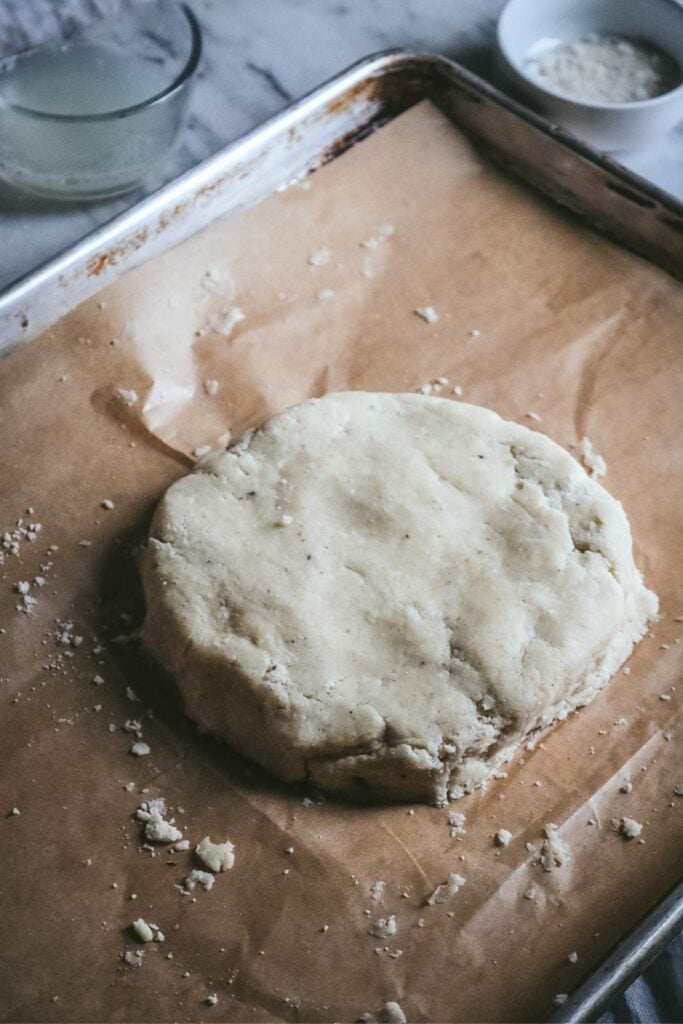
Step 3: Dump the crumbly scone dough onto the prepared baking sheet and press it into a large ball. Then, press it down with your hands until it is a large, flat circle approximately 3/4 – 1 inch tall.
Step 4: Refrigerate for 30 minutes then preheat the oven to 350 F.
Step 5: After chilling, remove the pan from the fridge and slice the round into 6-8 pieces with a sharp knife. Separate them on the tray to give room to rise.
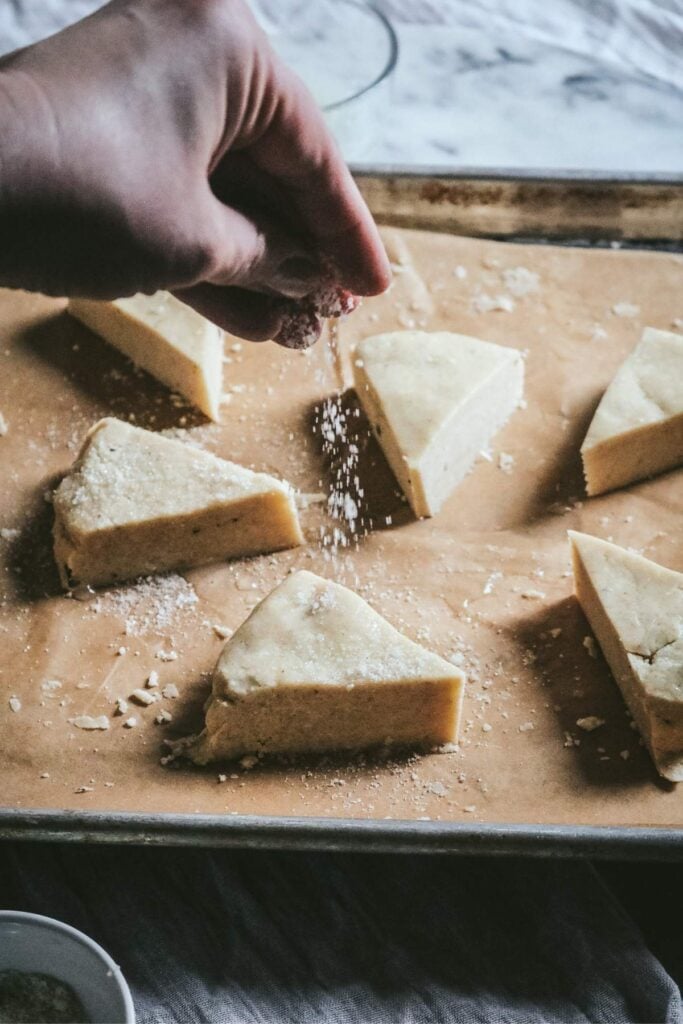
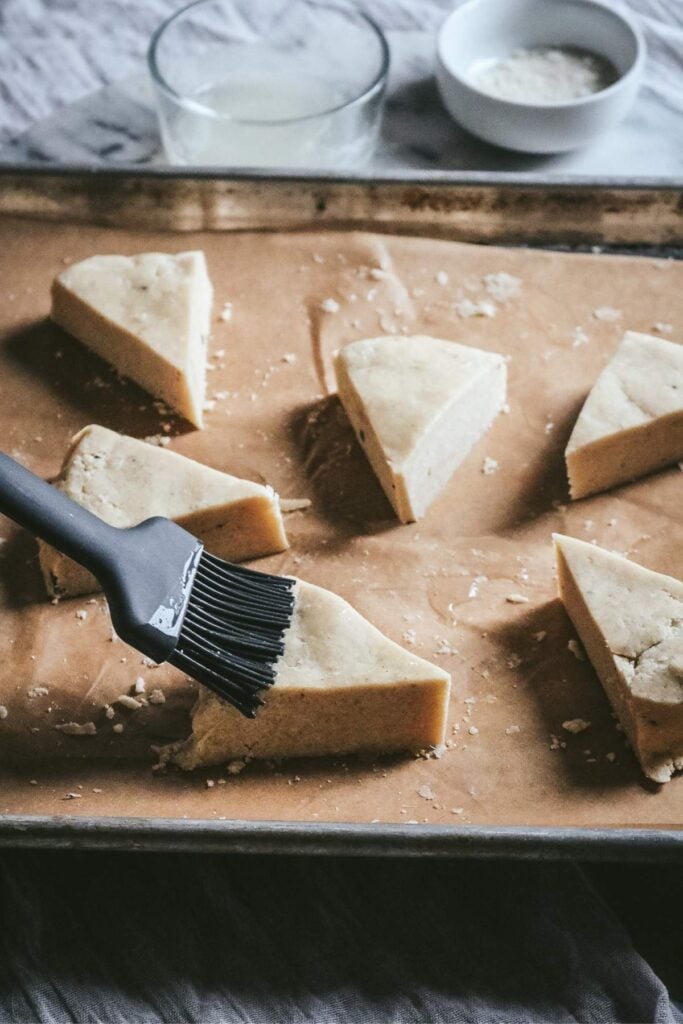
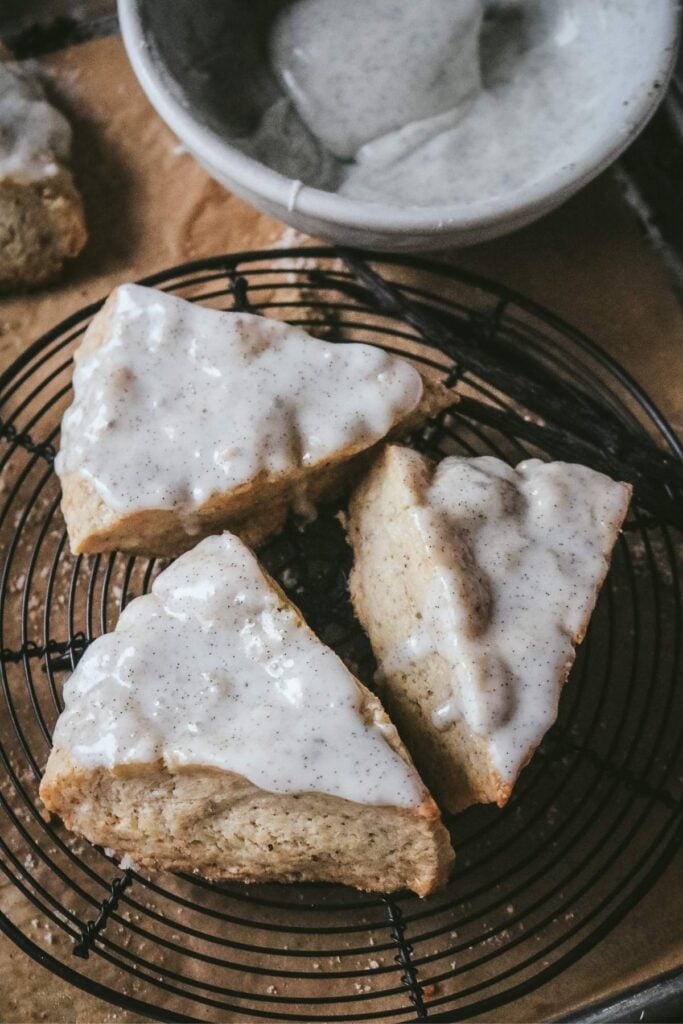
Step 6: Brush the tops of the scones with egg white and sprinkle them with a little vanilla sugar (optional). Bake for 15-18 minutes. The scones should puff up and become golden brown on the bottoms (look at that bottom edge to monitor the color).
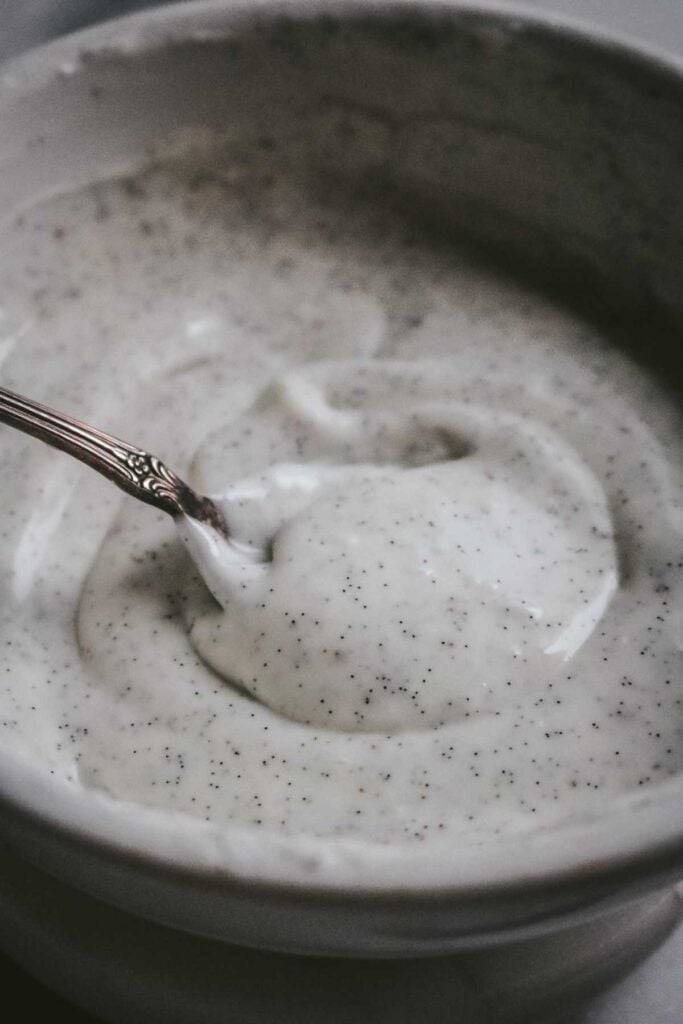
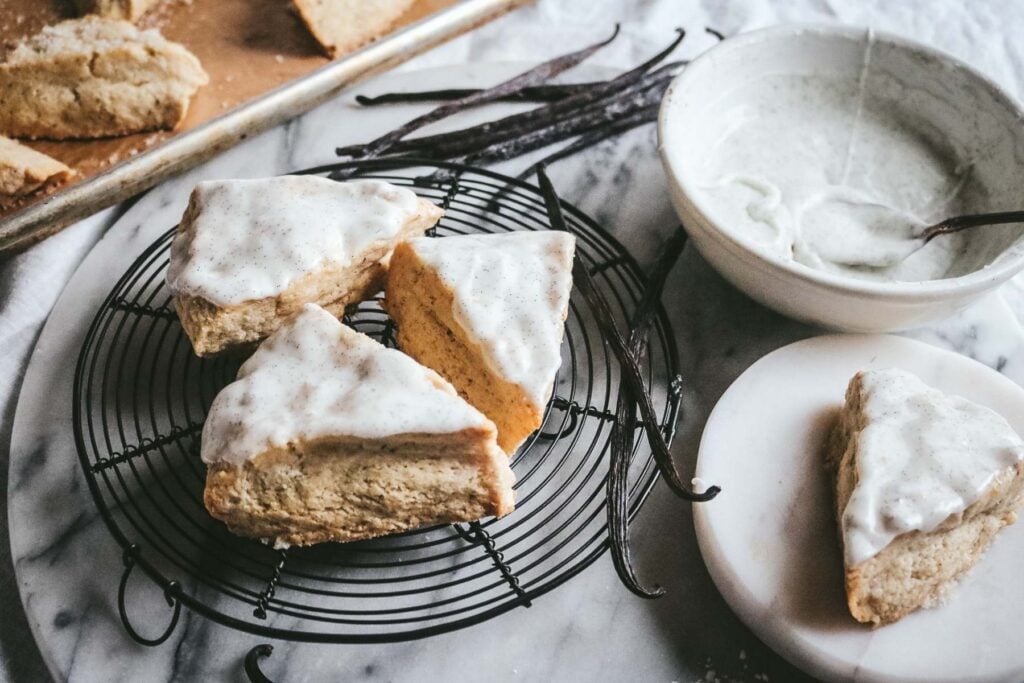
Step 7: While the scones cool, whisk together the vanilla bean glaze in a small bowl. It should be thick but if it is too thick to whisk, add a small amount of additional milk.
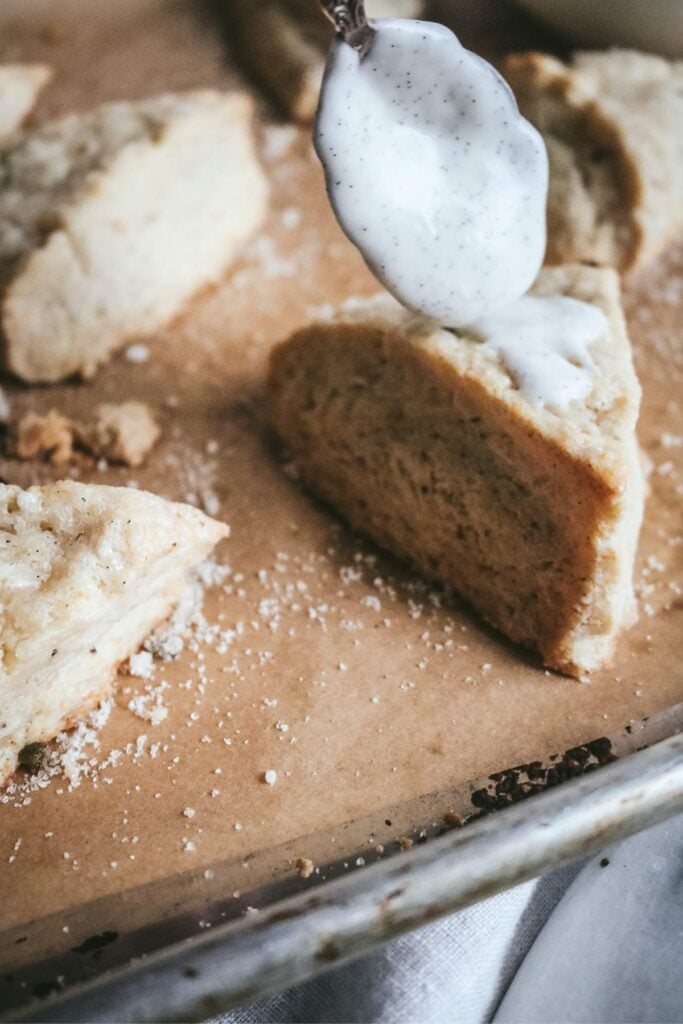
Step 8: Once the scones are close to room temperature, either dip their tops into the glaze or spoon the glaze over top. Allow them to firm up, undisturbed, on the tray until the glaze sets. Serve and enjoy!
Storing Suggestions
Let the scones cool to room temperature, then transfer to an airtight container and eat within 1-2 days for the best texture and flavor.
You can also freeze the unbaked dough for later, thaw it in the fridge, and bake like normal for easy vanilla scones any time. So handy!

Tips & Variations
Make them by hand. Use a pastry cutter to blend cold butter into the dry ingredients until sandy, then stir in wet ingredients. You may need up to ¼ cup extra cream for moisture.
Change the shape. Feel free to cut the dough into smaller triangles, square shapes, or use a biscuit cutter. Adjust the baking time to avoid burning. Remove when the crust looks golden brown on the bottom.
How to Serve
These scones shine on their own but pair beautifully with coffee or tea. Serve as part of a brunch spread or cut into mini scones for parties.
We also love them with berries and whipped cream for a quick twist on strawberry shortcake.
FAQs
The strongest flavor comes from a high quality vanilla extract or vanilla bean paste, but that can affect the final color of your bake. I like to use either one of those (ideally a double-fold, if you’re using extract) in the scone dough.
Then, top with a vanilla bean glaze made with real vanilla bean for those classic black vanilla bean specks. You’ll get layer after layer of vanilla flavor in every bite!
More Scone Recipes
If you made this recipe, please leave a comment or ask a question below! I’d love to hear what you think or troubleshoot any issues.
Get my FREE Homestead Kitchen Supply List to make it easier than ever to cook and bake from scratch.
Want more seasonal recipes? Subscribe for email updates or follow Milk Glass Home & Kitchen on social media. Join my Facebook Group Seasonal Slow Living to become part of the community!
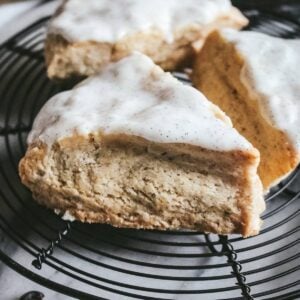
Glazed Vanilla Bean Scones
Equipment
- half sheet pan
- Parchment paper
Ingredients
For the scones
- 2 cups all purpose flour
- 2 tsp baking powder
- 1/2 tsp kosher salt
- 1/3 cup vanilla sugar, or regular white sugar
- 4 oz unsalted butter, cold, cut into small cubes (one stick)
- 1/2 cup heavy cream, very cold
- 1 tbsp vanilla bean paste
For egg wash
- 2 tsp egg whites
- 1 tsp water
- 2 tsp vanilla sugar, or regular sugar
For the glaze
- 1/2 cup powdered sugar
- 1 Tbs milk
- 1/2 whole vanilla bean
Instructions
Make the dough
- Line a baking sheet with parchment paper.
- In the bowl of a food processor, add the flour, sugar, baking powder, salt, and cubed cold butter. Blend until the butter breaks apart into small pieces and the mixture looks sandy (usually about 5 seconds).2 cups all purpose flour, 2 tsp baking powder, 1/2 tsp kosher salt, 1/3 cup vanilla sugar, 4 oz unsalted butter
- Add the vanilla bean paste and heavy cream. Pulse until the mixture comes together and pulls off the side of the mixing bowl (usually about 5-10 pulses). Be careful not to overmix. It will look pretty crumbly and may seem like it won’t come together, but it will.1/2 cup heavy cream, 1 tbsp vanilla bean paste
- Dump the crumbly scone dough onto the prepared baking sheet and press it into a large ball. Then, press it down with your hands until it is a large, flat circle approximately 3/4 – 1 inch tall.
- Refrigerate for 30 minutes then preheat the oven to 375 F.
Shape and bake
- After chilling, remove the pan from the fridge and slice the round into 6-8 pieces with a sharp knife. Separate them on the tray to give room to rise.
- Whisk together an egg wash with the egg whites and water. Brush the tops of the scones with egg wash and sprinkle them with a little vanilla sugar (optional).2 tsp egg whites, 1 tsp water, 2 tsp vanilla sugar
- Bake for 15-18 minutes. The scones should puff up and become golden brown on the bottoms (look at that bottom edge to monitor the color). They will still be a little soft when you remove them from the oven, but they’ll firm up as they sit.
Glaze and serve
- While the scones cool, whisk together the powdered sugar, milk and vanilla bean caviar in a small bowl to prepare the glaze. It should be thick but if it is too thick to whisk, add a small amount of additional milk.1/2 cup powdered sugar, 1 Tbs milk, 1/2 whole vanilla bean
- Once the scones are close to room temperature, either dip their tops into the glaze or spoon the glaze over top. Allow them to firm up, undisturbed, on the tray until the glaze sets. (For less mess, feel free to put them on a cooling rack, situate it over the sheet pan, and then glaze to let the excess glaze drip off.)
- Serve with a hot cup of coffee and enjoy!
Notes
Nutrition
Did you try this recipe?
Post a photo and tag @milkglasshome!Pin this recipe for later!