This post may contains affiliate links. We may earn a commission, at no additional cost to you, if you make a purchase via our links. See our disclosure for more information.
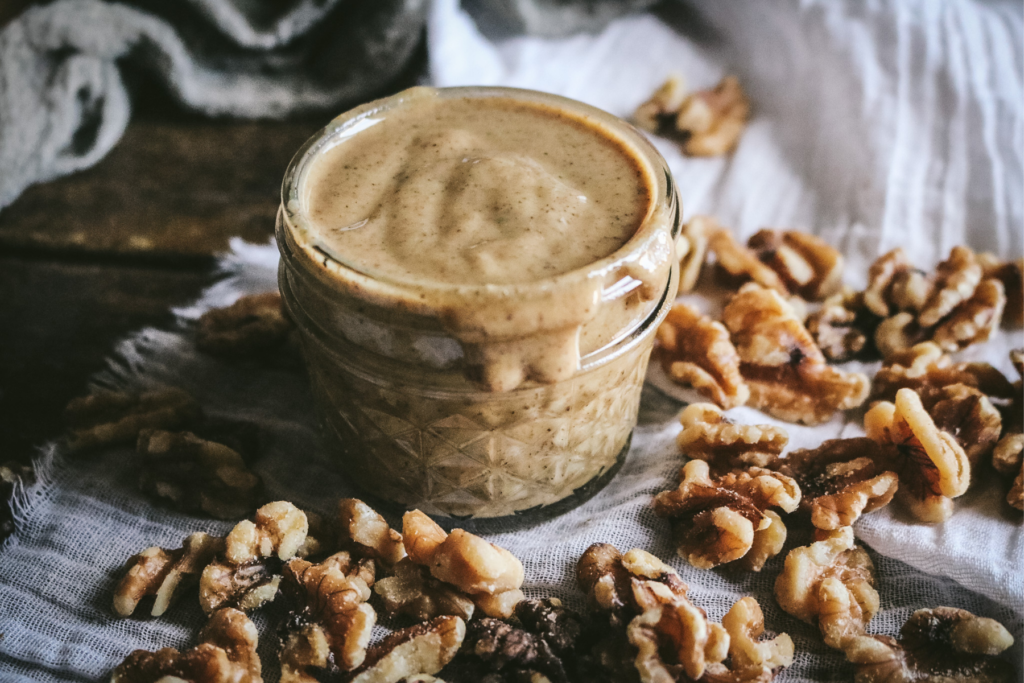
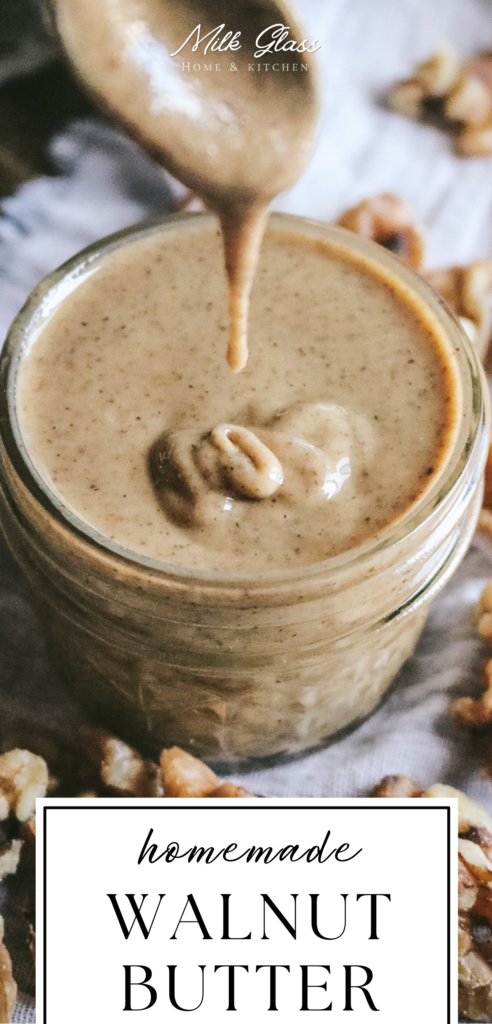
Walnut butter is hard to find in grocery stores and very expensive! Fortunately, it’s extremely simple to make at home and makes it easier (and more affordable) than ever to slather your morning toast with creamy walnut butter.

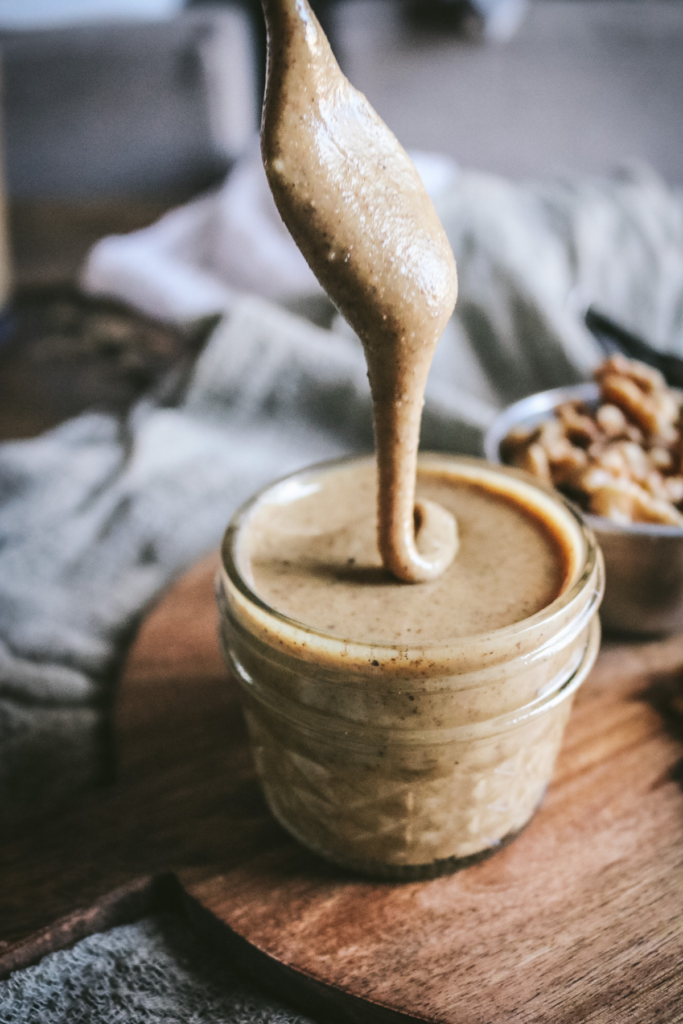
Making your own walnut butter at home is EASY. I don’t mean to shout, but it’s truly one of the easiest kitchen projects of all time. Simply roast the nuts to bring out their natural oils and flavor, then blend until smooth. That’s it! You can use any type of nuts, adjust the flavors, and use pretty much any sweetener you like…or none at all.
There are countless variations and options out there, but they all start with that same basic recipe. Personally, I love the flavor of walnut butter. It has a bold, rich walnut flavor that benefits from just a little sweetness to bring out the full depth of flavor.
It’s heaven spread on toast or English muffins, added to cake or cookie doughs, or spread over this smashed dates in this dark chocolate date bark. So good!
I love making my own homemade nut butter! You can really follow this recipe with any type of nut. I often make hazelnut butter, which is especially lovely with chocolate, or this sweet roasted pecan butter. I can’t pick a favorite!
Why you’ll love this walnut butter recipe
- No fancy equipment required (just a sheet pan and a food processor)
- Great way to use up a bunch of walnuts at once
- Wonderfully rich, nutty flavor
- Can be adjusted with seasonings of different sweeteners for a unique flavor profile
- Naturally shelf stable
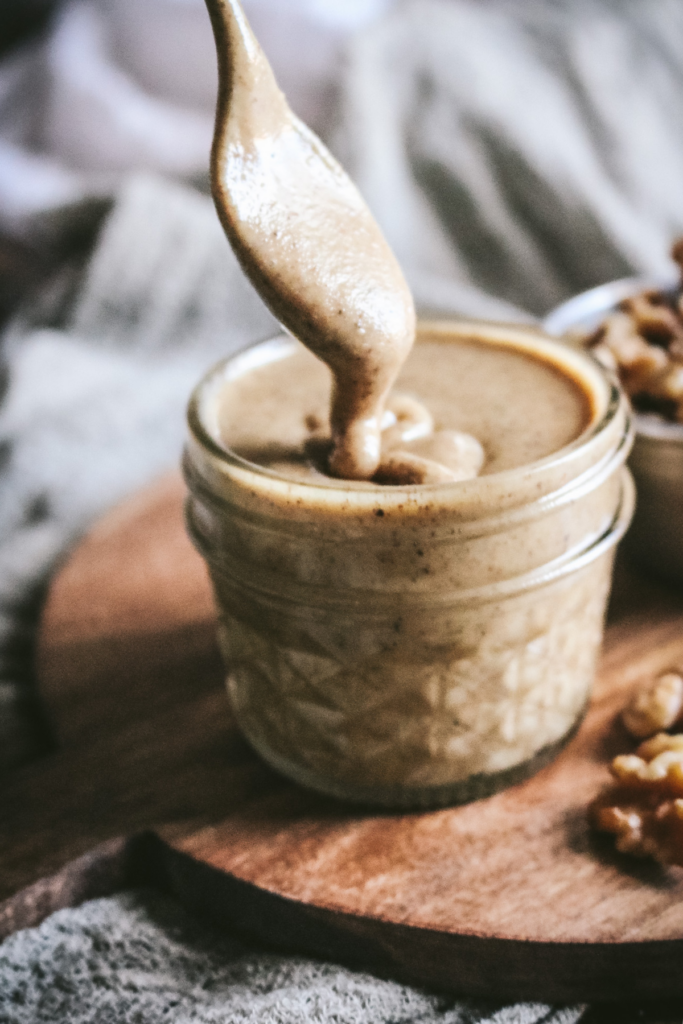
- Smooth and spreadable, perfect for pancakes and toast
- Make small batches (or large ones) depending on your needs
Ingredients
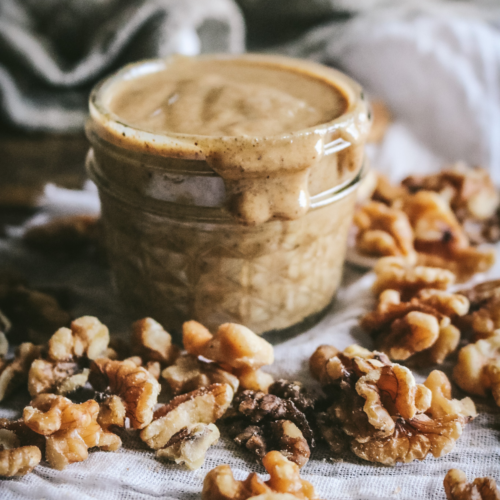
- Raw walnuts – You can use walnut halves or pieces for this recipe. I prefer to use raw nuts that haven’t been toasted before, but any type will work!
- Kosher or sea salt – A pinch of salt brings out flavor and really highlights the walnut flavor.
- Powdered sugar – This is just one option, but it’s easy and affordable and helps mellow out the slight bitter taste from the walnuts. You don’t have to add any sugar, or you can substitute honey, maple syrup, etc. Just be sure to read the storage instructions below to make sure your walnut butter is stored safely.
- Spices – I didn’t add any spices to this batch, but feel free to add cinnamon, apple pie spice, or even a little vanilla extract!
Equipment
To make your own nut butter, you’ll need:
- Rimmed baking sheet
- Parchment paper or a silicone mat
- High-speed food processor or blender
- Rubber spatula
- Glass jar for storage
How to Make Walnut Butter
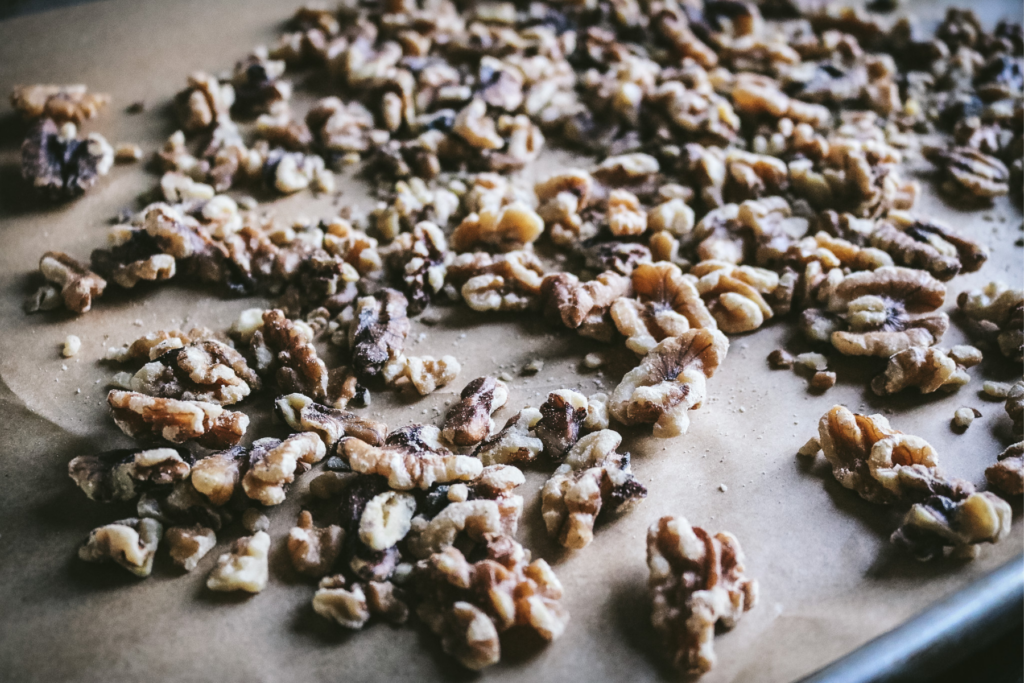
- Preheat the oven to 300F. Line a sheet pan with parchment paper and spread the walnuts in a single layer.
- Roast for 5-7 minutes just to warm up the nuts and bring out their natural flavor.
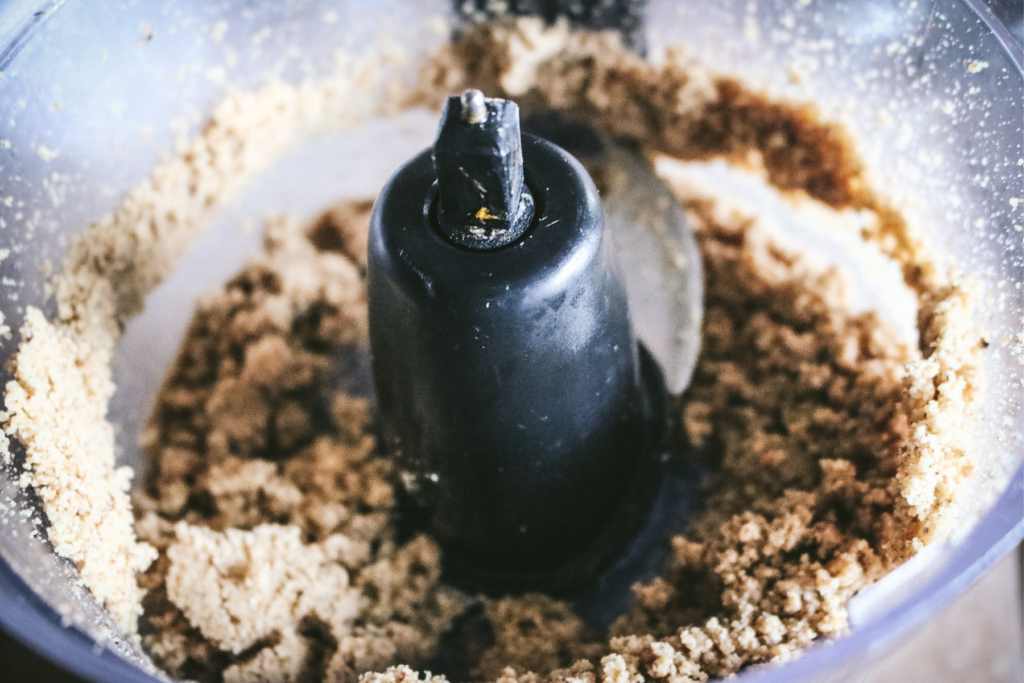
- Once roasted, remove the walnuts from the oven and transfer to the bowl of a food processor or high-speed blender.
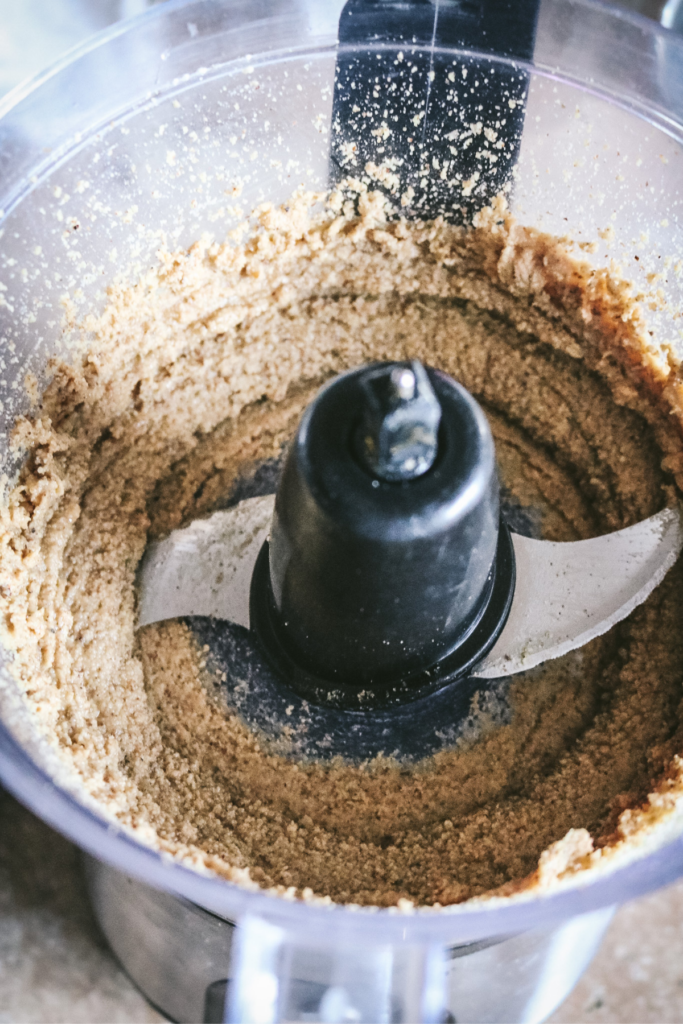
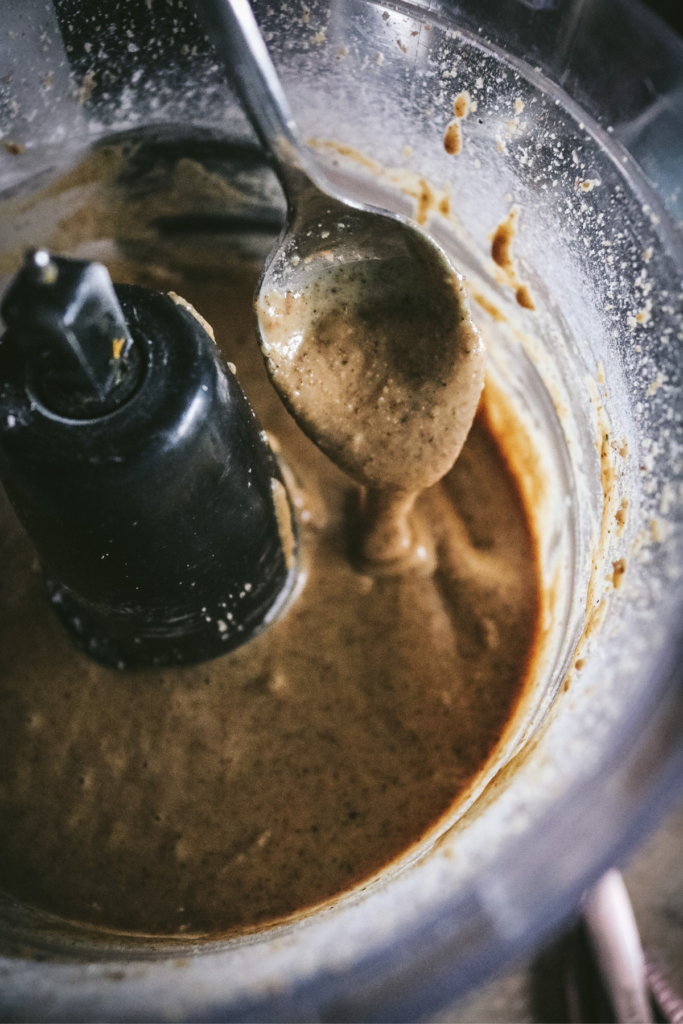
- Blend for 5-10 minutes until smooth and creamy. Stop several times to scrape down the sides and ensure even blending. Depending on the strength of your food processor, you may need to take a break halfway to let the motor rest.
- Once the mixture becomes creamy, add the powdered sugar and salt. Continue blending until smooth and creamy.
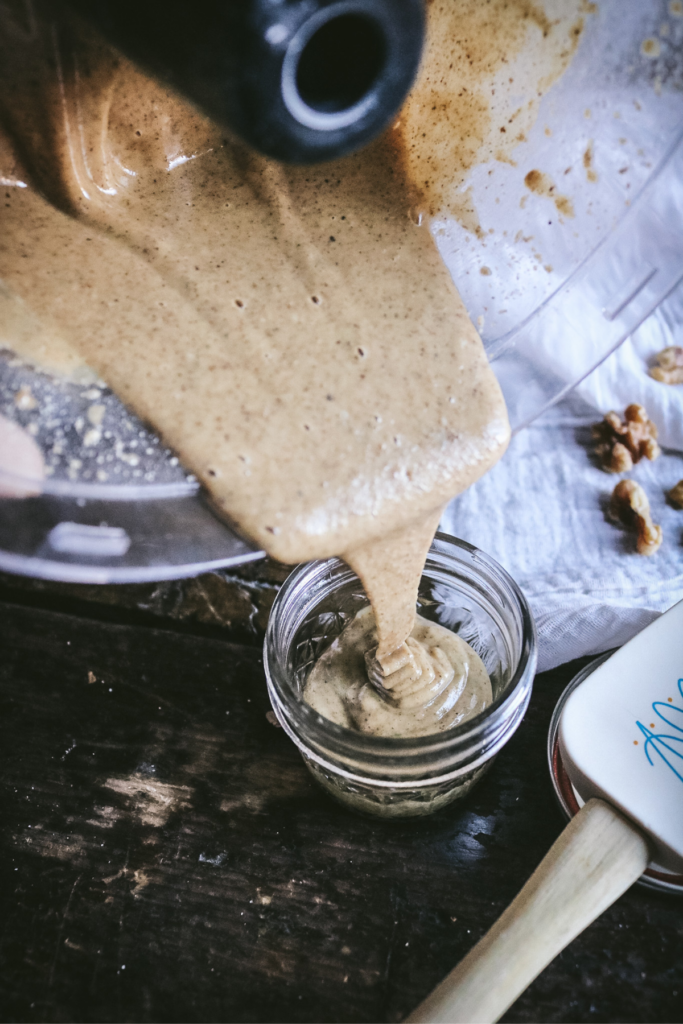
- Transfer to a glass jar or storage container and use as desired. Store at room temperature (if using sugar or honey) or in the fridge if using maple syrup.

Storing Suggestions
Nut butters can be stored at room temperature in a cool, dry place or in the fridge, depending on your preference. If refrigerated, it will be thicker and firmer than if stored at room temperature.
However, maple syrup should not be stored at room temperature, so if you sweeten your walnut butter with maple or any fresh, perishable ingredients, please store it in the fridge.
For the best flavor, plan to eat the walnut butter within 2-4 weeks.
Tips & Variations
- Mix and match different nuts. Instead of just walnuts, feel free to add several different types for a unique flavor profile. Or, you can make almond butter, cashew butter, peanut butter, etc.
- Thin it out. Prefer a thinner nut butter? Add a little coconut oil or even walnut oil to give it a looser texture.
- Play with seasonings. Feel free to add a little cinnamon, your favorite extract, or even some dark chocolate cocoa powder for a custom flavor.
- Make raw walnut butter. Instead of roasting, you can also blend the walnuts from their raw form. This won’t have quite the same flavor or creamy texture, but many people enjoy it this way.
How to Serve
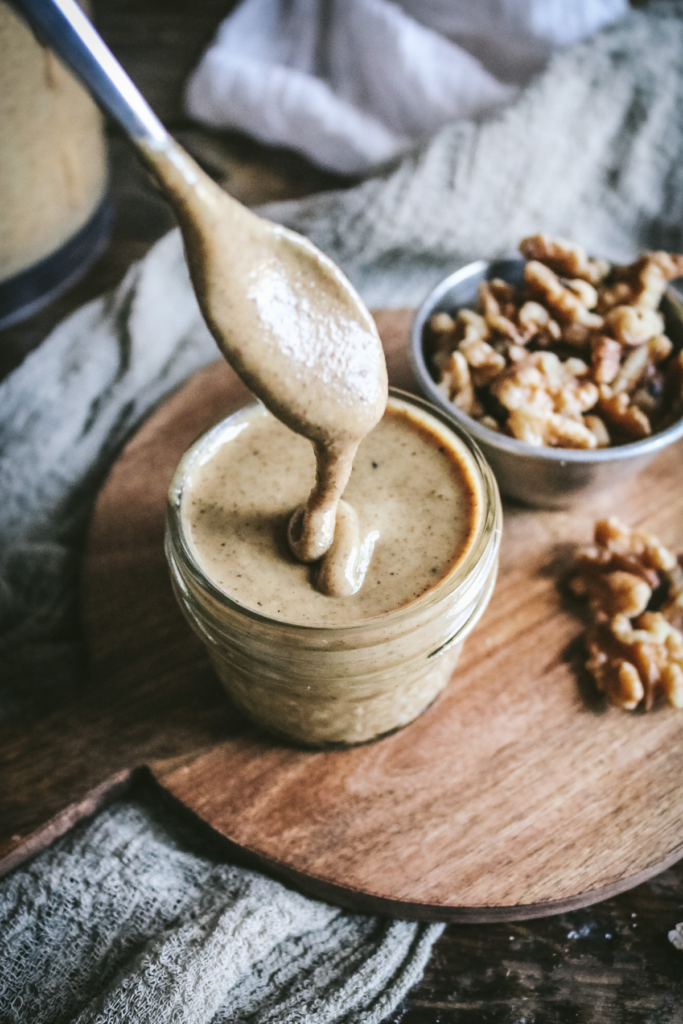
Just like your favorite creamy nut butter, this walnut butter can be used as an alternative to peanut butter in any recipe. We usually just spread it on toast or drizzle it on pancakes, but that’s really just the start.
It is thinner than conventional peanut butter, so I wouldn’t replace it in your standard peanut butter cookie dough or anything. But, it would be great to add to salad dressings, sauces, granola, marinades, dips, and more.
I especially like using it instead of hazelnuts in my hazelnut granola. Makes a great breakfast!
Related Recipes
- Hazelnut Simple Syrup
- Maple Walnut Cream Cheese
- White Chocolate Hazelnut Butter
- Air Fryer Walnuts
- Chocolate Covered Pecans
If you made this recipe, please leave a comment or ask a question below! I’d love to hear what you think or troubleshoot any issues.
Get my FREE Homestead Kitchen Supply List to make it easier than ever to cook and bake from scratch.
Want more seasonal recipes? Subscribe for email updates or follow Milk Glass Home & Kitchen on social media. Join my Facebook Group Seasonal Slow Living to become part of the community!
Walnut Butter Recipe
Equipment
- Parchment paper
- Food processor or high speed blender
- mason jar for storage
Ingredients
- 2 cups walnuts
- 1/2 tsp kosher salt
- 2 tbs powdered sugar, optional
Instructions
- Preheat the oven to 300F. Line a sheet pan with parchment paper and spread the walnuts in a single layer.
- Roast for 5-7 minutes just to warm up the nuts and bring out their natural flavor.
- Once roasted, remove the walnuts from the oven and transfer to the bowl of a food processor or high-speed blender.
- Blend for 5-10 minutes until smooth and creamy. Stop several times to scrape down the sides and ensure even blending. Depending on the strength of your food processor, you may need to take a break halfway to let the motor rest.
- Once the mixture becomes creamy, add the powdered sugar and salt. Continue blending until smooth and creamy.
- Transfer to a glass jar or storage container and use as desired. Store at room temperature (if using sugar or honey) or in the fridge if using maple syrup.
Notes
Did you try this recipe?
Post a photo and tag @milkglasshome!Pin this recipe for later!


This was so easy to whip up, and the flavor is rich and nutty with the best smell!
Absolutely! Homemade nut butters are so good. I’m glad you enjoyed it! Thanks for the comment. 🙂