This post may contains affiliate links. We may earn a commission, at no additional cost to you, if you make a purchase via our links. See our disclosure for more information.
You probably know about kombucha, but what is water kefir? Why are their grains (that don’t look like grains)? How does water kefir become a fruit soda? I’ll walk you through everything you need to know and teach you how to make water kefir in no time!

What is water kefir?
Water kefir is a cultured, probiotic beverage. It starts from what we call “grains,” which look like this. These grains are actually a natural mix of yeast and bacteria.
When water kefir grains are placed in sugar water, they eat the sugar and release gas into the water, making it fizzy! They also give off some of their natural bacteria, making this is a low-sugar, probiotic, fizzy drink!
Water kefir vs. milk kefir
Maybe you’ve heard of milk kefir and are wondering how they are similar or different.
Milk kefir is similar, but different, and the grains are not interchangeable. In milk kefir, you add kefir grains to milk and allow it to culture on the counter.

With water kefir grains, you add the grains to sugar water and and also let it culture on the counter.
Both introduce beneficial yeast and bacteria into the liquids, but these are two different types of grains. If you try to use the grains in a different liquid than intended, they may not survive.
If you want to ferment both water and milk kefir, I recommend buying separate grains.

Want some help with this process? I created a free printable guide for water kefir beginners. This is my gift to you! This guide is included in my free resource library along with my other free printables. Simply subscribe below to get all my freebies in one spot!
Where to Buy Water Kefir Grains
Although the grains contain natural yeast and bacteria, you cannot make them on your own. You need a set of starter grains!
The best way to find these is to search online. You can even buy them on Amazon!
Wait, is this like kombucha?
Water Kefir vs Kombucha
Kombucha and water kefir are both slightly sweet, fermented, probiotic beverages cultured with a natural blend of yeast and bacteria, but they are NOT the same thing!
Kombucha is fermented with a mother, which looks like a giant gelatinous disc. You can actually create your own kombucha mother using store bought kombucha! This drink takes several weeks to ferment a batch and has a slightly tangy, vinegary flavor.
Water kefir is also cultured with grains, not a mother like kombucha. It’s also sweet and fizzy with no acidic, vinegary flavor whatsoever! It also ferments very quickly. From start to finish, I have kefir ready to drink in 2 days during the summer! In cooler months, it may take closer to 3 days for a complete batch. That’s VERY fast in the world of cultured foods!
Water Kefir Benefits
So far, I’ve created two sourdough starters in my life, cultured milk kefir, fermented a variety of cabbages for krauts, cultured lots of yogurt, and made water kefir.
Water kefir is the FASTEST, easiest, and most rewarding culture I’ve ever made. Why?
Water kefir is like a natural, probiotic, lower-sugar soda!
It is an incredibly easy way to populate your gut with good bacteria and it’s light and refreshing. And if you want to start getting your kids to consume cultured foods? You’ll have a way easier time with a soda swap like this than sauerkraut!
Making Water Kefir
These are the ingredients you need for water kefir. These proportions are important! You can double, triple, or quadruple this recipe if you follow the same measurements.
- 1 quart of water
- 1/4 cup of brown sugar
- 1/4 cup of water kefir grains
- 5-6 raisins (total per batch; optional, but recommended)
I always recommend starting off small with one batch. Especially if you purchased dehydrated water kefir grains or just received an order online, your grains may need some time to recuperate. You can cycle them through this solution a few time, discarding the extra liquid, until they’re happy eaters again!
Water Kefir Jars
I will say that I did buy specific containers for fermenting water kefir. I didn’t at first. Actually, I started by treating water kefir grains like kombucha. I put it in a big jar and covered it with a tea towel. It was cute, but totally unnecessary!

Water kefir is an anaerobic ferment, which means it does NOT need oxygen to survive. I was also making a bunch of kraut at the time, so I ordered some Fido jars from Target. These glass jars have a rubber seal under the lid which allows air to leave the jar without allowing more air in. They are excellent for anaerobic ferments, like water kefir and sauerkraut!
I use a gallon Fido jar like the one above for my first ferment. Then, I strain the water kefir into swing-top glass bottles for the second ferment.
I tried using a variety of containers – old honey jars, mason jars, etc.
First Ferment Water Kefir Jars
After a few weeks, I decided not to bother with mason jars anymore for this process. Mason jars are totally fine for the first ferment! This is the stage where the grains are actively culturing the sugar water and you are not trying to make the drink fizzy yet.
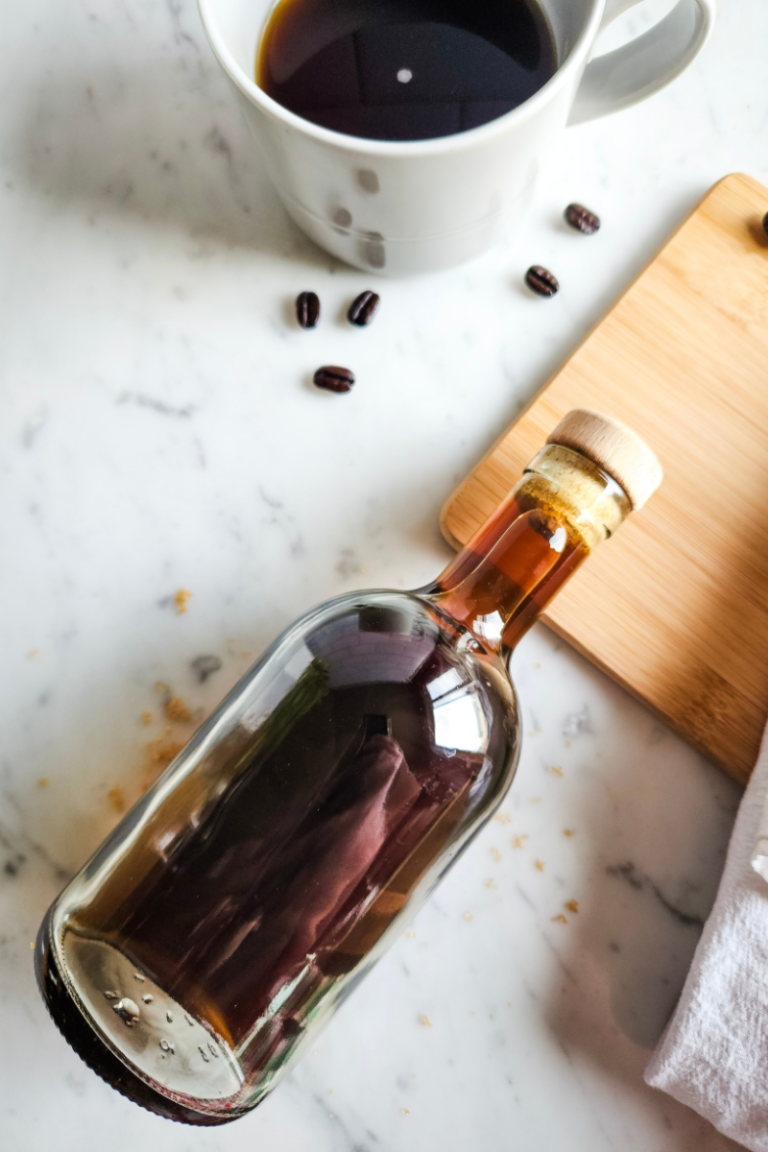
Water Kefir Second Ferment Bottles
During the second ferment, you take the water the water kefir grains were sitting in and let it build pressure for a fizzy drink. The mason jars never built enough fizz – they were always just slightly fizzy and it took forever.
The best bottles for the second ferment are swing-top, Grolsch-style bottles like the narrow one pictured above. I ordered these ones by Bormioli Rocco that hold pressure really well. Since the air stays trapped in so well, the water kefir ferments faster and more consistently. My only suggestion? Get good quality bottles that can withstand pressure!
Water Kefir Ferment Phases
Still a little confused about these phases and ferments? I get it! I’d heard about water kefir years ago, but didn’t understand what all these fermentation phases were and was sure I’d mess it up.
Now, I laugh at that idea because water kefir is THE EASIEST CULTURE EVER.
Water Kefir First Ferment
In this stage, you mix the basic ratio of ingredients in a large mason jar or Fido jar. You let the grains culture the sugar water for 1-2 days. This is NOT a stage to build bubbles, although you will and should see some small bubbles floating to the top when you open your jar. If you taste the solution, it should be slightly sweet and you should feel some bubbles on your tongue.
Never leave water kefir grains in the first ferment stage for longer than 3 days or they can start to break down. If you need a break, refrigerate your grains! I’ll tell you more about this below.
I always add raisins to my first ferment for added minerals and because once the raisins float, I know my first ferment is done!
Water Kefir Second Fermentation
Once the water kefir grains start to reproduce in the sugar water from the first ferment, you have enough yeast and bacteria in the solution to start the next stage.
For this part, you need to remove the water kefir grains from the water. I use this by placing a nylon strainer (important: water kefir grains do not like metal!) over a glass pitcher. I carefully pour the water through the strainer, disposing of any raisins.

You can see above that I didn’t have a glass pitcher, so I used my Chemex base! I was also still experimenting with mason jars for my second ferment. That lemon batch was awful! Use swing-top bottles only!
The strainer will start to fill with water kefir grains. Set those to the side for now. You can either start a new batch of water kefir following the same steps as the first batch or you can put them to bed. I’ll tell you how to do that in a moment.
Once your water kefir solution has been separated from the grains, pour it into your swing-top bottles. Leave 1-2 inches of head space for pressure to build up. Remember: you want fizzy kefir! That means the carbonation gas needs somewhere to go.
Can water kefir explode?
Word of advice here. Your little yeasty friends are producing a lot of carbon dioxide as they digest the sugars. This can build up a lot of pressure and if you don’t release it then, yes, your bottles can explode.
Don’t let this freak you out! It happened to us (and it was awful), but here’s how to avoid this:
- Burp at least once daily, up to 2-3 times in the summer
- Store the bottles in a box or closed container
- Once your jars are fully fermented, burp them again and stick them in the fridge to slow down the gas build-up
Water Kefir Flavors
Learn how to flavor your water kefir with any flavor you’d like!
Add 1/4c – 1/3c fresh, dried, or frozen fruit to each bottle for additional flavor.
We often have frozen berries from local farms in my freezer. I add them to my bottles still frozen!
We also tried fresh and dried mango. The dried, sweetened mango from Costco is heavenly in water kefir!
Frozen pineapple and fresh ginger both make INTENSE pressure! If you like really refreshing flavors and lots of bubbles, definitely try adding pineapple or ginger!
Honestly, many of my batches are simply blueberry because the blueberries are so easy to shake into the bottles. Lazy, I know, but we also love blueberries…
Once you’ve added the fruit, close the bottle and leave it on the counter for 1-2 days until the water kefir is really fizzy! In the summer, this could take as little as 1 day.

Right: My grains that “sleep” in sugar water in the fridge
Water Kefir Sugar Content
So, I really want to know exactly how much sugar is in my kefir. Without buying specific scientific equipment, I don’t have much to go on. I even googled the carbohydrate count for the kefir companies that sell in stores, they usually say the carbohydrate count is really low.
Kevita reports about 20g carbohydrates in one bottle of their Lemon Ginger probiotic drink.
I did a little more digging and read a few different things. Essentially, if you can taste any sweetness, there is some sugar. I was drinking my kefir somewhat sweet early on and then decided to push my second ferment a little longer to let the bacteria eat more of the sugar. When I do a 2-day second ferment, my kefir is just a little bit sweet and that’s good enough for me.
If you are sensitive to sugar and find that water kefir gives you side effects of consuming sugar, you can try pushing your second ferment a little longer.
Taking a Break from Water Kefir
When I first started making water kefir, I was nervous about taking a break! What if I messed it up and my grains died? What if I get out of the routine and never make it again?!
When I say “taking a break,” I’m specifically talking about refrigerating your grains and not creating a new culture.
How to store water kefir grains in the fridge
- Take the grains I strained out from finishing my first ferment.
- Put the grains in a clean wide-mouth pint canning jar.
- Add a large, heaping spoonful of brown sugar (probably about 1/4 c or a little more).
- Cover with cool tap water.
- Close the jar.
- Store in the fridge.
I treat my water kefir a little like my sourdough starter. I try to refresh them at least every two weeks.

How to split water kefir grains to give away
Instead of a pint jar, use a smaller half pint or even smaller mini jam jar! I add 1/4 c of grains, just enough for my basic recipe, add a spoonful of sugar, cover with water, and pass them on!
There is so much more we can talk about with water kefir, and I’ll be posting about it more in the future. When I first started sharing my extra water kefir grains, I created a little printable guide I included with each jar. I want to share that custom guide with you today!
Get the water kefir cheat sheet I give to my friends!
Excited to start fermenting water kefir?
My free water kefir guide is available in my free resources library!
It’s great to have on hand for those basic water kefir questions.
I walk you through the first and second ferment process with some helpful hints. It’s my gift to you and my hope that you’ll have lots of wonderfully fizzy probiotics in the future!

Do you have any questions about making water kefir?
Ask away in the comments! I’m always happy to help.
Linking to:


Very informative, thanks for sharing..
Of course! Thanks for visiting!
What great info! Thank you for clarifying some points I was confused on
Thanks for your feedback, Estelle! I’m so glad this was useful!
I learnt so much reading your post – thank you! I actually hadn’t heard of water kefir before (just milk kefir) so I was fascinated to learn more, and I am curious to try it!
Alexandra, I’m glad to hear that! Water kefir is way less messy and stressful than milk kefir. It’s really an incredibly easy ferment. You can always try some with water kefir sold in grocery stores and then buy grains so you get hooked like I did!
I just started watering kefir, what is surprising to me is that no one is talking about the alcohol content they have or can get the longer you ferment. I just watched a bunch of videos and everybody is like what a great soda for kids etc but small kids shouldn’t actually be drinking this…
I wish this would be more talked about. I started this because of my small kids and now they cant even enjoy it.
Your blog post is very informative. I’ll safe it for later. Thank you.
I certainly didn’t know the difference between milk and water kefir. And the tip on the floating raisins is really good. Thank you for sharing.
It’s so interesting, isn’t it? The raisin tip makes this whole first fermentation so easy. Thanks so much for visiting!
Whow. Who knew? Thanks for such an informative post.
I have never heard of water kefir until reading this post. This was enlightening to read!
I’m so glad this was helpful! There are so many types of fermented foods. Thanks for visiting! 🙂
I have never heard of water kefir until reading this post. This was enlightening to read!
I used to love drinking milk kefir as a child, never knew water kefir existed. Thank u for all the information
Oh, I love that! I bet you have fond memories. Water kefir is shockingly different, but a really lovely product. Thanks for visiting!
Hi,
I hopped over from Homstead Blog Hop and I’m glad I did. Thanks for sharing this valuable post on making water kefir. I have not made this before. I love fermented foods so this article was very helpful.
This is a great tutorial for water Kefir, looks wonderful! Hope you are having a good week and thanks so much for sharing with us at Full Plate Thursday!
Miz Helen
Thanks so much for stopping by! Happy to share. 🙂