This post may contains affiliate links. We may earn a commission, at no additional cost to you, if you make a purchase via our links. See our disclosure for more information.
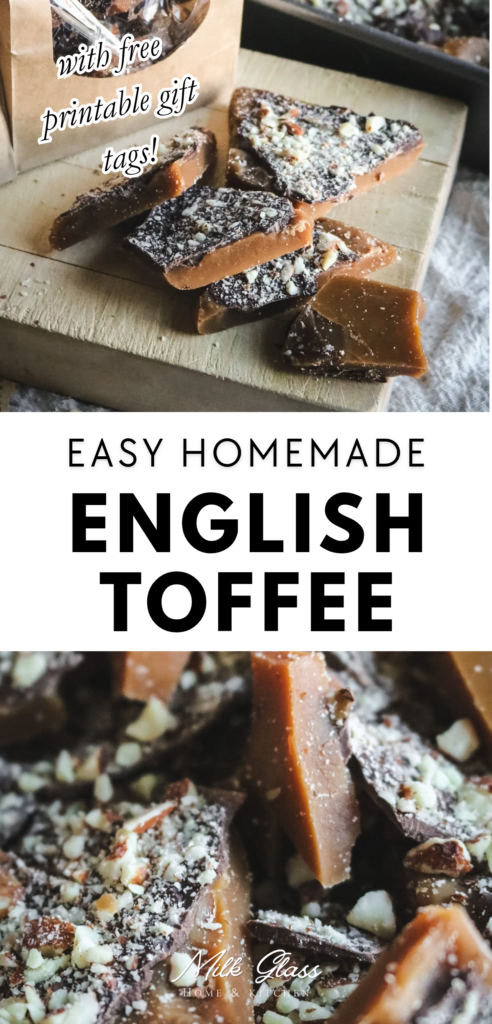
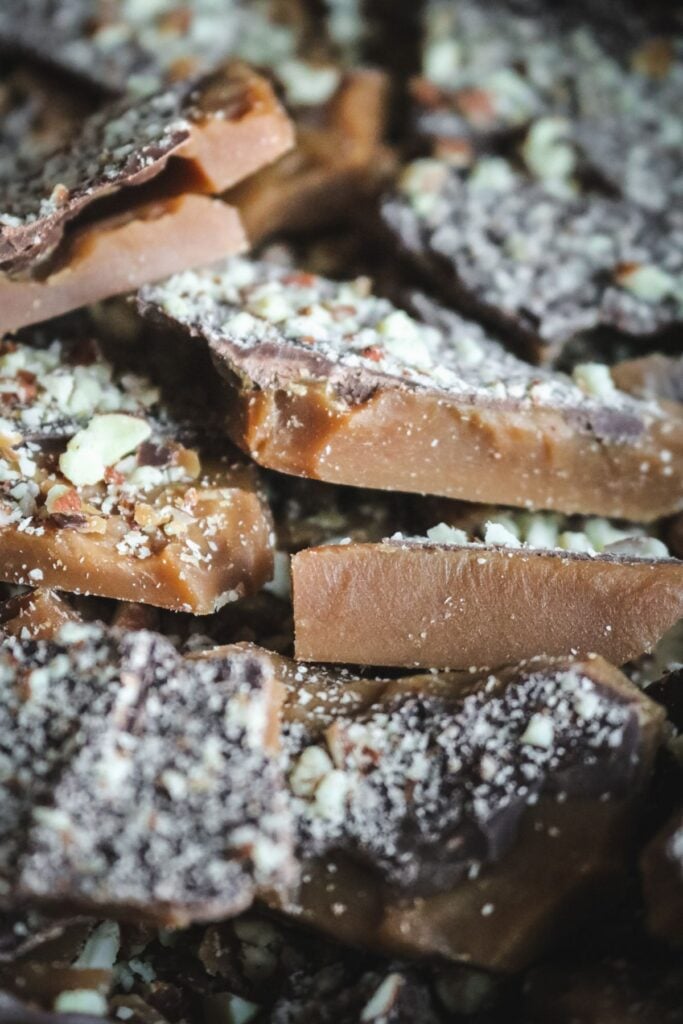
Homemade English toffee is the pinnacle of homemade gifting. The buttery toffee shatters and melts in your mouth, and is peak nostalgia and deliciousness. Follow my detailed photo tutorial to nail it every time and grab the free printable labels for gifting!
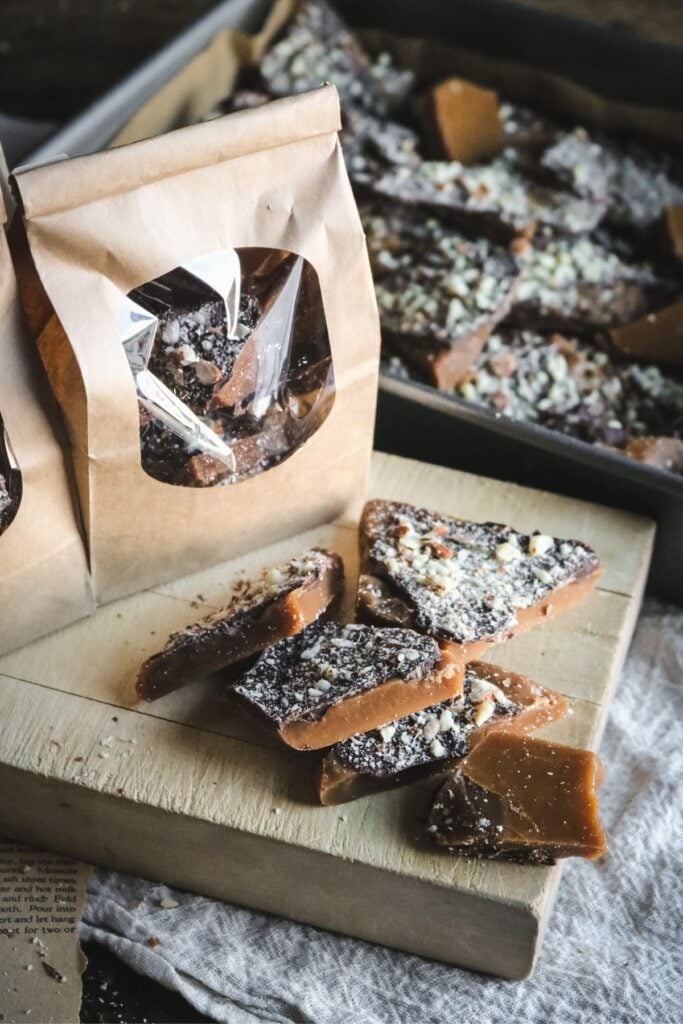
I don’t know where I got this idea, but I have always had this very specific understanding that homemade toffee is the BEST homemade holiday gift. I imagine we must have received tins of homemade toffee as a kid, which planted that seed.
Since then, I’ve aspired to be the kind of person who makes and gives the best toffee, but was intimidated by the process. Surely, it had to be terribly difficult, right?
The whole process is so much simpler than you’d expect, so much fun (at least to me), and the toffee tastes exactly how you remember.
And you know how toffee normally costs a fortune? One batch big enough for a 9×13 pan takes a pound of butter and two cups of sugar (plus the cost of a cup of chocolate chips and half a cup of nuts, if you want). It is way more affordable than buying toffee at the store, and considerably more fun as well.
If you love sharing recipes from your kitchen around the holidays, check out my mega list of 60+ homemade Christmas gift ideas for plenty more inspiration.
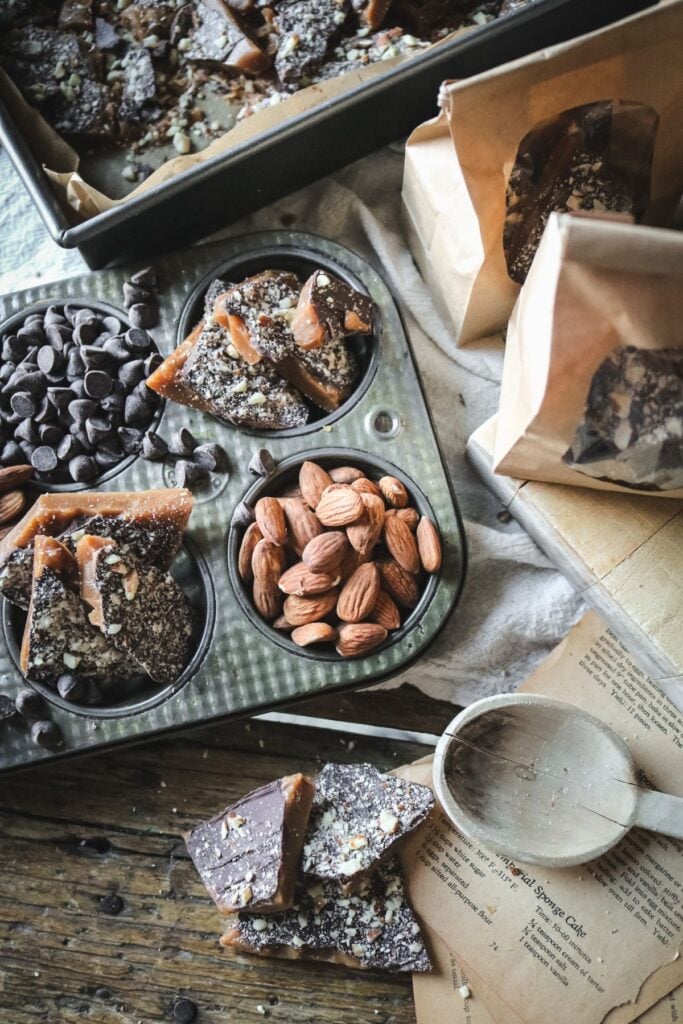
Ingredients for Butter Toffee
One of my very favorite things about making toffee is the simplicity of the ingredients. You can make it with just two ingredients if you want – butter and sugar!
- Salted butter – Sure, you can use unsalted butter, the extra salt balances the sweetness and brings out more flavor. Look for a type that is just cream and salt without any added flavoring. The better the butter, the better the toffee.
- White and brown sugar – I have made toffee with all white sugar and all brown sugar, and they all turned out delicious. I like to use both. If you have never made toffee before, consider trying it with white sugar to get a clear sense of the color change during the cooking process.
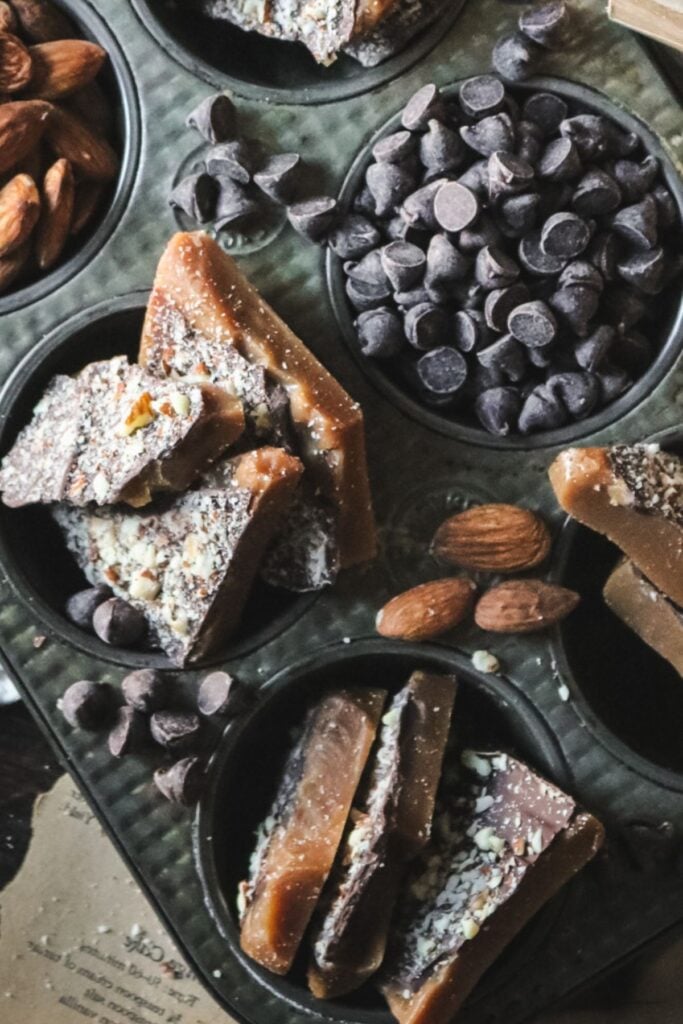
Your toffee does not need a topping, if you don’t want, but a layer of melted dark chocolate chips and chopped almonds takes everything over the top. I often sprinkle flaky sea salt over mine, too!
Tools You’ll Need
This is a pretty low tech project. The only “special” thing you really must have is a candy thermometer. Although there are other ways to know when your toffee reaches the hard crack stage (like the water trick), using a thermometer is a lot easier and less prone to user error.
How to Make English Toffee
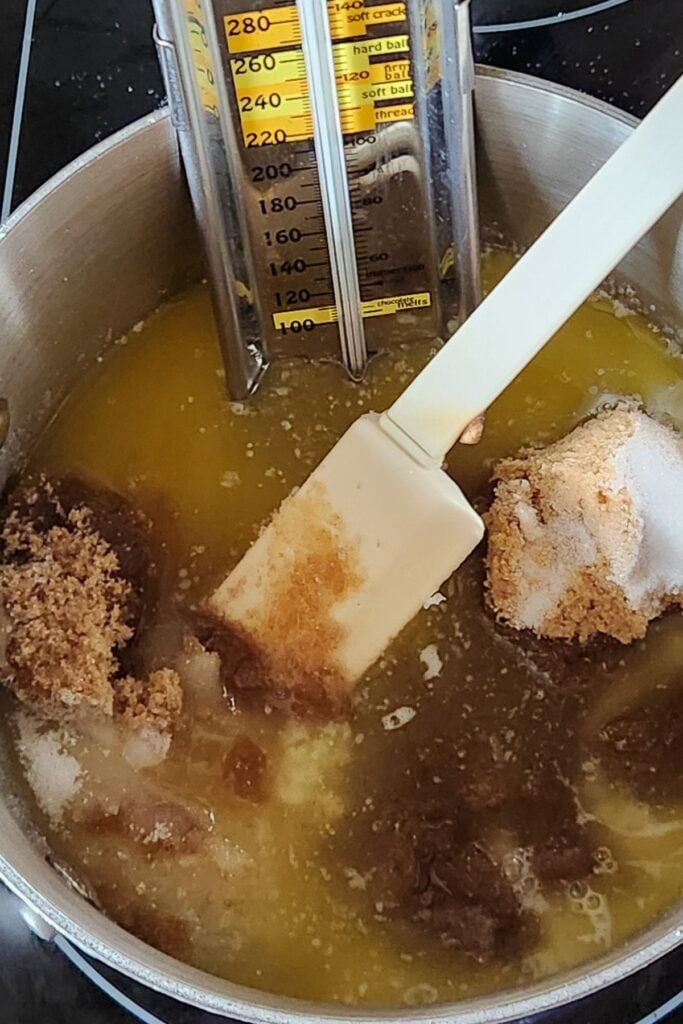
Step 1: In a medium saucepan with a heavy bottom, combine butter with sugars and salt. Clip on a candy thermometer or have an instant read thermometer handy. Turn on medium heat (I set mine to 4 out of 10).
Prepare your baking sheet or sheet pan with a layer of parchment (important!) and measure out the chocolate chips and almonds, if using. Set to the side for later.
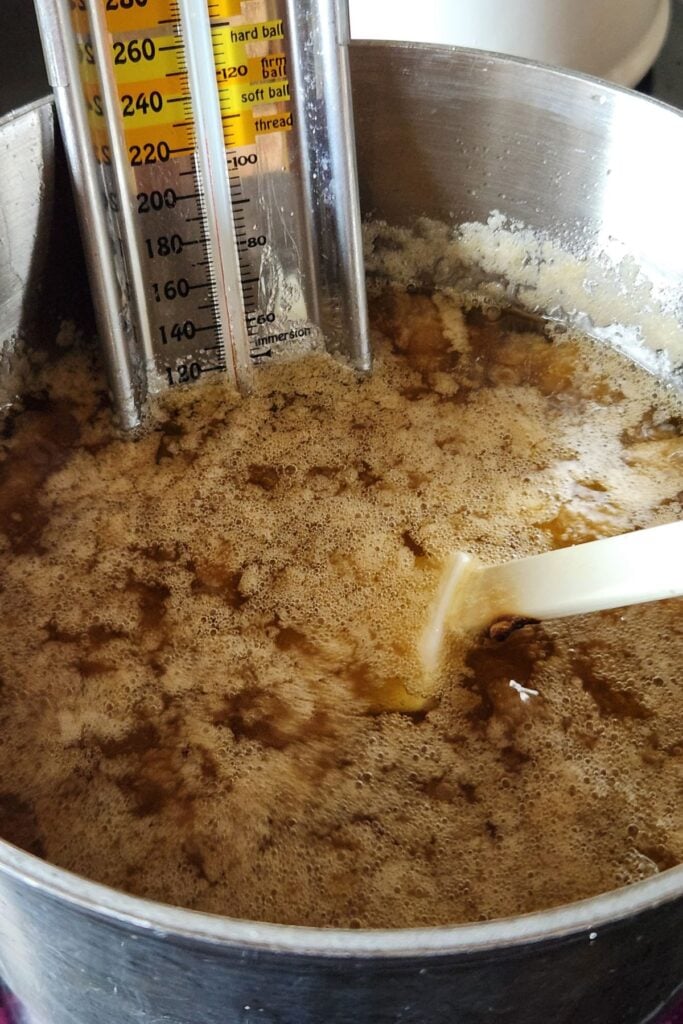
Step 2: Now begins the process. At the beginning, the melted butter will make it seem like the proportions of ingredients are wrong. Just keep watching and stir often to scrape the bottom of the pan to avoid burning.
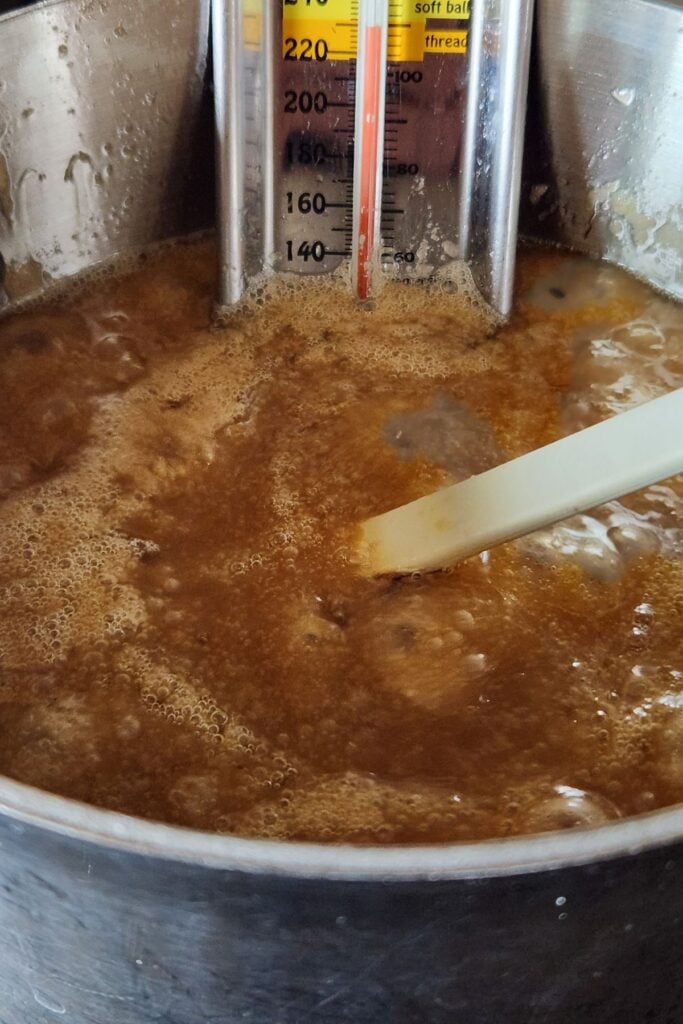
Step 3: Gradually, the mixture will start to come together and look more cohesive with less butter separation.
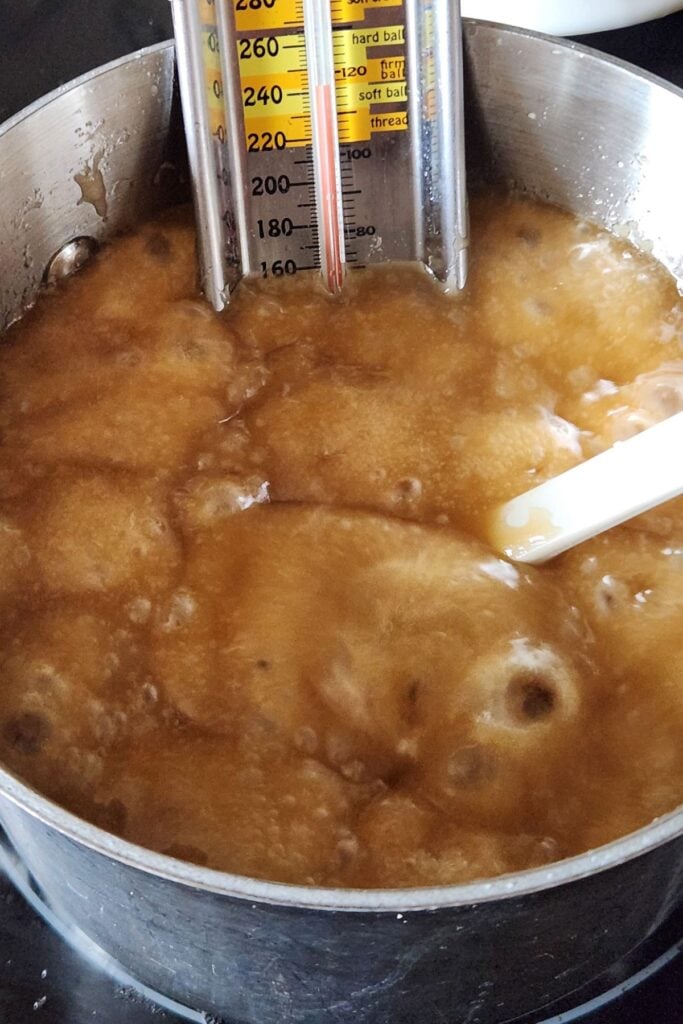
Step 4: As the mixture cooks, it will get thicker and start bubbling. The trick for toffee is to get the sugar mixture to boil for 5-7 minutes.
Keep an eye on the temperature (it can go up quickly) and stir to avoid burning and sticking on the bottom of the pan.
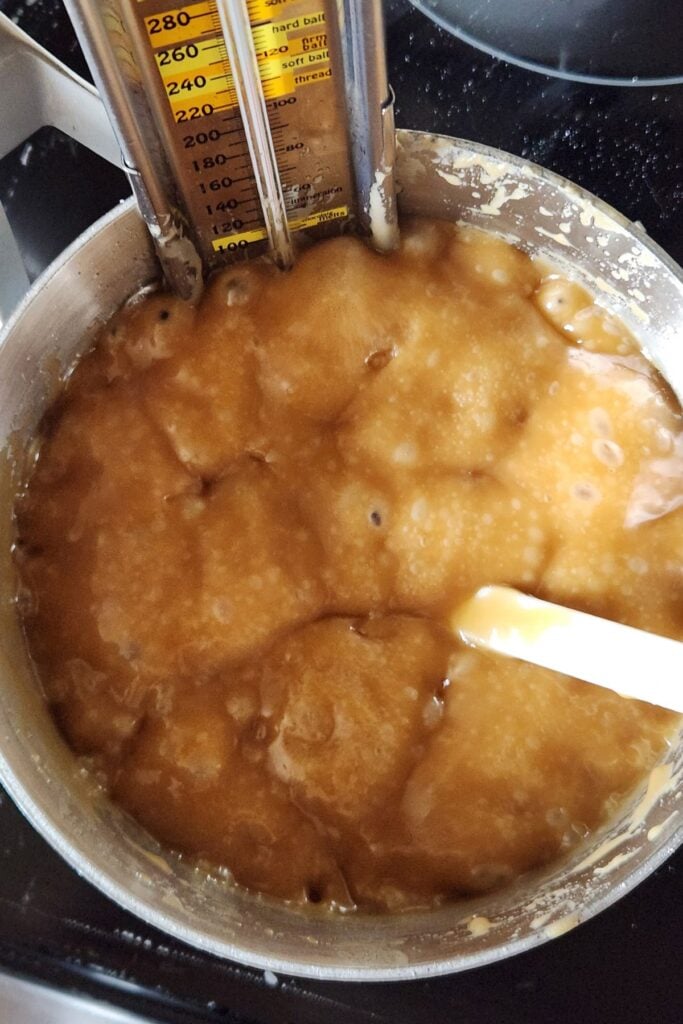
Step 5: As the toffee comes together, you can see how much the color and consistency have changed. The mixture is tall and thick with a golden, peanut butter-y color.
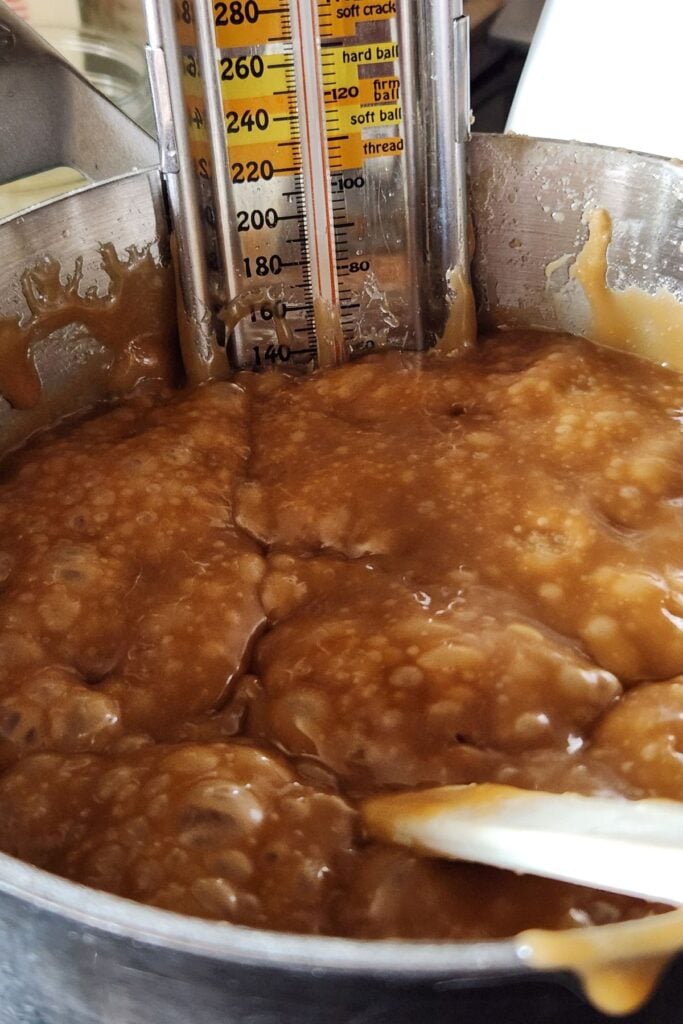
Step 6: As soon as the mixture reaches 295-305F or the hard crack stage on your candy thermometer, remove it from the heat.
This is exactly what mine looks like before I pour it.
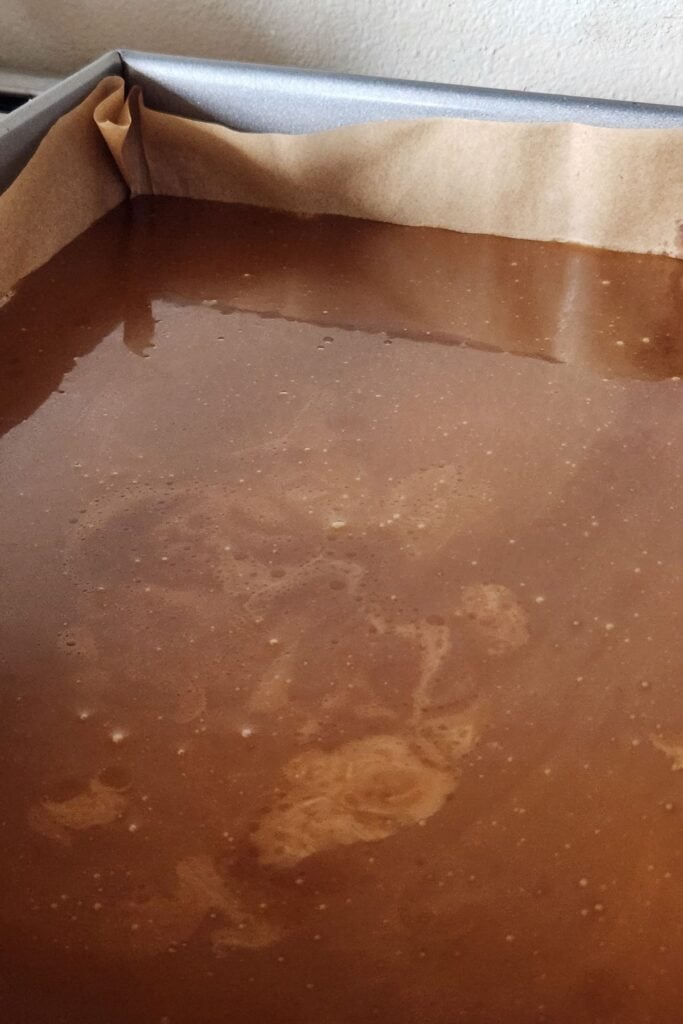
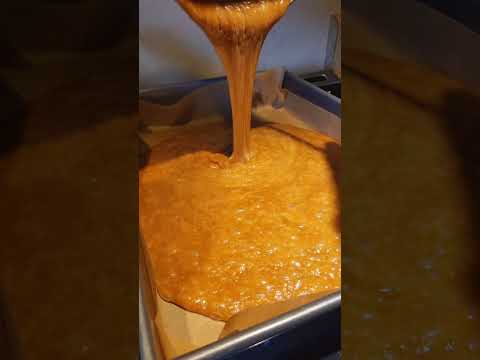
Step 7: Being careful not to touch the molten sugar mixture, pour the toffee into your prepared pan.
Tilt the pan gently to have it spread evenly or use a spatula. Do this quickly as it will start to set fast.
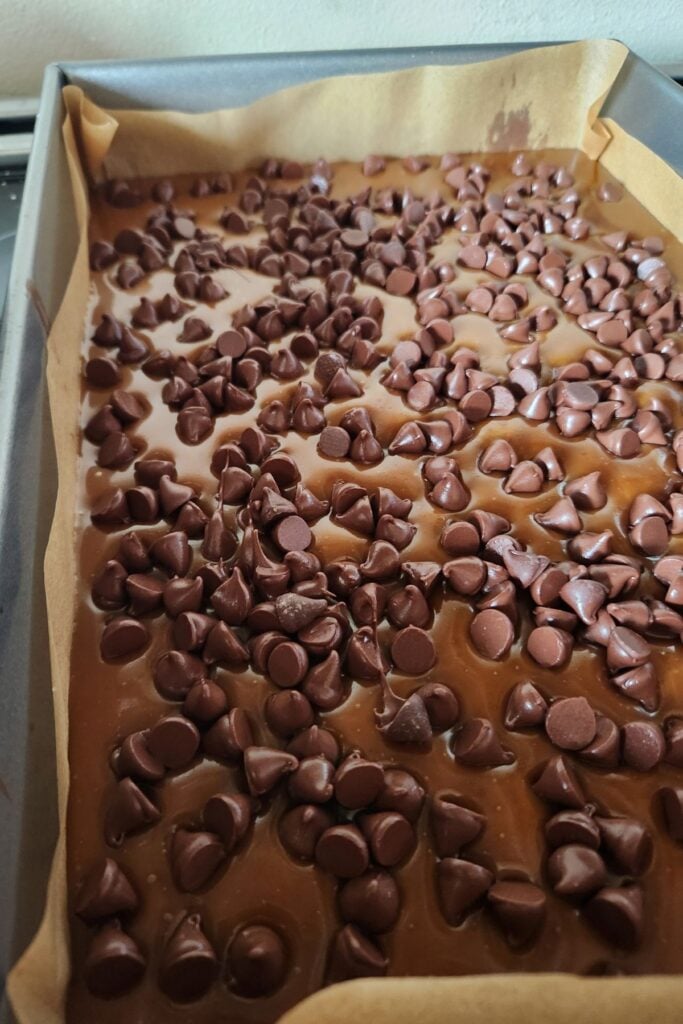
Step 8: Allow the toffee to cool for about 5 minutes, then sprinkle the chocolate chips over top. Let them set for another 5 minutes to melt.
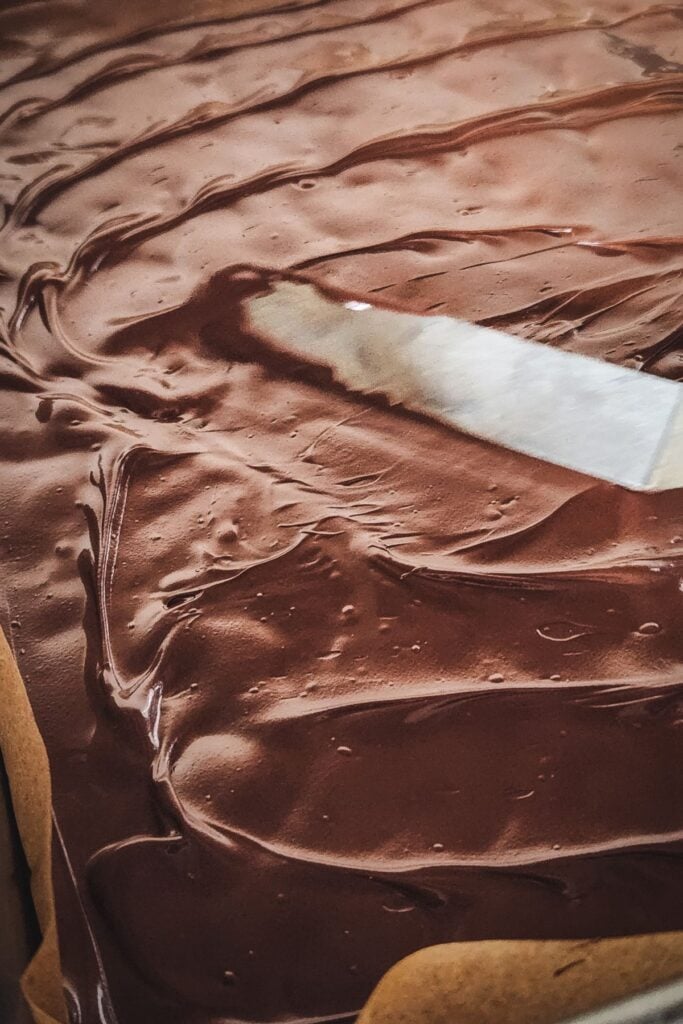
Step 9: Use an offset spatula to spread the chocolate evenly.
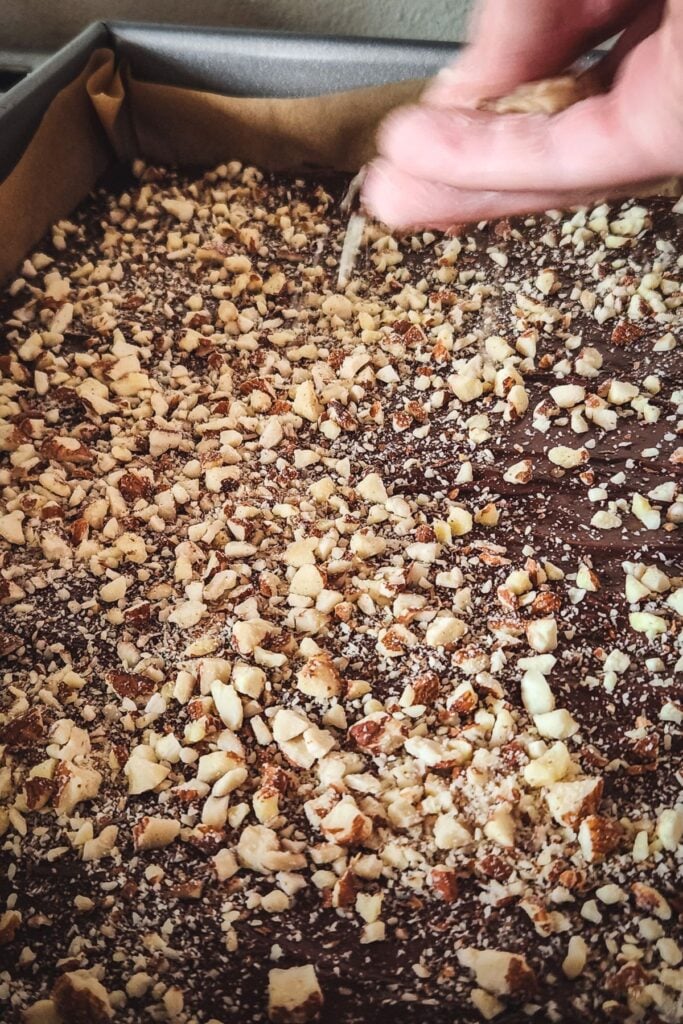
Step 10: Sprinkle the chopped nuts over top, if using.
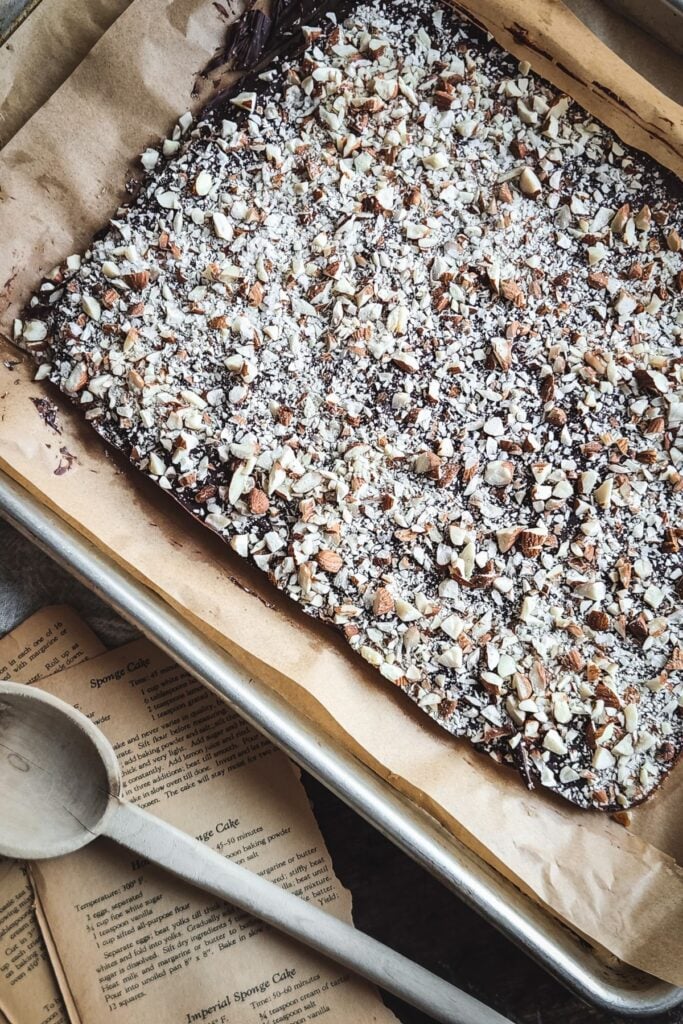
Step 11: Very patiently allow the toffee to cool completely. The toffee itself will be fully hardened before your chocolate sets up. This can take an hour or so.
If not coating in chocolate, you won’t need to wait as long (like if you’re making toffee chips).
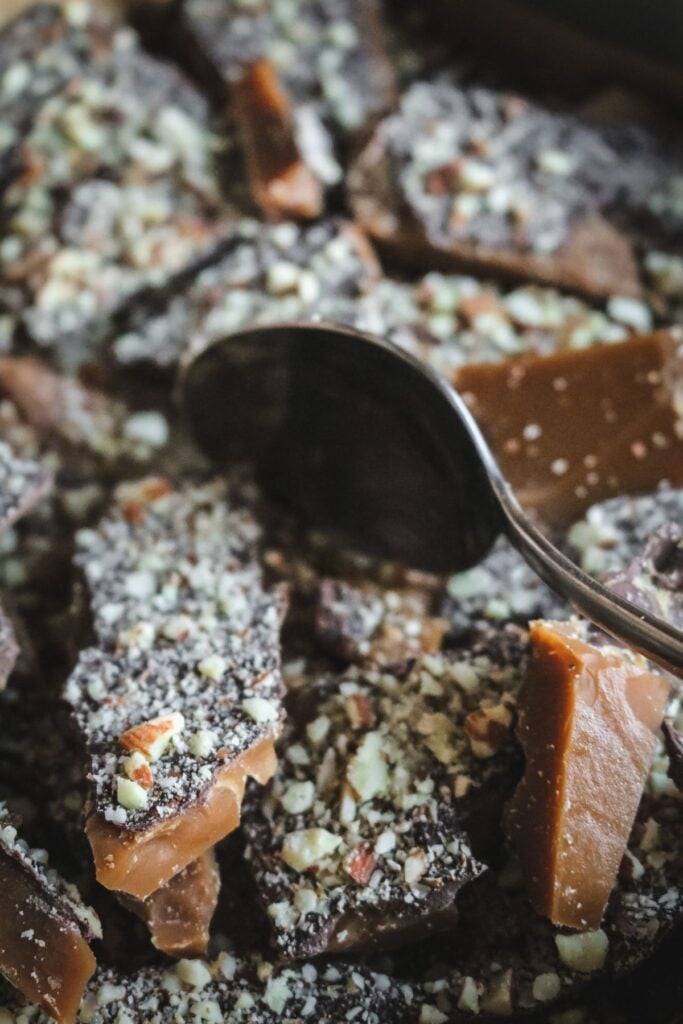
Step 12: When fully cooled and set, use the side of a large metal spoon or a heavy tool to whack the toffee. It will break into large chunks, which is extremely satisfying. If the almonds come flying off, try placing a layer of parchment over the toffee then resume whacking.
You’re now ready to try your toffee and package it up for gifting or future snacking!
How to Make Toffee Bits for Baking
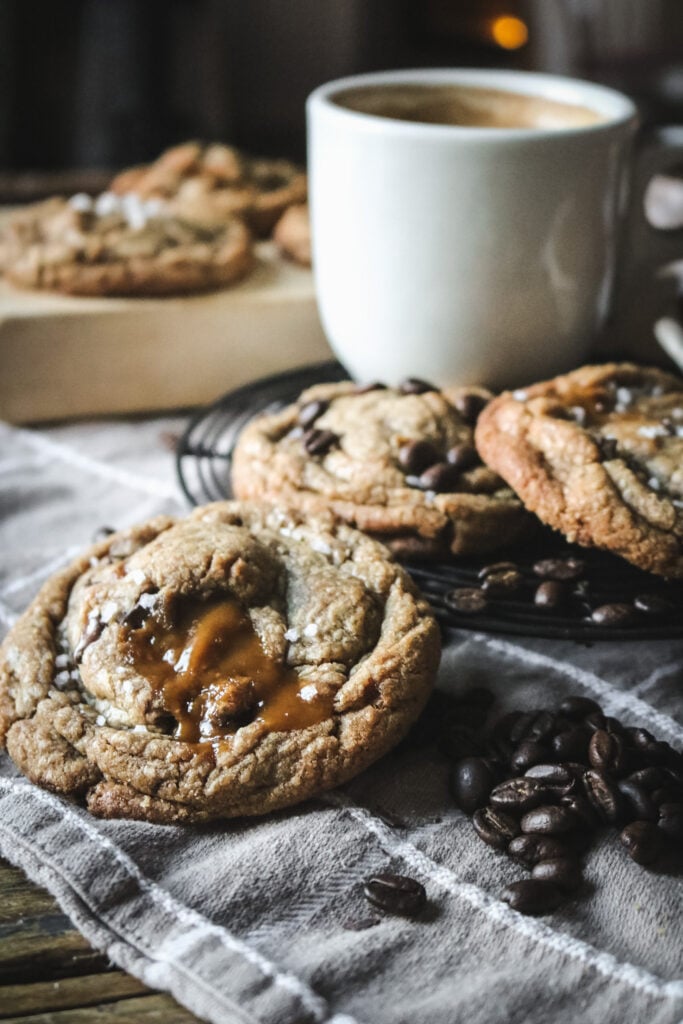
Did you know you can make your own toffee bits for adding to cookies and brownies and more? Those packs of Heath bits add up so quickly, and the quality does not compare to homemade.
You can make your toffee exactly as I explain in this recipe, and just spread it onto a half sheet pan lined with parchment paper.
But, you can actually save a little money here and reduce less butter. This will make the toffee a little harder and not as shatter-y as traditional butter toffee, but that is totally fine for baking (and still delicious).
I usually follow the same exact process, but I use half as much butter as sugar by volume, so 1 cup of sugar to 1/2 cup of butter (or 2 cups of sugar to 1 cup of butter).
Once set, you can break up the toffee into lots of bits and store them in an airtight container or mason jar for several weeks.
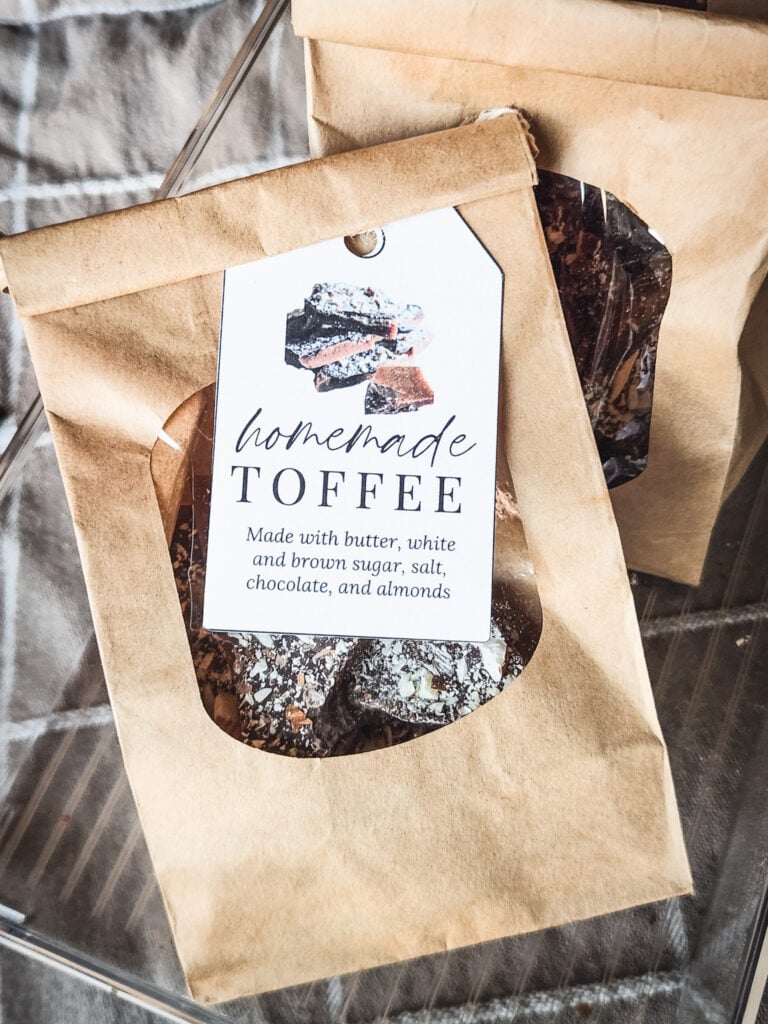
🏷️Free Printable toffee Gift Tags
Click the button below to download the tags and labels. No email required!
I recommend printing on cardstock to help keep their shape.
Storing Suggestions
To keep your toffee fresh, you need to store it in a completely airtight container. Homemade toffee keeps for about 2-3 weeks either at room temperature or in the fridge. After that, it can start to get a little bit sticky.
Tips & Variations
- Check your local restaurant supply store. My local store sells one pound blocks of good quality butter for about $2.50/lb. The price is lower than most options at my grocery store, and you only have to unwrap one thing!
- Save your crumbs. If you end up with little bits and pieces at the bottom of your pan, save them to sprinkle over ice cream or to add to cookies.
- Coat with chocolate. If you want, you can actually dip chunks of toffee in melted chocolate (similar to making ganache truffles). This makes a really lovely treat, but does require quite a bit more chocolate.
- Customize the topping. Instead of dark chocolate, try milk chocolate or a mix of both. You can also use any type of nuts (walnuts, pecans, and cashews are fantastic!).
- Change how you add the topping. While recipe testing, I tried different ways to garnish the toffee. We have the whole melt-the-chips-on-top thing going on here, but I’ve also played with sprinkling the chips and nuts in the pan BEFORE pouring the toffee. I have to say that this one was my favorite because you end up with individual chips in the toffee, which melt in your mouth. It’s also a little less fussy, but not quite as pretty. You can also do both – layer chocolate chips on the bottom AND on top!
What to Do with Homemade Toffee
For gifting, I like to store toffee in an airtight container. I have it displayed in these little bakery bags, which work well, but are not completely airtight and won’t keep it fresh for as long.
You can also add toffee bits to your baked goods! They do melt in the oven, but that adds a deliciously chewy caramel flavor.
I like to add them to my brown butter toffee chocolate chip cookies, especially with extra flaky sea salt on top.
They’re also the star of my toffee coffee cookies with deep, dark instant espresso powder to counter the sweet toffee.
I even add them to homemade shortbread, and of course, we love to eat it just straight!

🎁 Get my free holiday recipe ebook
With ten simple, thoughtful recipes and tutorials, you can make this holiday season feel extra magical.
Subscribe for your free copy and it’ll be in your inbox before you know it!
More Homemade Gift Ideas
If you’re giving toffee, try pairing it with dark chocolate covered pecans or homemade cashew brittle.
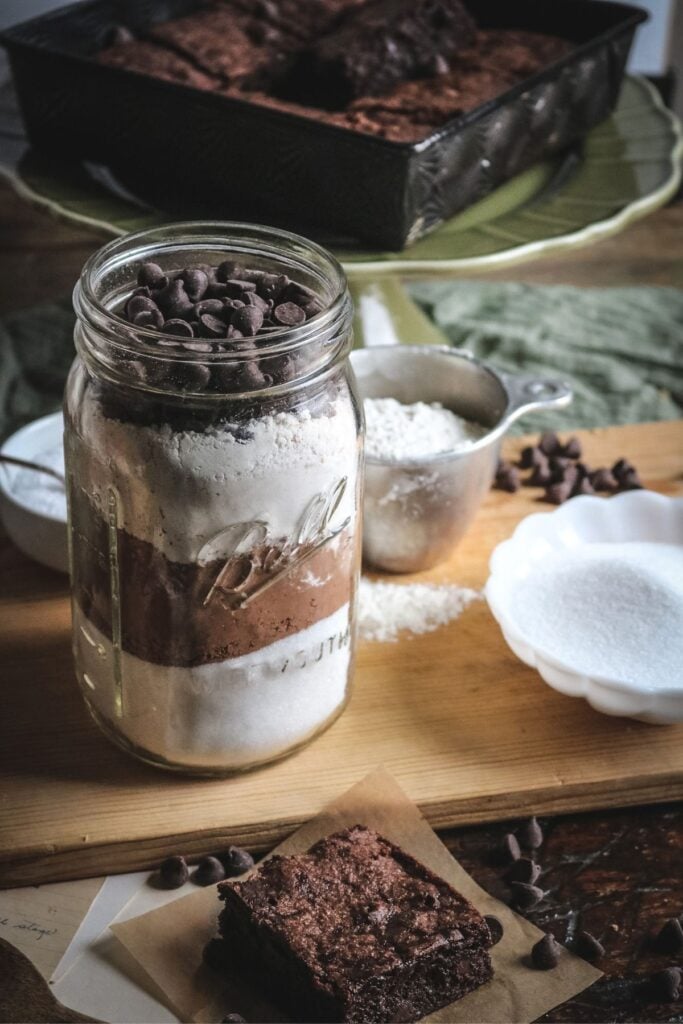
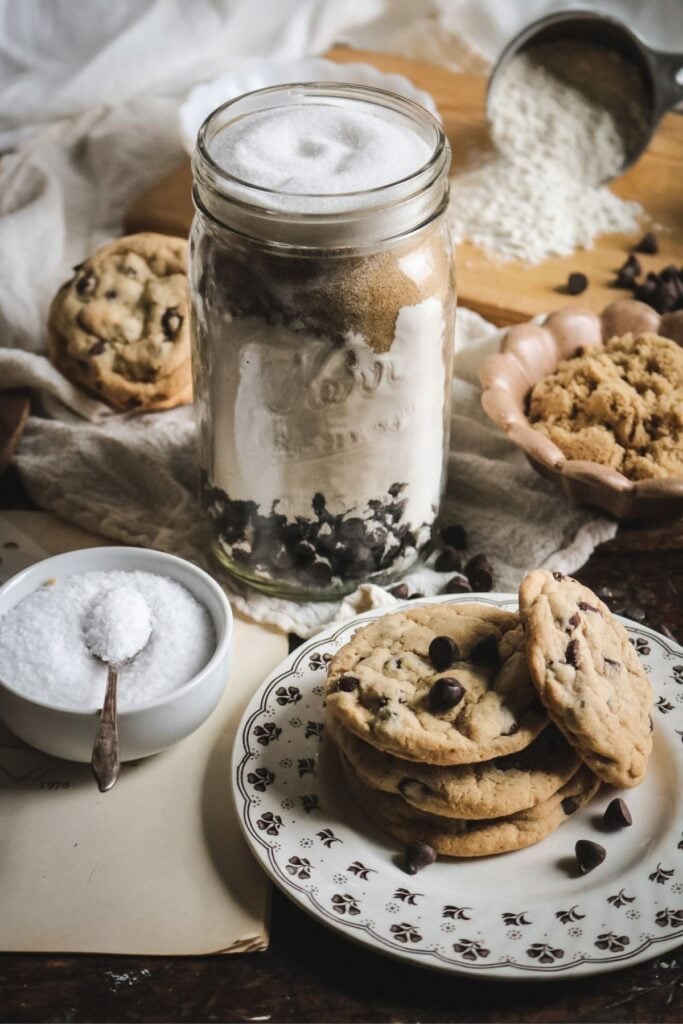
My homemade chocolate chip cookie mix also makes a great option, especially paired with a jar of brownie mix, too.

If you made this recipe, please leave a comment or ask a question below! I’d love to hear what you think or troubleshoot any issues.
Get my FREE Homestead Kitchen Supply List to make it easier than ever to cook and bake from scratch.
Want more seasonal recipes? Subscribe for email updates or follow Milk Glass Home & Kitchen on social media. Join my Facebook Group Seasonal Slow Living to become part of the community!
Homemade English Toffee Recipe
Equipment
- metal 9×13 baking pan or rimmed half sheet pan
- Parchment paper
- Medium saucepan with a heavy bottom
- heat-safe spatula or spoon
Ingredients
- 1 lb salted butter, 4 sticks, 2 cups
- 1 cup white sugar
- 1 cup brown sugar
- 1/2 tsp kosher salt, or 1/4 tsp table salt
For topping
- 1 cup dark chocolate chips
- 1/2 cup almonds, finely chopped
Instructions
- Prepare your baking sheet or sheet pan with a layer of parchment (important!) and measure out the chocolate chips and almonds, if using. Set to the side for later. Grab a heat-safe spoon or spatula for stirring.Making toffee requires ongoing attention, so be prepared to stand at your stove the whole time.
- In a medium saucepan with a heavy bottom, combine butter with sugars and salt. Clip on a candy thermometer and position the probe in the center of the mixture (not on the bottom of the pan) or have an instant read thermometer handy. Turn on to just below medium heat (I set mine to 4 out of 10). We are going to cook the toffee mixture to the hard crack stage right around 300F.*Note: Every stove is a little different and you may need to adjust to accommodate yours. You can always start at a lower heat and increase as needed. I have made toffee at a higher temp (5), but it is easier to control at a lower temperature.1 lb salted butter, 1 cup white sugar, 1 cup brown sugar, 1/2 tsp kosher salt
- At the beginning, the melted butter will make it seem like the proportions of ingredients are wrong. Just keep watching and stir occasionally to scrape the bottom of the pan to avoid burning. Gradually, the mixture will start to come together and look more cohesive with less butter separation.Keep an eye on the position of your thermometer. You want to temp the very center of the mixture and not the bottom of the pan. You may need to adjust it throughout the process.
- As the mixture cooks, it will get thicker and start bubbling. The trick for toffee is to get the sugar mixture to boil for 5-7 minutes. Keep an eye on the temperature (it can go up quickly) and stir often to avoid burning and sticking on the bottom of the pan.
- As soon as the mixture reaches 295-305F or the hard crack stage on your candy thermometer, remove it from the heat.
- Being careful not to touch the molten sugar mixture, pour the toffee into your prepared pan and scrape out the excess with a spatula.
- Tilt the pan or tray gently to spread evenly or use a spatula. The pan may be warm at this point. Do this quickly as it will start to set fast.
- Allow the toffee to cool for about 5 minutes, then sprinkle the chocolate chips over top. Let them set for another 5 minutes to melt. Use an offset spatula to spread the chocolate evenly. Sprinkle the chopped nuts over top, if using.1 cup dark chocolate chips, 1/2 cup almonds
- Allow the toffee to cool completely. The toffee itself will be fully hardened before your chocolate sets up. This can take an hour or so. If not coating in chocolate, you won’t need to wait as long (like if you’re making toffee chips).
- When fully cooled and set, use the side of a large metal spoon or a heavy tool to whack the toffee. It will break into large chunks, which can be broken down into smaller pieces if desired. (If the almonds come flying off, try placing a layer of parchment over the toffee then resume whacking.)
- You’re now ready to try your toffee and package it up for gifting or future snacking!
Video
Notes
Do you have to use a candy thermometer?
Technically, no, but I absolutely recommend it. This saves you the fuss of hoping you get the temperature just right, and prevents waste. Be sure to temp right in the center of the mixture – not on the bottom of the pan. Candy thermometers usually have clips, and you’ll need to adjust it each time.What if your toffee doesn’t set?
If your toffee doesn’t harden up all the way, it likely was not heated all the way to 300F. If your thermometer is resting on the bottom of your pan, it may be registering the temperature wrong. If you haven’t added the chocolate yet, then the fix it simple. Break it up into pieces, add it back to the pan, and bring it back up to heat until it reaches 300F. Unfortunately, if you have added the chocolate and almonds, then you can’t reheat it. In this situation, I recommend cutting the mixture into small pieces and using them as toffee bits in your cookies.What does toffee look like when it’s done?
Once the sugar reaches 300F, you’ll notice the toffee has is thick and bubbly with a tan-golden peanut butter-like color. I have photos of the color at each part of the cooking process in my full post.Free Printable Toffee Gift Labels
Click here to download the gift tags to your device.Nutrition
Did you try this recipe?
Post a photo and tag @milkglasshome!Pin this recipe for later!