This post may contains affiliate links. We may earn a commission, at no additional cost to you, if you make a purchase via our links. See our disclosure for more information.
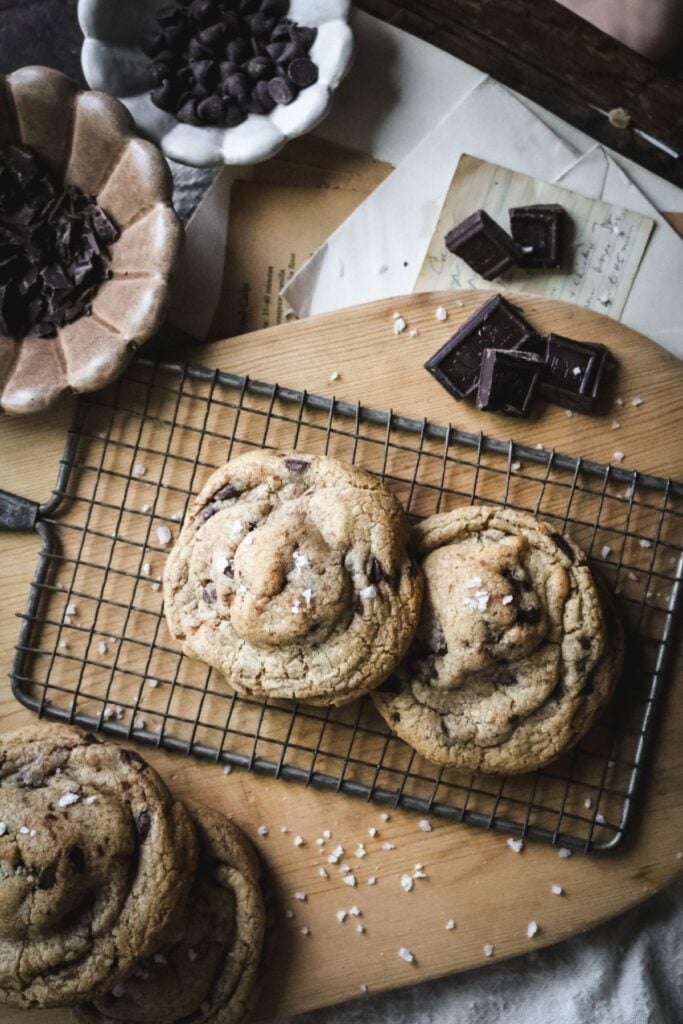
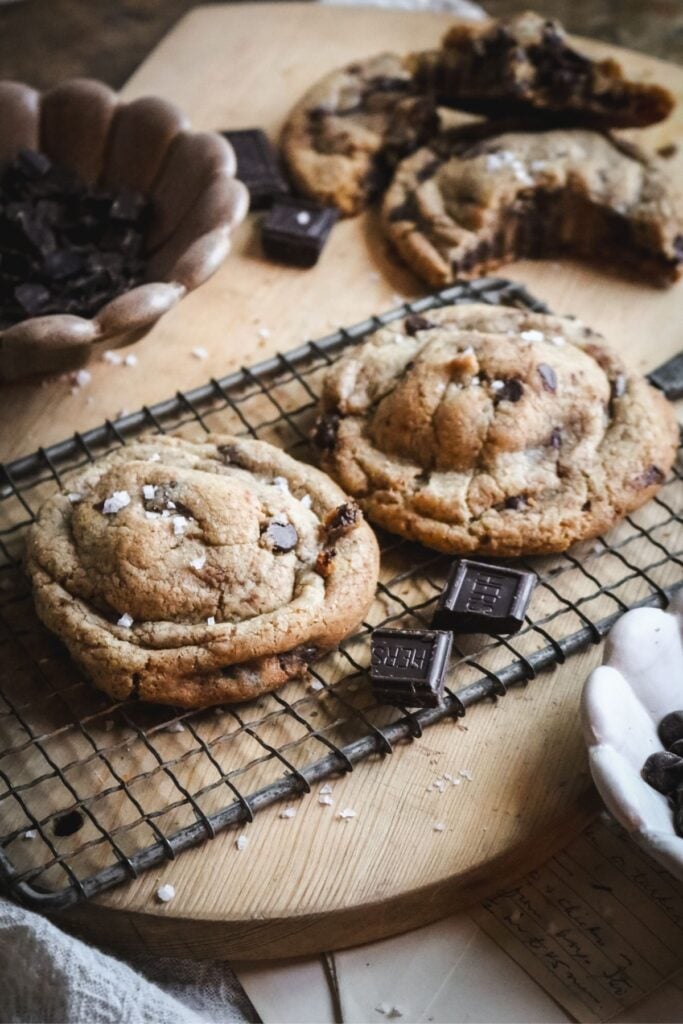
With a crisp, crackly crust and chewy, gooey, molten chocolate insides, these are hands-down the best brown butter chocolate chip cookies. I tested every element and found this formula to be the very best for decadent, bakery-worthy cookies.
Plus, it’s super low tech and uses a secret ingredient for extra brown butter goodness!
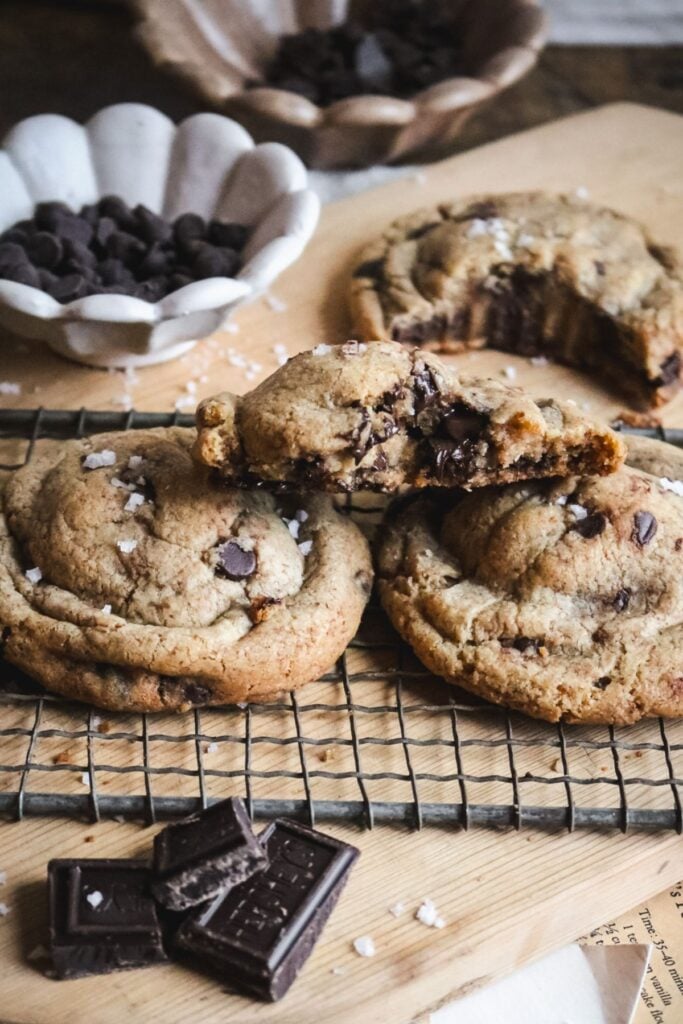
Brown butter…if you know, you know.
Is there anything else that elevates regular cookies into extraordinary, drool-worthy, think-about-them-as-you’re-falling-asleep cookies?
I truly thought using brown butter in cookies was overhyped, until I tried it. Instant turnaround!
You really do get so many extra flavor notes. It’s buttery, yes, but also nutty and toasty and that extra something special to take your cookie dough over the top.
At this point, this may be the only way I even eat chocolate chip cookies anymore. Consider yourself warned!
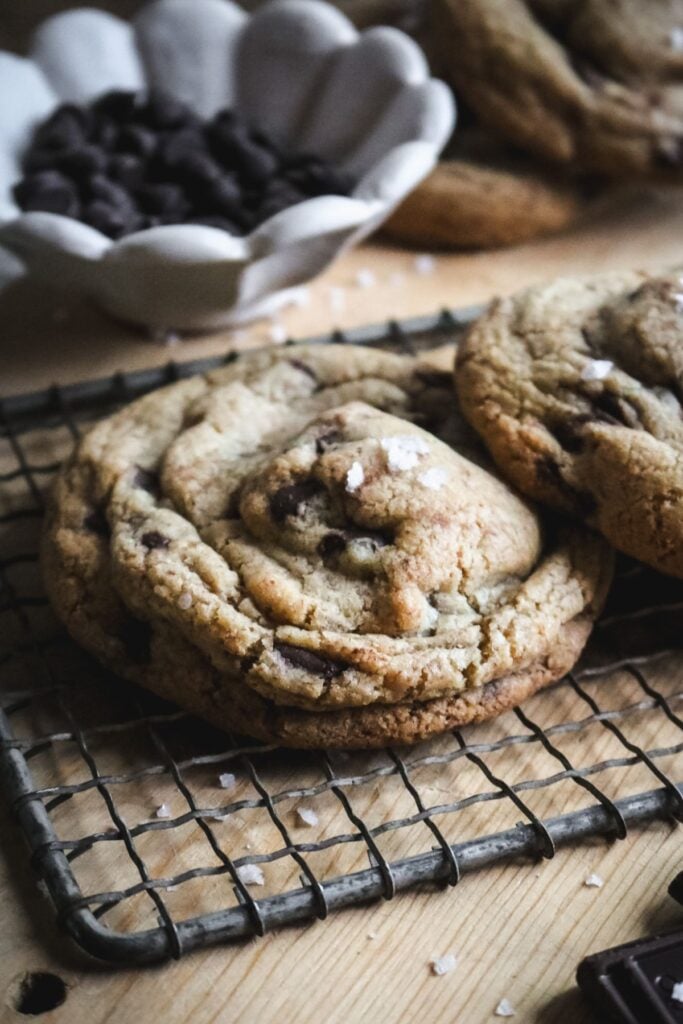
My ideal brown butter chocolate chip cookie
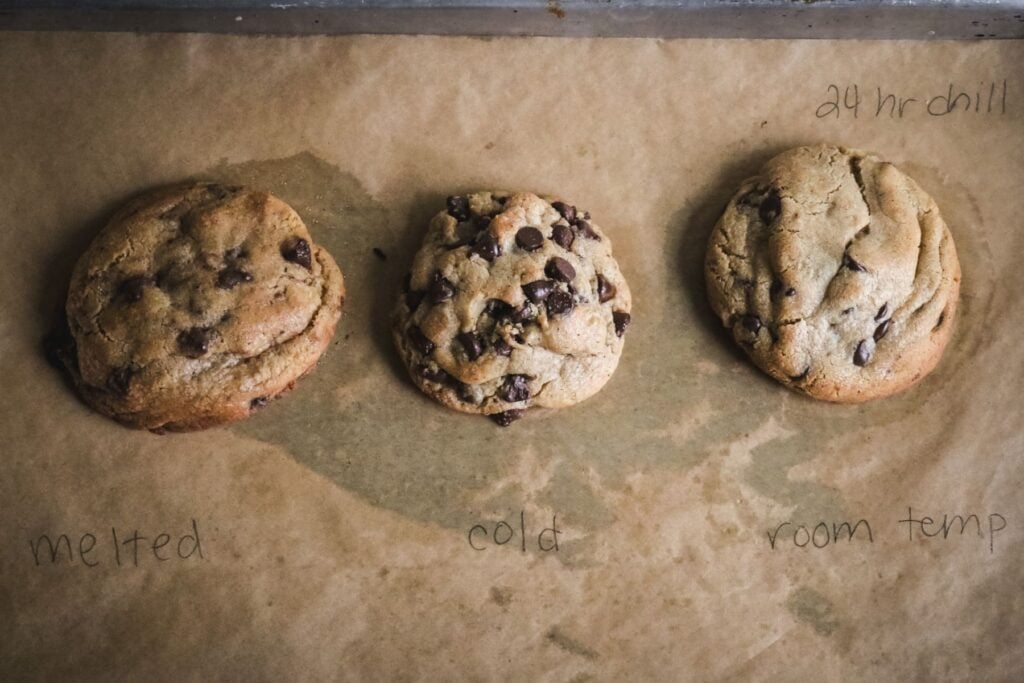
Recipe Testing Results
This is one of the most rigorously tested recipes on my entire blog.
Full disclosure: You will absolutely think I have lost my mind when you see how many variables I’ve tried, but I wanted to make sure the texture and flavor were totally balanced.
Brown butter temperature
So, my social media feed has shown me bakers who swear by using browned butter either melted or cold, and I just had to test them out.
Honestly, I thought it was sort of silly. I’m old school and love the chewiness you get from creaming butter and sugar together.
But, I absolutely loved the dough with the melted butter.
In fact, my first batch with the melted butter had the best overall flavor out of multiple batches. I even compared using hot melted brown butter compared to cooler melted butter and eventually found that the main factor is just using enough butter!
I always brown 2 sticks of butter with my milk powder, which gets me 7/8 cup of browned butter every time.
Bake temperature
Although I tested baking at both 350F and 375F, I found I had the most consistent results with 350F. Plus, the cookies still had a nice texture on the outside without becoming too hard and stayed soft and chewy for days.
Flavor Boosts
You can use just brown butter for flavor, but I love to dabble. What if we could get more browned butter flavor? Or if we added something, like instant coffee or milk powder, to ground the sweetness?
In my tests, I found that browning dry milk powder with the butter gives you way more of those delicious brown bits and deeper brown butter flavor. It is so worth it to keep a jar of this stuff in your pantry specifically for this purpose!
Using homemade bourbon vanilla extract is a great way to add more richness and depth with just one ingredient. Oh, and of course, flaky sea salt on top!
Chill time
Do you really have to wait to bake your cookies or is that just some sort of nonsense? I compared chill times extensively with every recipe variation and found the method that gives you the BEST flavor and texture.
You absolutely need to chill your dough, but you can enjoy delicious cookies as soon as the dough is fully chilled. I’ve baked the dough as soon as 1.5 hours, but I preferred cookies that chilled for 6 hours or more.
If you can wait longer, like 24 hours? Your cookies will have even more of a sophisticated flavor.
Flour type
Although I started my tests with regular all purpose amended with cornstarch, I also tried using bread flour, and felt like this one had the very best texture. The cookies were structured, thick and tall but still oh-so-chewy on the inside.
I know some people will balk at the amount of cornstarch I use but if you want THICK, chewy cookies, this is the perfect amount.
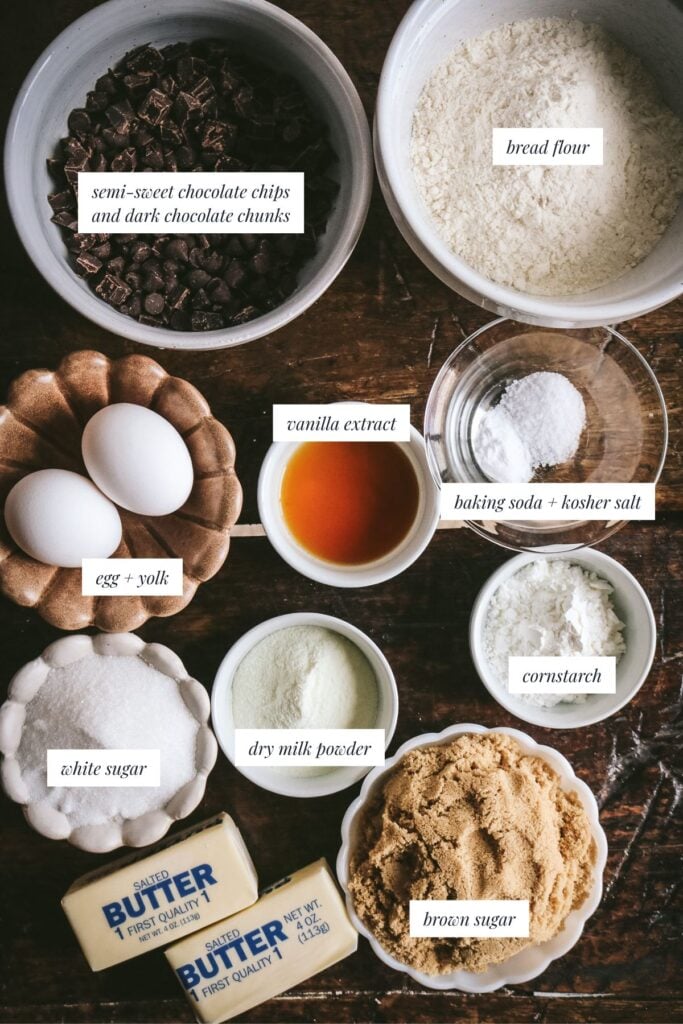
Ingredients
If you’ve got it, salted butter is best. Adding salt in different phases gives the cookies a really full, well-rounded flavor.
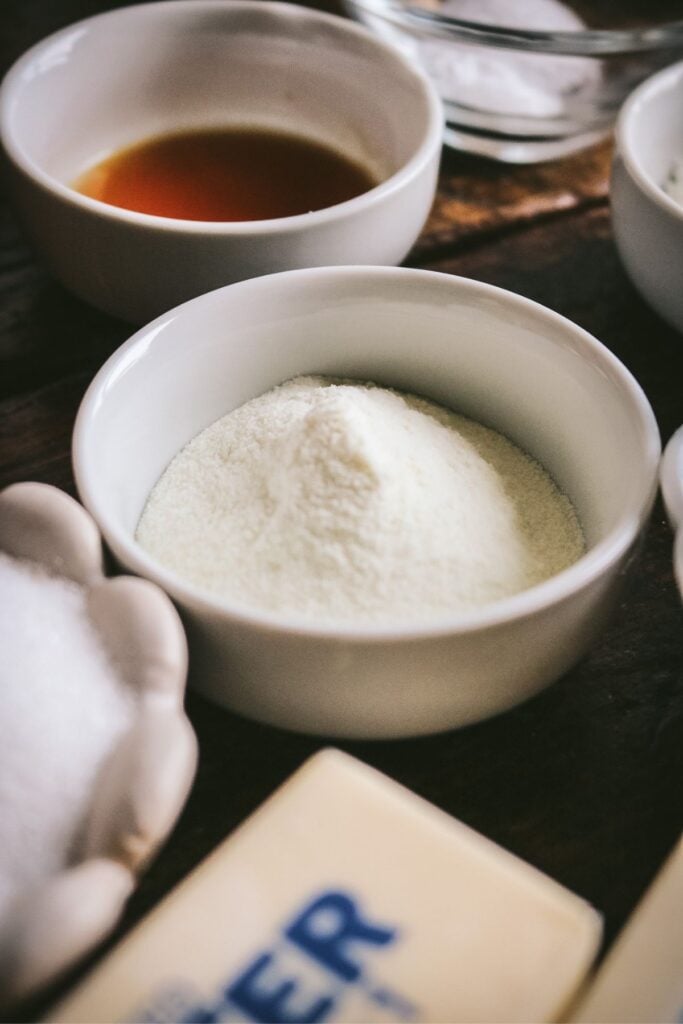
Dry milk powder is my secret weapon. If you add it while you make your brown butter, you’ll get tons of those toasty little bits at the bottom. I keep a big container of this milk powder on hand for making hot cocoa mix and it works perfectly for these cookies, too!
We’re going to use mostly light brown sugar with just some white sugar for a balance of crispness on the edges and lots of chewiness.
Of course, we’ll also need to add some vanilla extract or paste and I like to use one whole egg and one yolk.
For dry ingredients, I prefer to use bread flour instead of all purpose flour. The higher protein content really gives you thicker, chewier cookies with a sophisticated texture. The cornstarch helps with this, too.
Finish with a mix of semi-sweet chocolate chips and chopped dark chocolate chunks, and you’ve got everything you need! This is one place where better chocolate can make a big difference.
baker tips
measuring brown butter
The actual amount of brown butter you make will depend on the type and brand of butter and how long you brown it.
In my tests, I always started with two sticks of butter (1 cup) and 2 tbs milk powder. This resulted in 7/8 cup (199g) every single time, so I eventually stopped having to measure!
I recommend measuring out the brown butter AFTER browning to make sure you have the right amount.
You may end up with the exact amount you need on the first try, or you may need to add a little extra or remove some.
How to Make Thick, Chewy Brown Butter Chocolate Chip Cookies
Step 1: In a medium mixing bowl, add your brown sugar and white sugar and set aside until ready. In a separate container, measure out your dry ingredients and have those whisked together and ready for later.
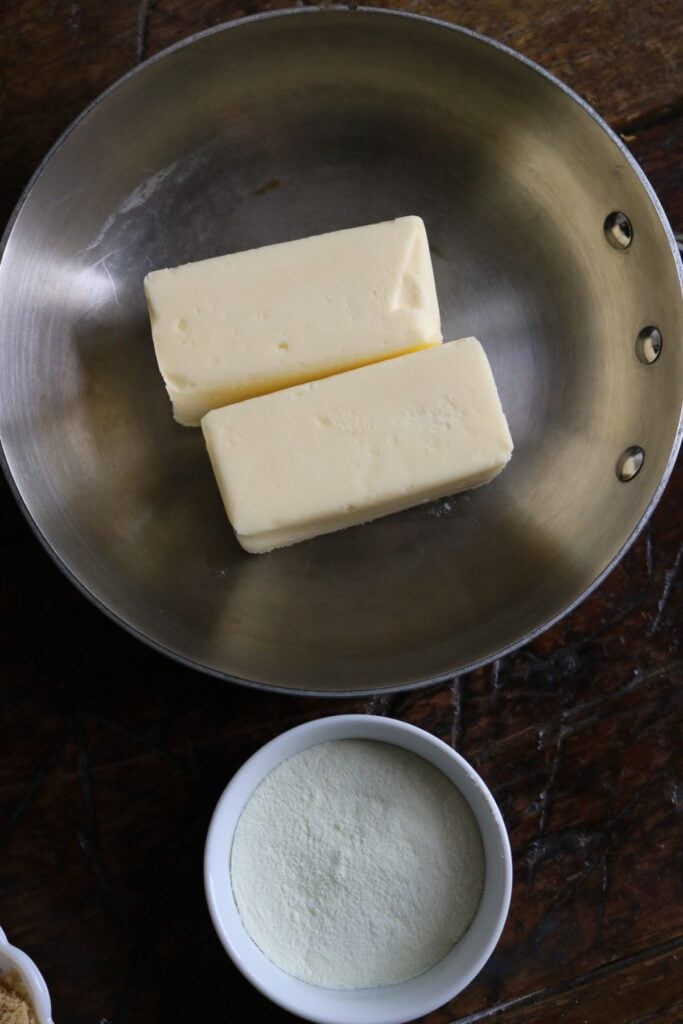
Step 2: In a medium saucepan, place two sticks (one cup) of salted butter and heat over medium low on your stovetop. As the butter melts, add the dry milk powder, if using.
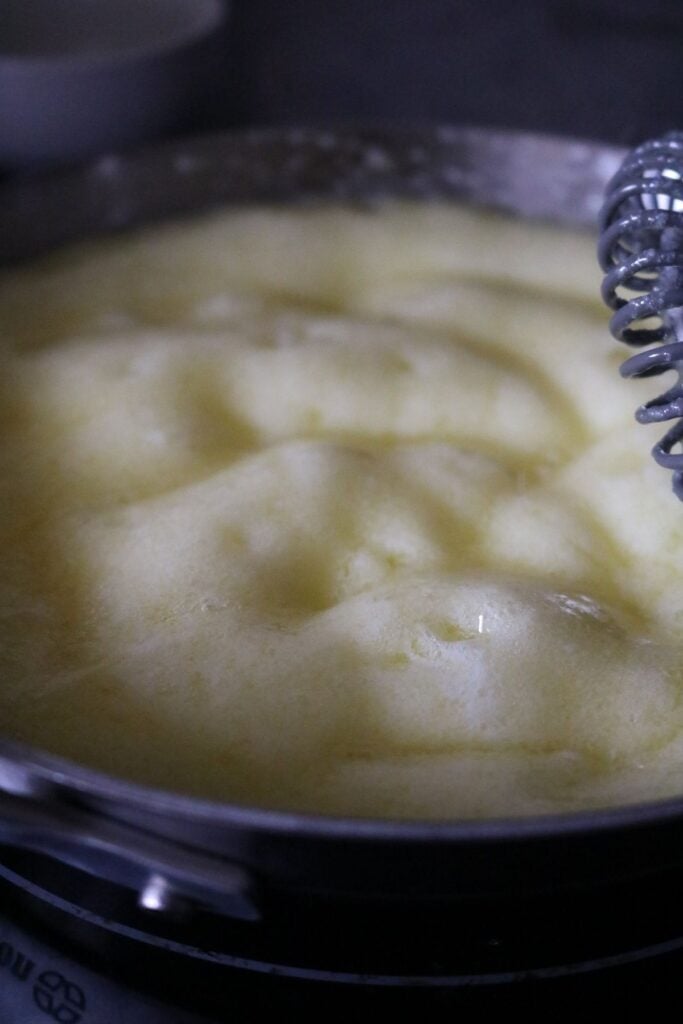
Step 3: While browning, the butter should be stirred often to help knock the milk solids to the bottom of the pan.
If you’re using the milk powder, it will look much thicker and creamier than you may be used to, but just keep stirring and making the browned butter like normal.
I always go until you get the smell – that bold, toasted grilled cheese, nutty aroma that only happens when the brown butter reaches a certain point. You can stop before that when the butter bits turn tan or golden brown, but I always go to this point. It will burn shortly after.
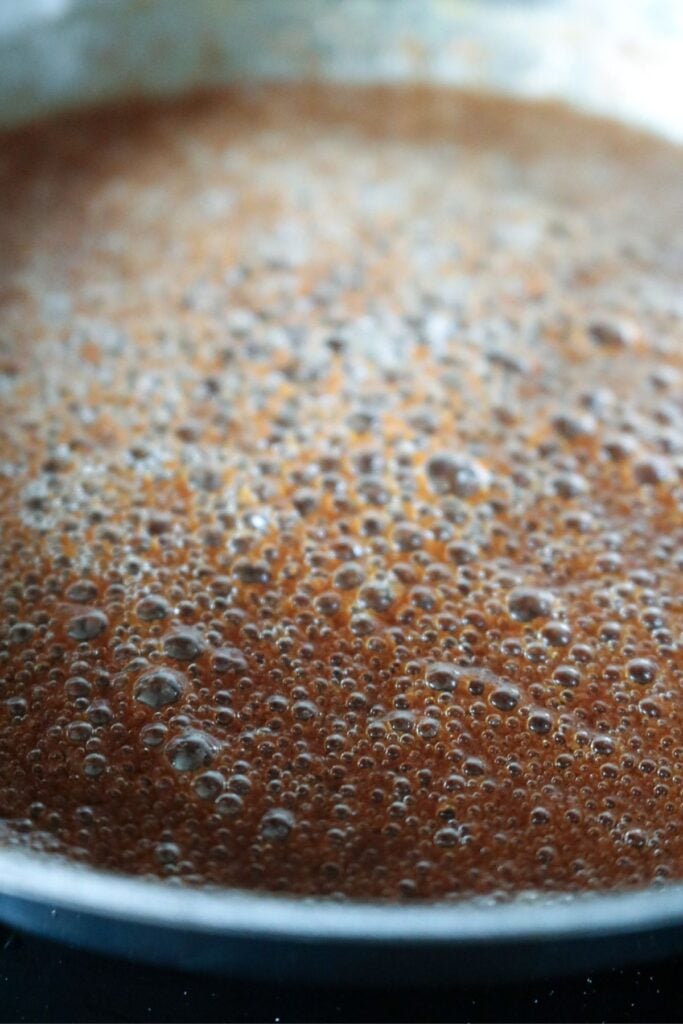
Step 4: Once the browned butter is ready, pour it into your measuring cup to make sure you have precisely the right amount. Scrape as many little bits out of the pan as possible.
Let the butter cool until warm. If you’re in a hurry, you can place the measuring cup into a bowl of cold water and stir to help reduce the temperature.
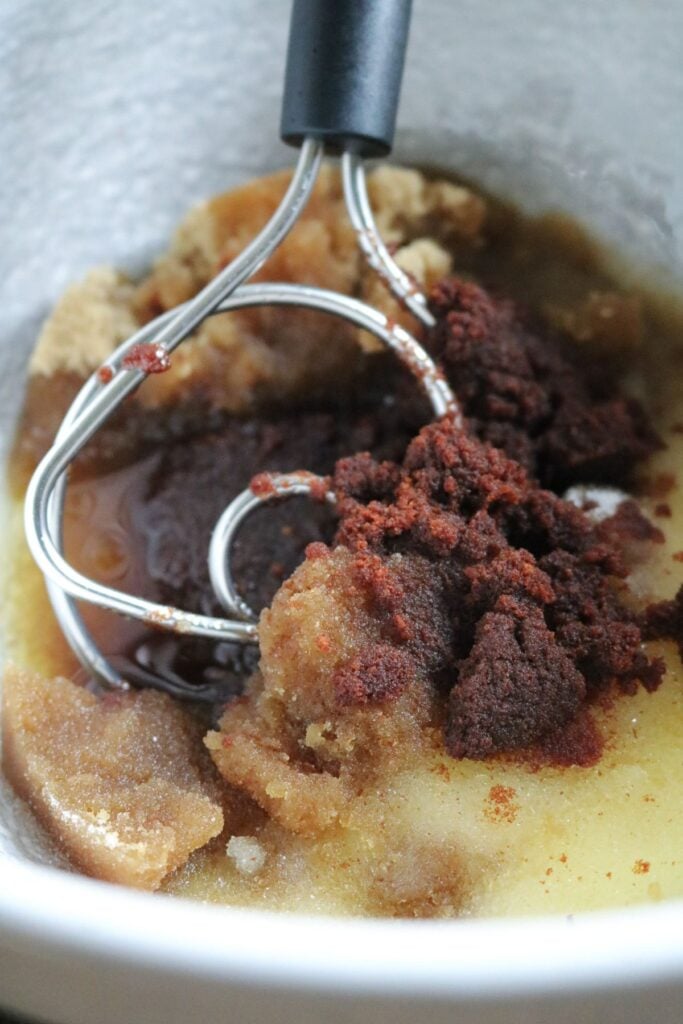
Step 5: Use a dough whisk or spoon to stir the butter into the sugars. It will look grainy and kind of clumpy at this point, which is totally okay.
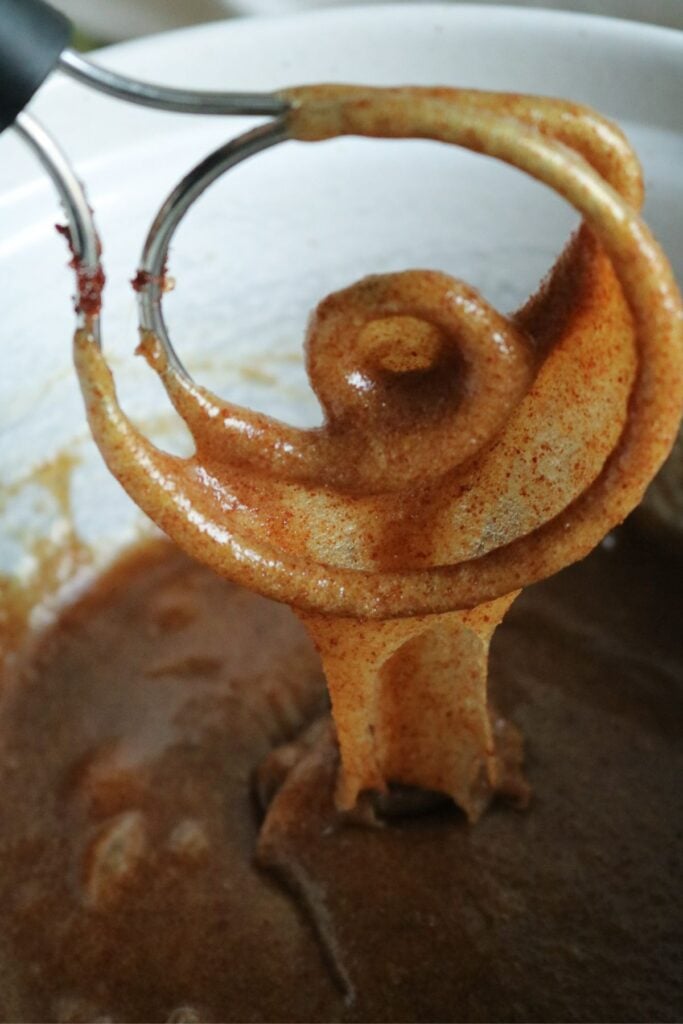
Step 6: Then, whisk in your vanilla extract and the room temperature eggs until glossy and creamy.
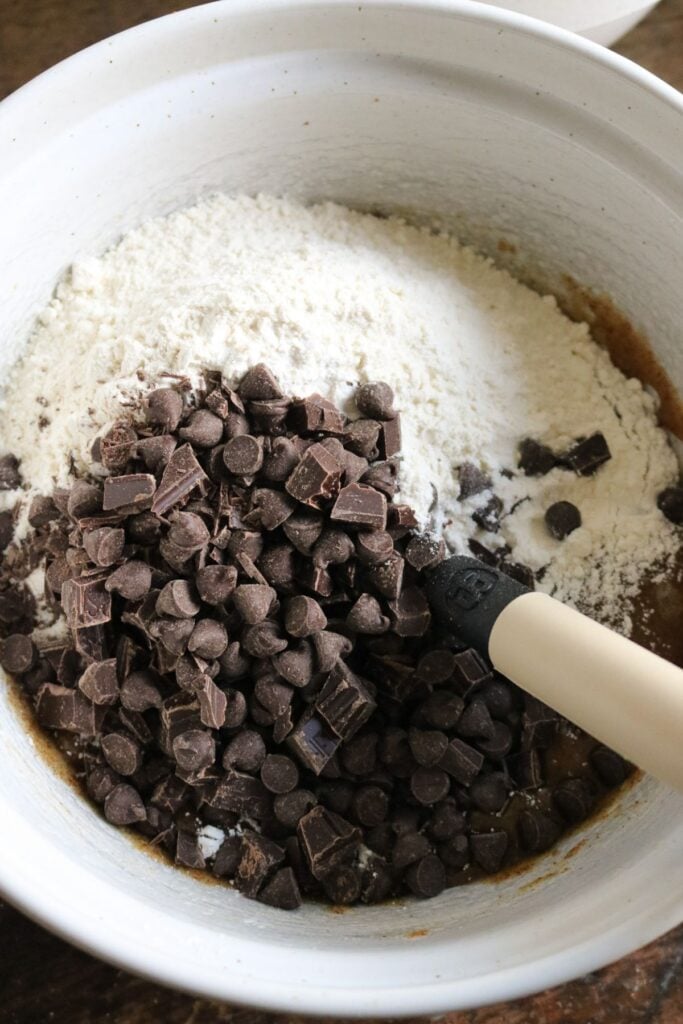
Step 7: Add the dry ingredients – the bread flour, cornstarch, baking soda, salt, and the chocolate chips – and mix in until just combined. Adding the chips at this point helps reduce the overall mixing to give you the best texture.
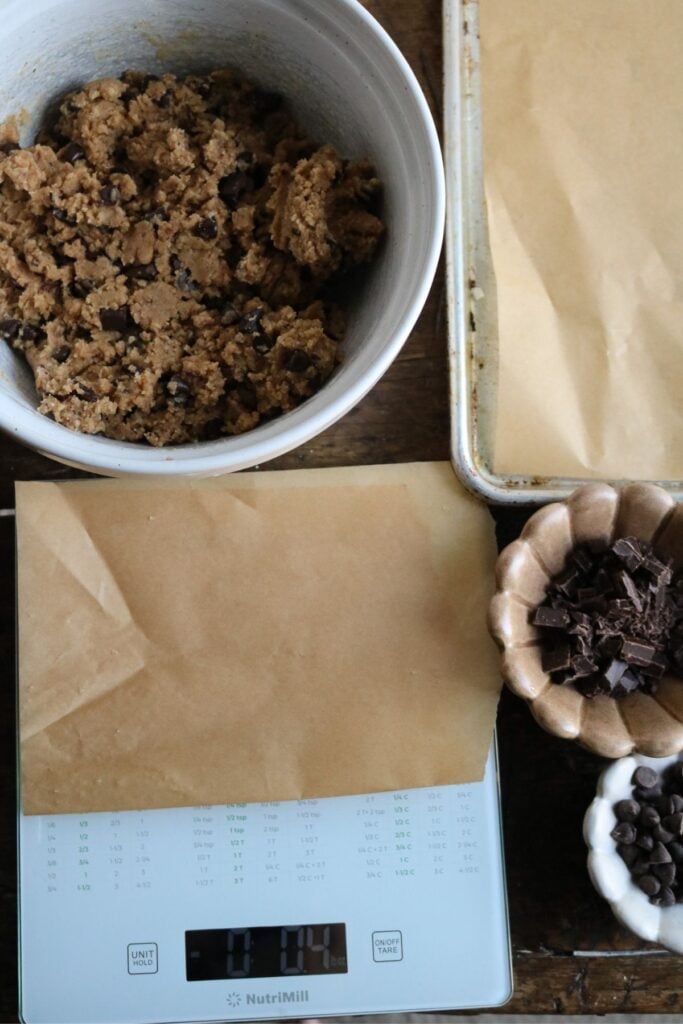
Step 8: Portion out the dough into 4 oz scoops onto a half sheet pan lined with parchment paper. You can use a scoop or a kitchen scale to weigh out the dough balls.
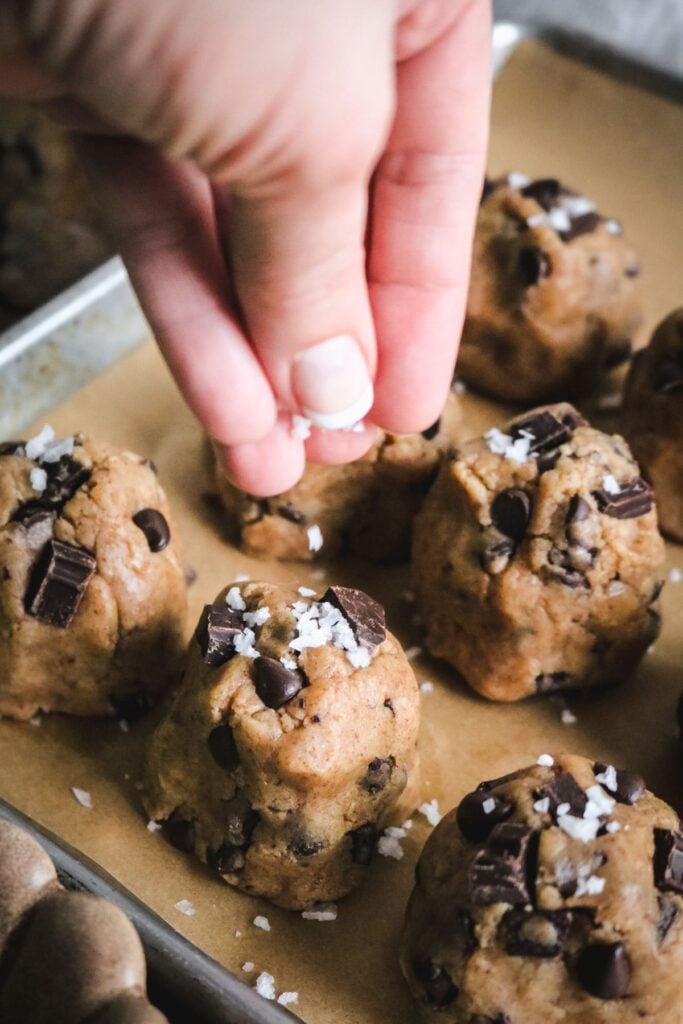
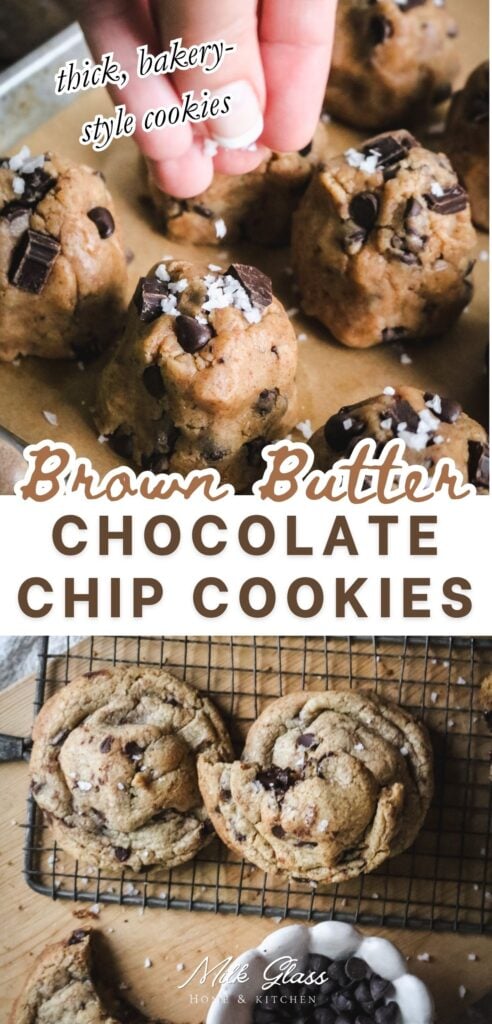
Step 9: Shape into an egg shape (see my photos) for thick, puffy, chewy cookies. Top with extra chocolate chips and a sprinkle of flaky sea salt.
Refrigerate for 30 minutes to an hour or until firm. Once firm, transfer the cookie dough balls to an airtight container to avoid drying out. Store for at least 1.5 hours, but ideally 6-48 hours before baking.
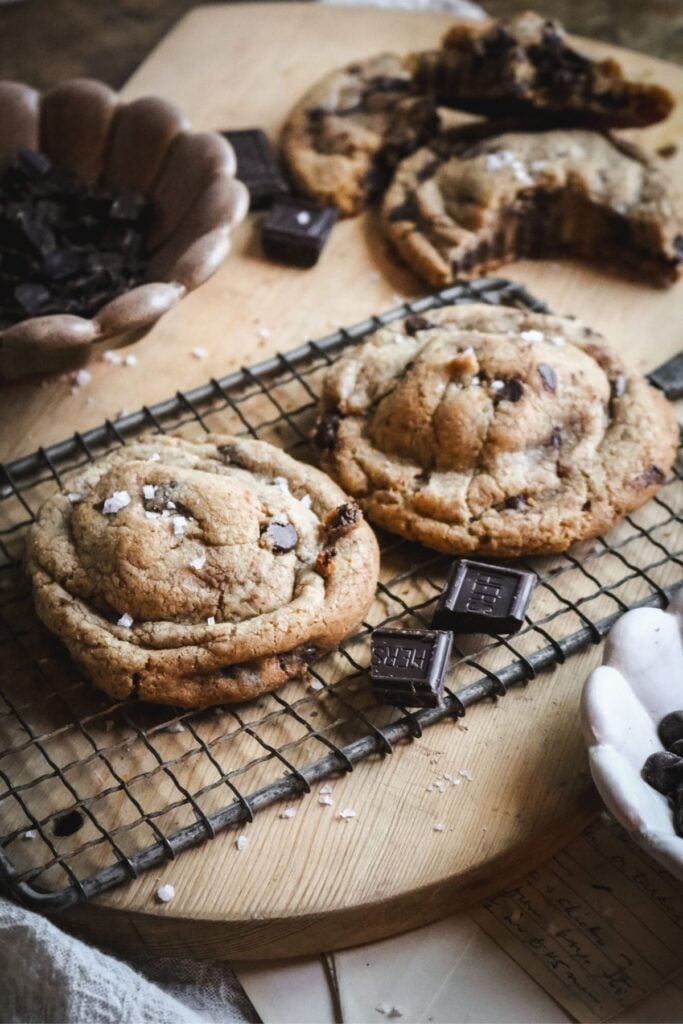
Step 10: When ready to bake, prep your baking sheets with parchment paper and preheat the oven to 350F. When baking big cookies, you can usually bake about 6 on a half sheet pan at a time. Be sure to space them well.
Bake for 14-15 minutes in a fully preheated oven. The cookies may still look slightly soft or wet at this point, but that is fine. Remove from the oven and let the cookies set up completely on the baking sheets (at least 10 minutes).
How big to roll your cookie dough balls
This dough is flexible and can be baked in a range of different sizes.
If you want more like a classic chocolate chip cookie size (2-3 inches):
- Portion size: .5 oz cookie scoop or 2 tbs of dough
- Bake: 8-9 minutes at 350 F and let the cookies set up on the baking sheets before moving them to a wire rack.
- Yield: 24 cookies
Now if you want these lux, expensive, gloriously huge cookies (5-6 inches):
- Portion size: 4 oz scoop or weigh the dough on a kitchen scale
- Bake: 14-15 minutes in a 350F oven and let the cookies cool completely on the pans
- Yield: 9 large 3.8-4.0 ounce cookies
Tips & Variations
- If you can afford a fancy chocolate brand like Callebaut, Guittard, or Ghirardelli, go for it. I almost always used Kirkland brand chocolate chips in my recipe testing and the cookies still turned out great!
- I totally understand if you don’t have bread flour on hand. You can use all-purpose flour instead and still make great cookies! The texture is just next level with the bread flour.
- Feel free to play around with your favorite add-ins! You can add nuts, different types of chocolate chips, toffee chunks, and more.
- For deeper flavor, try adding a pinch of espresso powder. You really can’t taste the coffee flavor; it just rounds out the overall sweetness.
How to Store
Okay, once your cookies are baked, you can start thinking about storing your leftovers. You really just need an airtight container to keep them fresh for a few days. I always store mine at room temperature and love them like that.
If you prefer a warm cookie, you can always pop one in the microwave for a few seconds to kind of wake it back up!
You can also freeze your cookie dough balls in a freezer-safe bag or container for months at a time. If you want, you can even bake them from frozen! They may just need an extra minute or two to cook through.
More Brown Butter Recipes
If you’re obsessed with all things brown butter like me, then you should try prepping brown butter in the oven. It’s a super simple method and requires less constant attention than making it on the stovetop.
The chilled butter chunks can be stored in the fridge then softened like regular butter for cookies, sauces, and more.
The flavor of brown butter is a great counterpoint to maple and pecan, which is why I use it in my chewy maple pecan cookies, too.
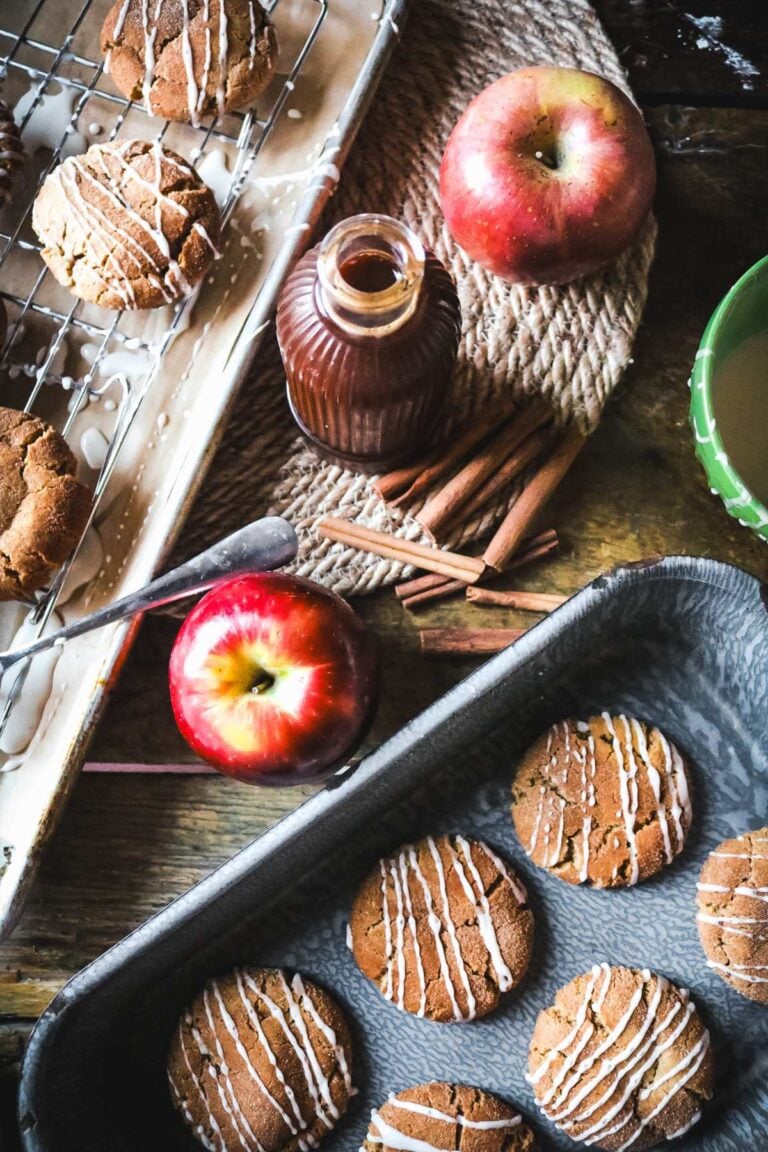
And if you need even more, these brown butter sugar cookies are soft, chewy, and drizzled with a simple brown butter icing for tons of that iconic flavor.

If you made this recipe, please leave a comment or ask a question below! I’d love to hear what you think or troubleshoot any issues.
Get my FREE Homestead Kitchen Supply List to make it easier than ever to cook and bake from scratch.
Want more seasonal recipes? Subscribe for email updates or follow Milk Glass Home & Kitchen on social media. Join my Facebook Group Seasonal Slow Living to become part of the community!
Big Bakery-Style Brown Butter Chocolate Chip Cookies
Equipment
- dough whisk recommended for hand mixing
- medium mixing bowl
- kitchen scale handy for getting the exact amount of flour
Ingredients
For the brown butter
- 7/8 cup browned butter, (starting with two sticks of salted butter, this is the exact amount I use after browning); 199g
- 2 tbsp dry milk powder, for browning; optional but highly recommended
Wet Ingredients
- 1 cup light brown sugar, packed
- 1/3 cup granulated sugar
- 1 large egg, room temperature
- 1 egg yolk, room temperature
- 1/2 tbsp vanilla extract, or vanilla bean paste
Dry Ingredients
- 2 cups bread flour, (250g); spoon and level into measuring cup
- 2 tbsp cornstarch, for extra chewy cookies
- 1/2 tsp baking soda
- 1 tsp kosher salt, or 1/2 tsp regular salt
- 1 1/4 cup chocolate chips or chunks, I like to use half semi-sweet chips and half dark chocolate chunks.
For topping
- 1/4 cup chocolate chips or chunks, optional
- 1 tsp flaky sea salt, optional
Instructions
- In a medium mixing bowl, add your brown sugar and white sugar and set aside until ready. In a separate container, measure out your dry ingredients and have those whisked together and ready for later.1 cup light brown sugar, 1/3 cup granulated sugar, 2 cups bread flour, 2 tbsp cornstarch, 1/2 tsp baking soda, 1 tsp kosher salt
- In a medium saucepan, place two sticks (one cup) of salted butter and heat over medium low on your stovetop. As the butter melts, add the dry milk powder, if using.7/8 cup browned butter, 2 tbsp dry milk powder
- While browning, the butter should be stirred often to help knock the milk solids to the bottom of the pan. If you're using the milk powder, it will look much thicker and creamier than you may be used to, but just keep stirring and making the browned butter like normal.I always go until you get the smell – that bold, toasted grilled cheese, nutty aroma that only happens when the brown butter reaches a certain point. You can stop before that when the butter bits turn tan or golden brown, but I always go to this point. It will burn shortly after.
- Once the browned butter is ready, pour it into your measuring cup to make sure you have precisely the right amount. Scrape as many little bits out of the pan as possible. Let the butter cool until warm. If you're in a hurry, you can place the measuring cup into a bowl of cold water and stir to help reduce the temperature.*Some brands of butter will produce more or less browned butter. In my testing, I found that I consistently got 7/8 cup brown butter using my regular butter brand and the milk powder.
- Use a dough whisk or spoon to stir the butter into the sugars. It will look grainy and kind of clumpy at this point, which is totally okay.
- Then, whisk in your vanilla extract and the room temperature eggs until glossy and creamy.1 large egg, 1 egg yolk, 1/2 tbsp vanilla extract
- Add the dry ingredients – the bread flour, cornstarch, baking soda, salt, and the chocolate chips – and mix in until just combined. Adding the chips at this point helps reduce the overall mixing to give you the best texture.1 1/4 cup chocolate chips or chunks
- Portion out the dough into 4 oz scoops onto a half sheet pan lined with parchment paper. You can use a scoop or a kitchen scale to weigh out the dough balls. Shape into an egg or cone (see my photos) for tall, thick cookies. Top with extra chocolate chips and a sprinkle of flaky sea salt.1/4 cup chocolate chips or chunks, 1 tsp flaky sea salt
- Refrigerate for 30 minutes to an hour or until the dough is firm. Once firm, transfer the cookie dough balls to an airtight container to avoid drying out. Store for at least 1.5 hours, but ideally between 6-48 hours until ready to bake. The flavors will improve the longer the dough rests.
- When ready to bake, prep your baking sheets with parchment paper and preheat the oven to 350F. When baking big cookies, you can usually bake about 6 on a half sheet pan at a time. Be sure to space them well.
- Bake for 14-15 minutes in a fully preheated oven. The cookies may still look slightly soft or wet at this point, but that is fine. Remove from the oven and let the cookies set up completely on the baking sheets.
Notes
Nutrition
Did you try this recipe?
Post a photo and tag @milkglasshome!Pin this recipe for later!