This post may contains affiliate links. We may earn a commission, at no additional cost to you, if you make a purchase via our links. See our disclosure for more information.
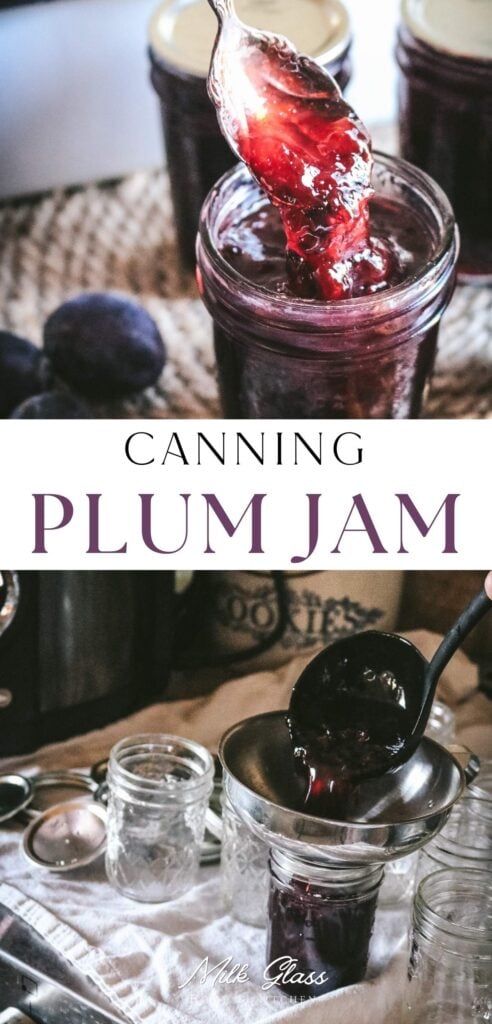
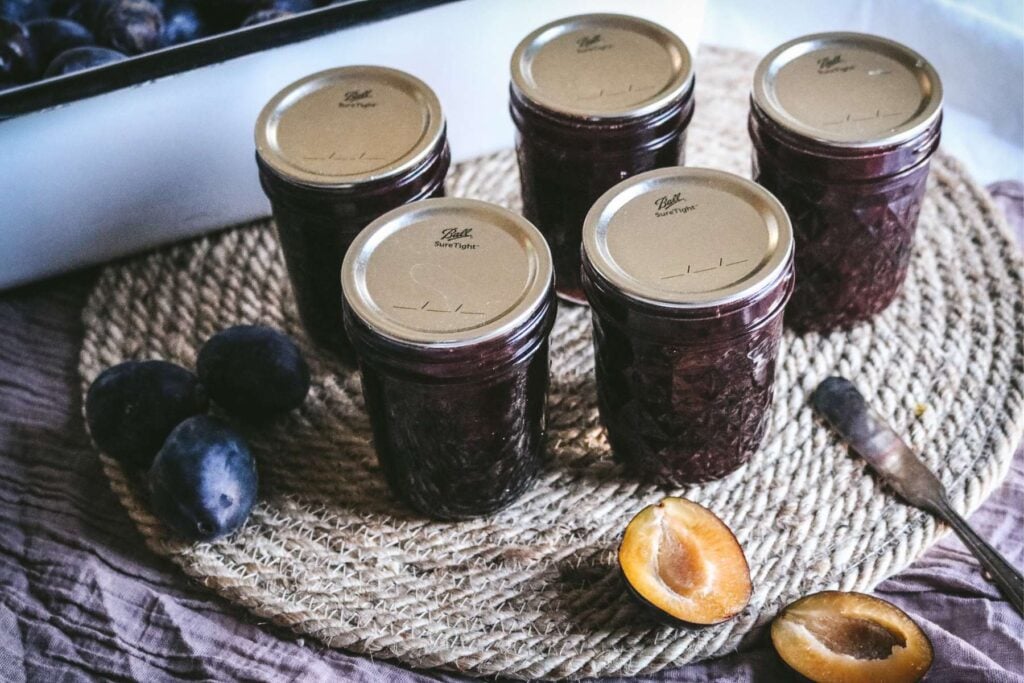
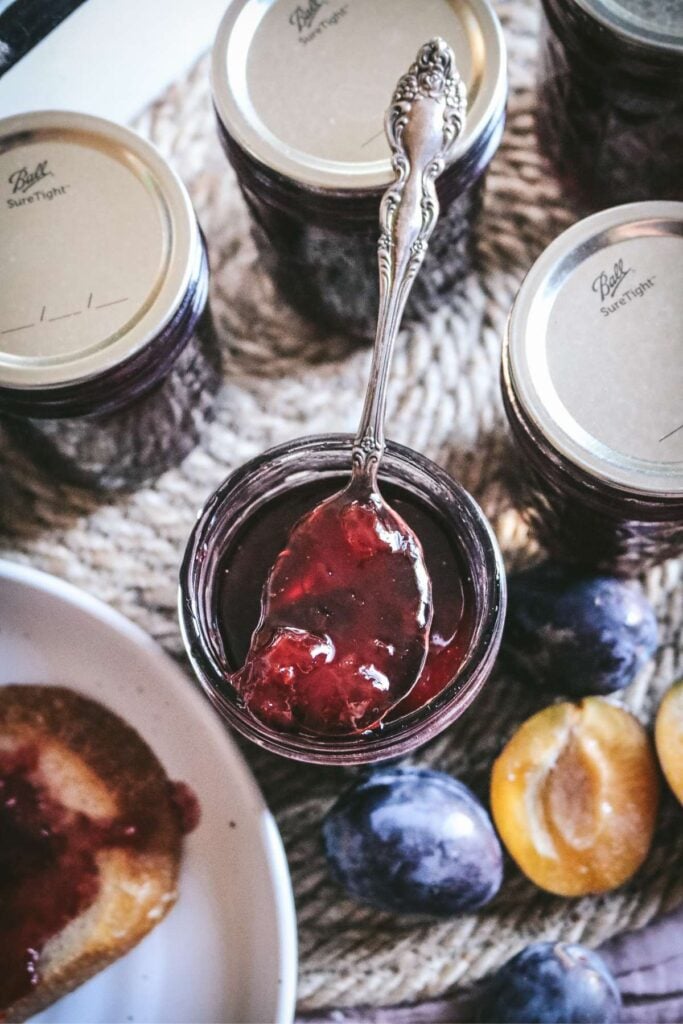
Homemade plum jam is one of my all-time favorites: naturally sweet and tart with a stunning color. Slather it on homemade PB and J sandwiches or spread it between cake layers for a fruity dessert. This no pectin plum jam recipe is a classic, and about as easy as can be!
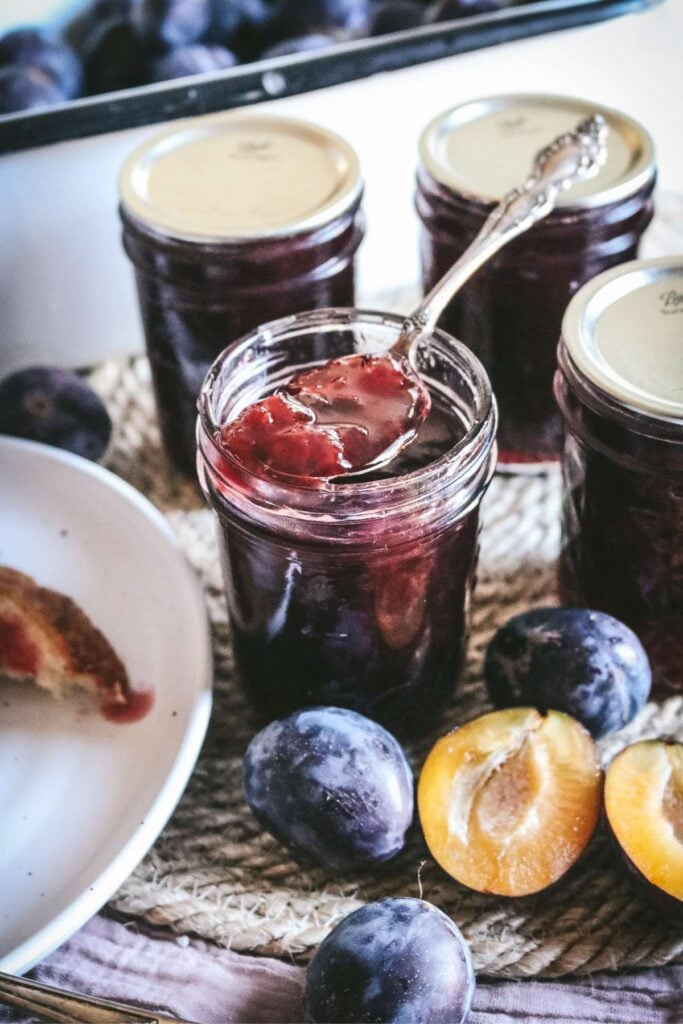
In my humble opinion, plum jam is the best way to preserve excess plums. I love the flavor, and it’s not exactly something you often find at the grocery store.
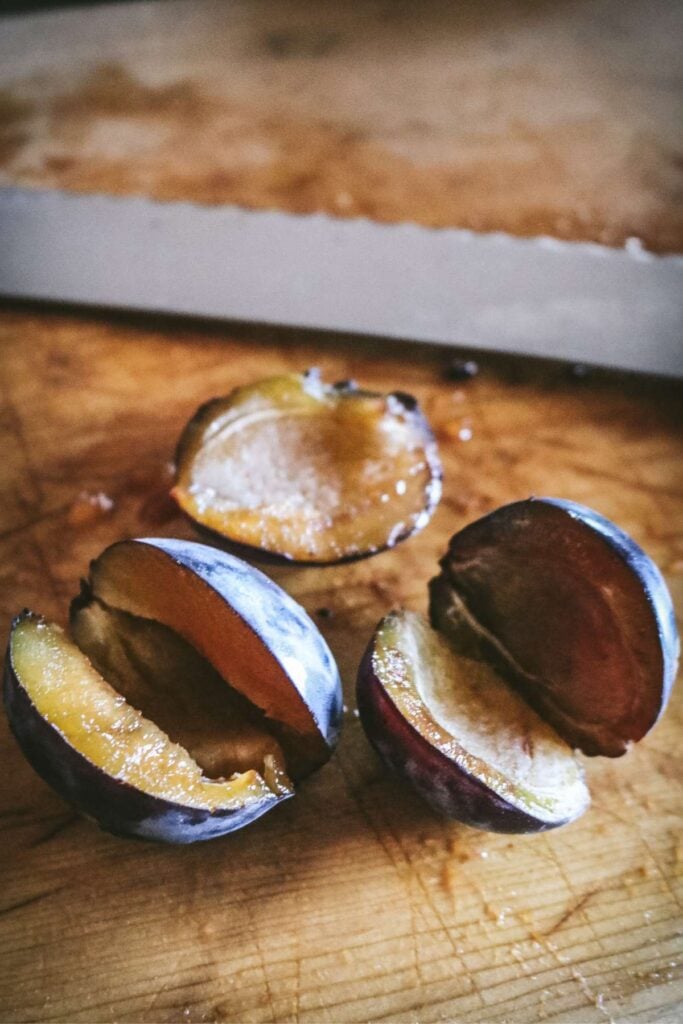
My dad’s property has two beautiful Italian prune plum trees. We’re getting a great harvest this year, and picked these prunes last weekend with my dad and nieces.
I always hope those moments make core memories for them to pass the love of growing and preserving to the next generation!
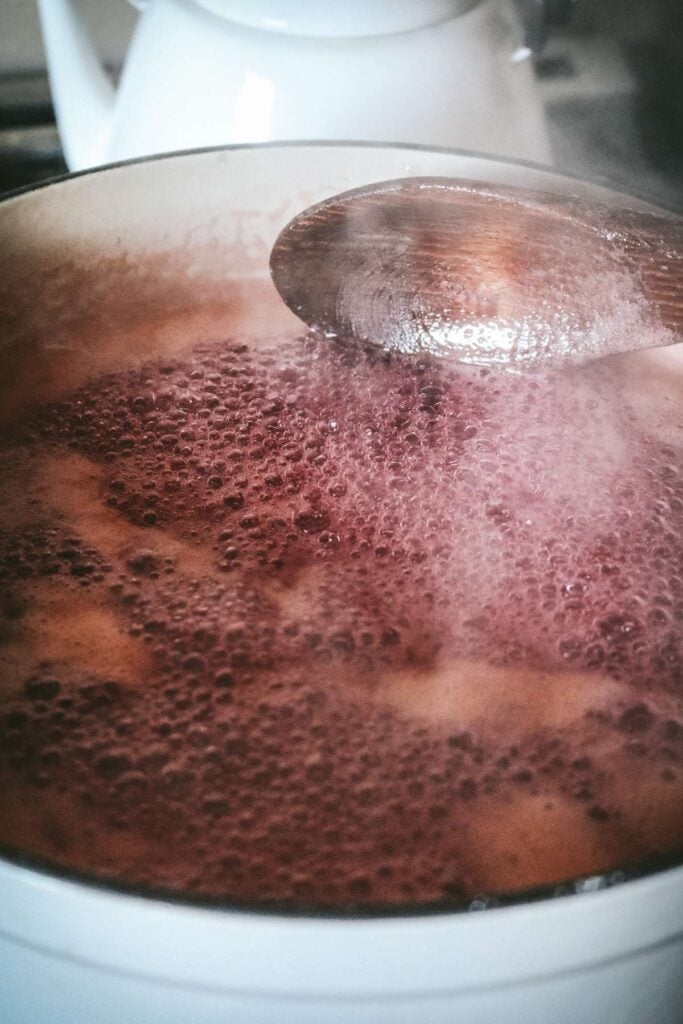
Even if you’re a total beginner, you can make this recipe. Basically, we’re going to chuck everything in the pot, simmer it until the natural pectin reaches its setting point, then jar and can.
It’s totally worth cleaning up pretty pink splatters all over your kitchen! (Consider yourself warned.)
You’ll thank me this winter when you have summery plum jam to spread on your toast or sandwiches!
A note on making jams without pectin
Anytime you make a jam without pectin, you usually need quite a lot of sugar. This is not a low sugar jam. Embrace it. Accept it.
If that’s a problem, you’ll want a recipe WITH low-sugar pectin or use your preferred sweetener and plan to store the jam in the fridge.
See my notes about reducing sugar below to understand your options.
Why you’ll love this homemade plum jam recipe
- Simple, no-pectin recipe you can make in a pinch
- Great way to preserve fresh plums quickly
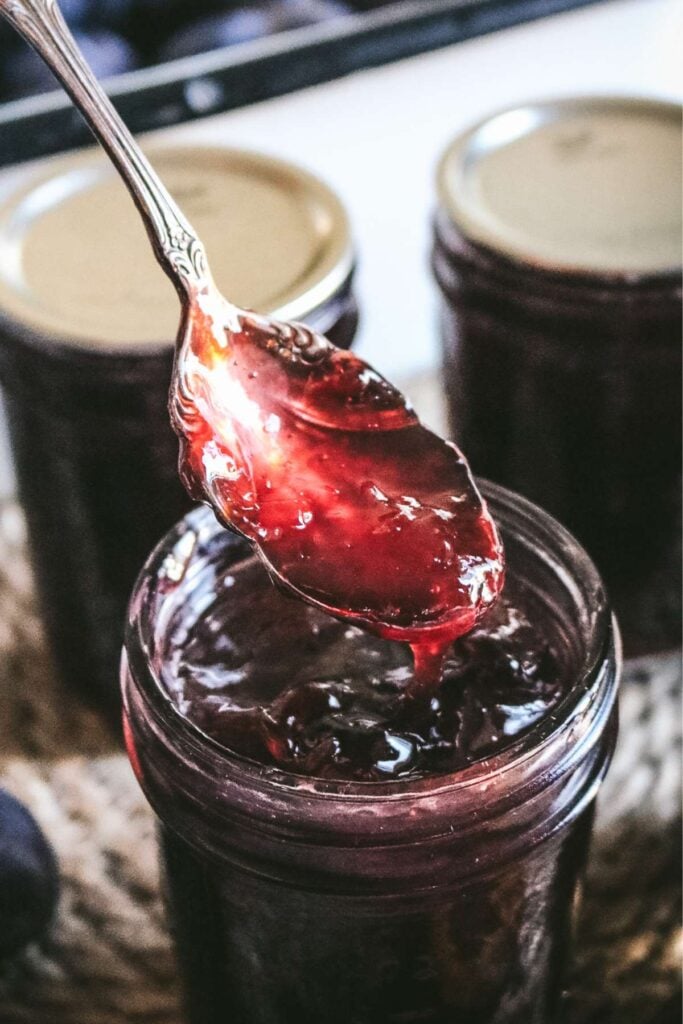
- Gorgeous ruby-red color from the plum skins
- Perfect balance of sweet and tart
- Classic recipe that relies on just 4 simple ingredients
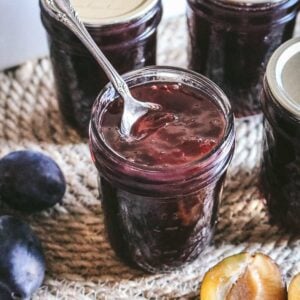
- Makes about 8 jars of jam with just one batch of jam
Tools you’ll need
To make and can your homemade plum jam, you’ll need:
Ingredients
- Fresh plums – This is a safe tested recipe that specifically calls for tart plums. I use Italian prune plums, but you can swap with different varieties as long as they are still somewhat tart. Damson is a great option!
- Sugar – Yep, it’s a lot of sugar.
- Bottled lemon juice – Although you normally want fresh lemon juice, for canning, it’s best to use bottled lemon juice from concentrate. This ensures a consistent acidity.
How to Make Plum Jam with No Added Pectin
- In a water bath canner, begin warming 8 half-pint jars in hot water. Once warmed, remove from the pot and place on a clean kitchen towel.
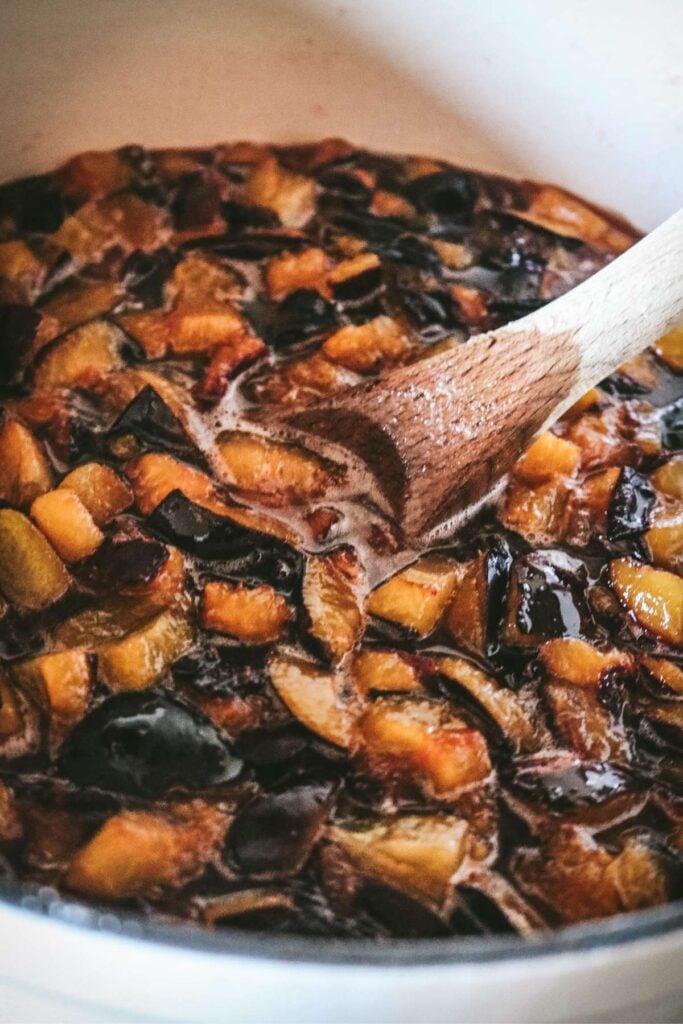
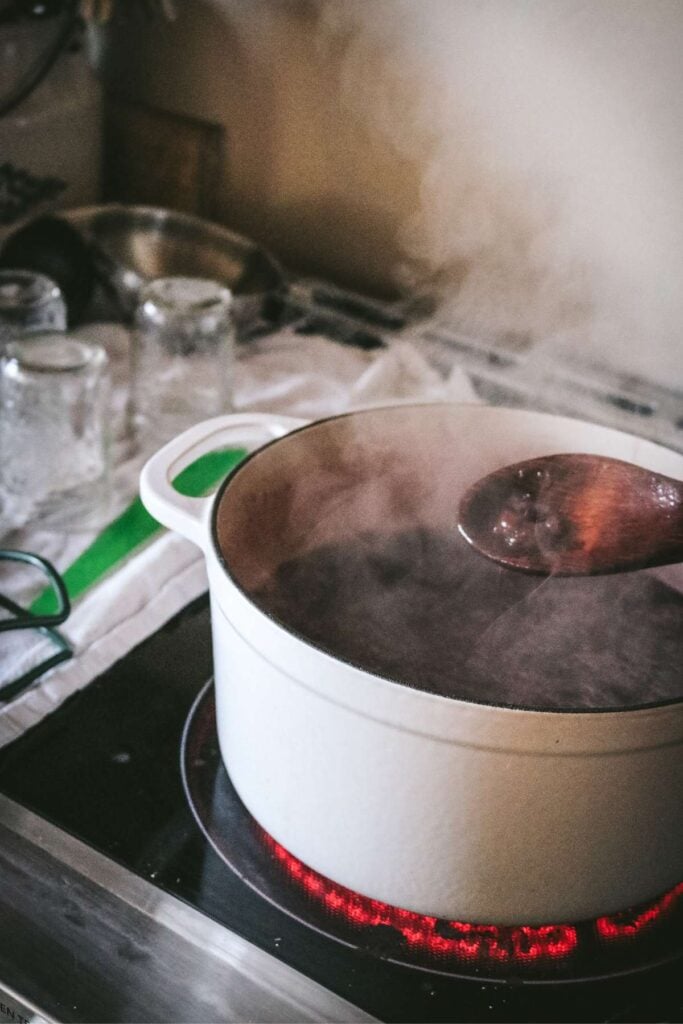
- In a heavy-bottomed pot, combine the fresh fruit, water, sugar, and lemon juice. Bring the plum mixture to full rolling boil over medium heat and continue boiling and stirring frequently until the mixture starts to thicken.
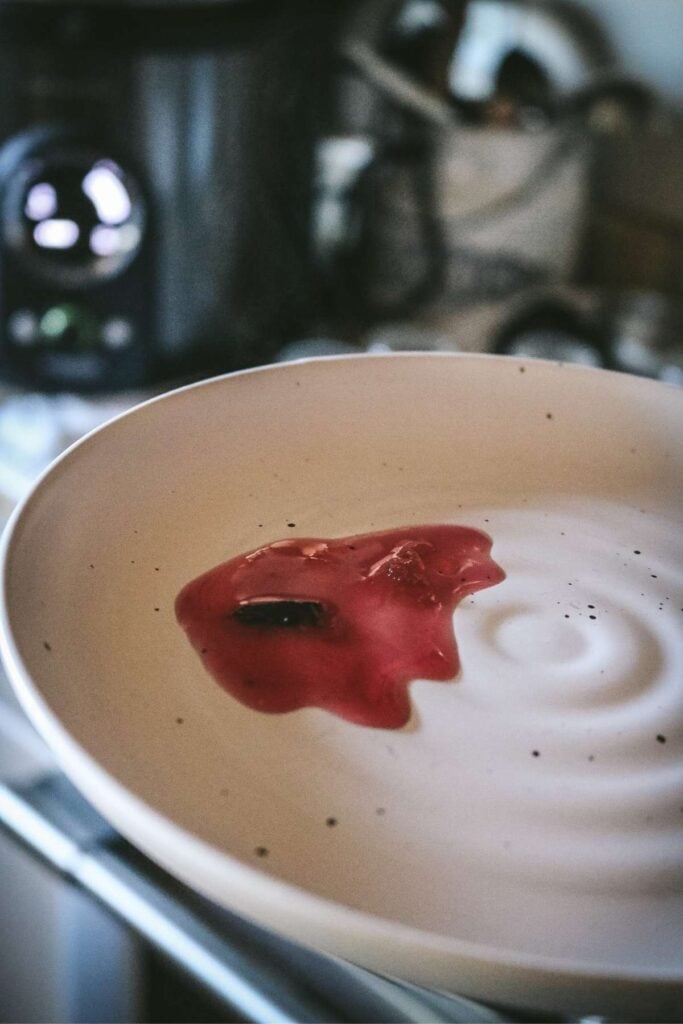
(See notes below about how to tell when jam is set.)
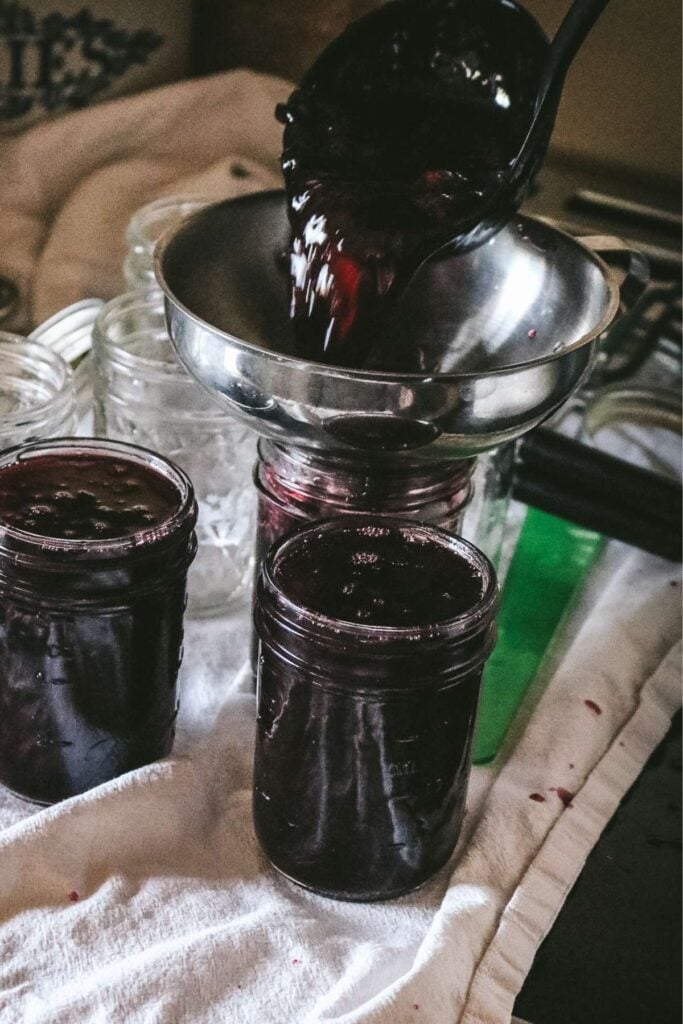
Transfer the hot jam to the prepared jars, leaving a 1/4 inch headspace. - Once all of the jam has been jarred, double-check the headspace and wipe the rims of each jar. Seal with a two-piece lid. (Depending on the lid, you may or may not need to warm the flat lids. Check with the brand you use.)
- Transfer the sealed jars to the water bath canner and cover with at least 1-2 inches of water. Cover the pot and bring to a boil.
- Once boiling, start timing for 5 minutes (at sea level; add an additional 5 minutes for every 1,000 feet of elevation). Turn off the heat and let the jars sit for 5-10 minutes before removing from the canner with a jar lifter. Set on a clean, dry kitchen towel in a place where they will not be disturbed.
- Leave the jars to cool completely to room temperature, ideally for 12-24 hours. Try not to mess with them. If any have not sealed, you will want to place them in the fridge. Otherwise, label, date, and store your jars in your pantry to use whenever!
Storing Suggestions
Once cooled, properly sealed jars can be stored in a cool, dark place for at least one year. Really, the jars often last far longer than that. I usually try to eat my homemade jams within 5 years, but always look for signs of spoilage.
Once opened, the jam should be stored in the fridge for 3-4 weeks.
NOTE: If you change the amount or type of sugar, it’s best to store the jam in the fridge or freezer instead of canning.
Make the most of your hard work!
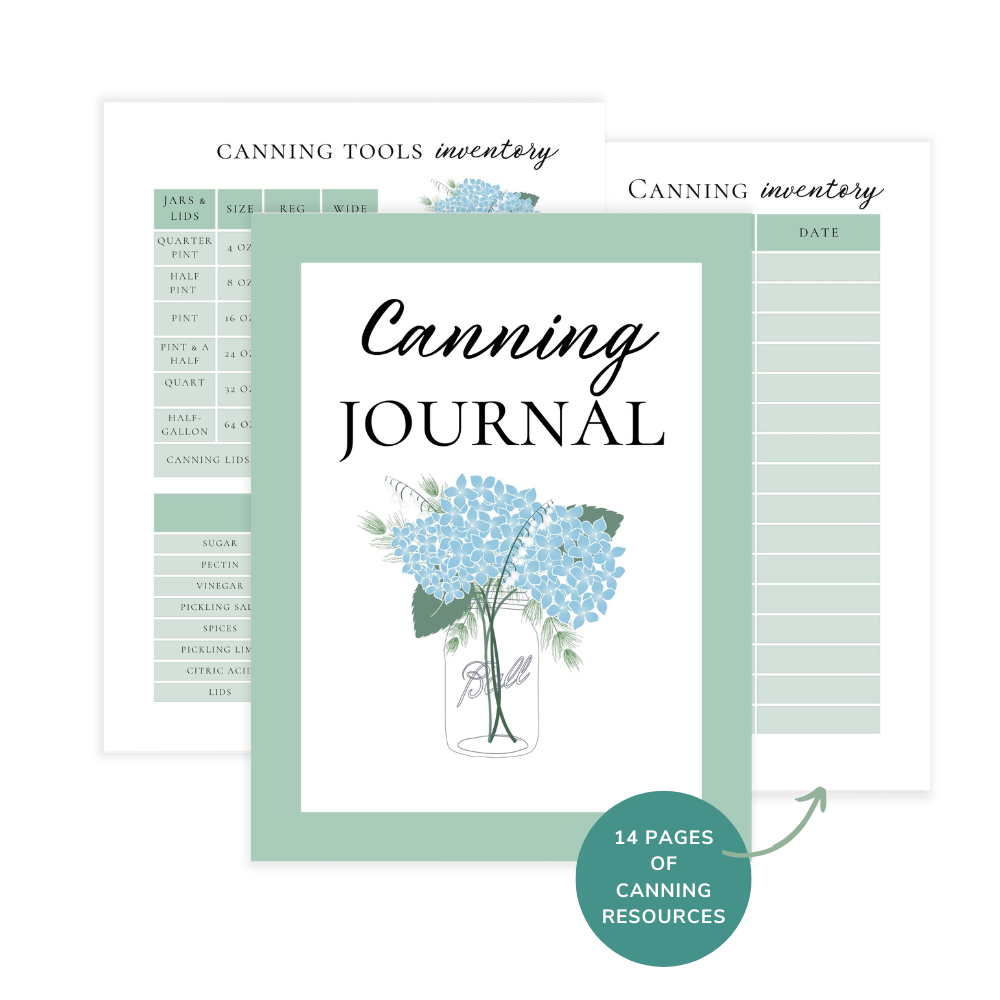
My printable Canning Journal makes it easy to take stock of your inventory, get ready for canning season, plan your next recipe, and create a custom canning recipe book all in one.
Perfect for home canners!
Tips & Variations
- Infuse with spices. Feel free to add a cinnamon stick or two for a warm, cozy flavor. I usually don’t do this with canning since the flavor of the spices can become overbearing. It’s great in fridge jams, though!
- Use different plums. There are so many varieties out there. I have the most experience with Italian plums, but you can use any type of plums you enjoy.
- Blend it. For a smoother jam, feel free to blend the plum jam with an immersion blender or process the fruit through a food mill before heating. It’s like a thick jelly and so good!
- Substitute other fruits. You can replace the plums with another type of stone fruit, like apricots or peaches.
FAQs
You likely can double this recipe, particularly in a large pot, but it can take longer to cook down and thicken.
I totally understand the desire to use less sugar. The thing is that sugar is key to the gelling process. If you reduce or remove it, it will take longer for the mixture to cook down and act like a traditional jam. It will also last for a shorter amount of time and you will get a smaller yield.
If you want to reduce the sugar (which I totally understand and do often!), it is best to use a low-sugar pectin, like the one from Ball, or Pomona’s Pectin.
These will ensure a good gel, good flavor, and a safe jam.
Additionally, they can also be made with alternative sweeteners, like honey or artificial sweeteners, which totally expands your horizons.
Yes, this recipe comes directly from the National Center for Home Food Preservation, which is a safe, tested source for canning recipes.
I only recommend canning recipes tested through appropriate channels and encourage you to always double-check that the recipes you use are safe for your family.
More Homemade Jams
- Marionberry Jam
- Golden Raspberry Jam
- Caramel Apple Jam
- Low Sugar Blueberry Jam
- Sugar Free Raspberry Jam
If you made this recipe, please leave a comment or ask a question below! I’d love to hear what you think or troubleshoot any issues.
Get my FREE Homestead Kitchen Supply List to make it easier than ever to cook and bake from scratch.
Want more seasonal recipes? Subscribe for email updates or follow Milk Glass Home & Kitchen on social media. Join my Facebook Group Seasonal Slow Living to become part of the community!
Old-Fashioned Plum Jam Recipe {No Pectin, Safe for Canning}
Equipment
- large pot
- Jar lifter
Ingredients
- 2 quarts fresh plums, pitted and cut into small cubes
- 6 cups sugar
- 1 1/2 cup water
- 1/2 cup lemon juice
Instructions
- In a water bath canner, begin warming 8 half-pint jars in water. Once warmed, remove from the pot and place on a clean kitchen towel.
- In a heavy-bottomed pot, combine the fresh fruit, water, sugar, and lemon juice. Bring the plum mixture to full rolling boil over medium heat and continue boiling and stirring frequently until the mixture starts to thicken. (See notes below about how to tell when jam is set.)2 quarts fresh plums, 6 cups sugar, 1/2 cup lemon juice, 1 1/2 cup water
- Transfer the hot jam to the prepared jars, leaving a 1/4 inch headspace on top of each one.
- Once all of the jam has been jarred, double-check the headspace and wipe the rims of each jar. Seal with a two-piece lid. (Depending on the lid, you may or may not need to warm the flat lids. Check with the brand you use. I usually warm my lids with my jars.)
- Transfer the sealed jars to the water bath canner and cover with at least 1-2 inches of water. Cover the pot and bring to a boil.
- Once boiling, start timing for 5 minutes (at sea level; add an additional 5 minutes for every 1,000 feet of elevation). Turn off the heat and let the jars sit for 5-10 minutes before removing from the canner and setting on a clean, dry kitchen towel.
- Leave the jars to cool completely to room temperature, ideally for 12-24 hours. Try not to mess with them. If any have not sealed, you will want to place them in the fridge. Otherwise, properly canned jam can last at least one year in the pantry.
Notes
Nutrition
Did you try this recipe?
Post a photo and tag @milkglasshome!Pin this recipe for later!